
DIY Hoop Wreath Project

A couple weeks ago I shared our Living Room Makeover [HERE] and in that I shared one of my simpliest, cheapest, and easiest DIY creations yet…the DIY Hoop Wreath. Over the last year these wreaths have become the trendiest form of minimalist decor on the market. You can see them in nurseries, living rooms, and front doors. They truly bring such a unique and classy element to a room without over doing it.

During the last 6 months my husband and I have been on a little spending fast, you can listen to my podcasts [HERE] to learn more about that, but in and through those months I was unable to buy anything “extra” so when it came time to decorate for fall and there was no budget to do that, I decided to instead create something with things I already had laying around the house! So I by-passed fall decor this year…and if you’re a designer/interior decorator you know what a BIG deal this is!
However, since I’d been eyeing these fun Hoop Wreaths for sometime, I thought I’d take a stab at a much simpler/much cheaper version. Here’s what I used:

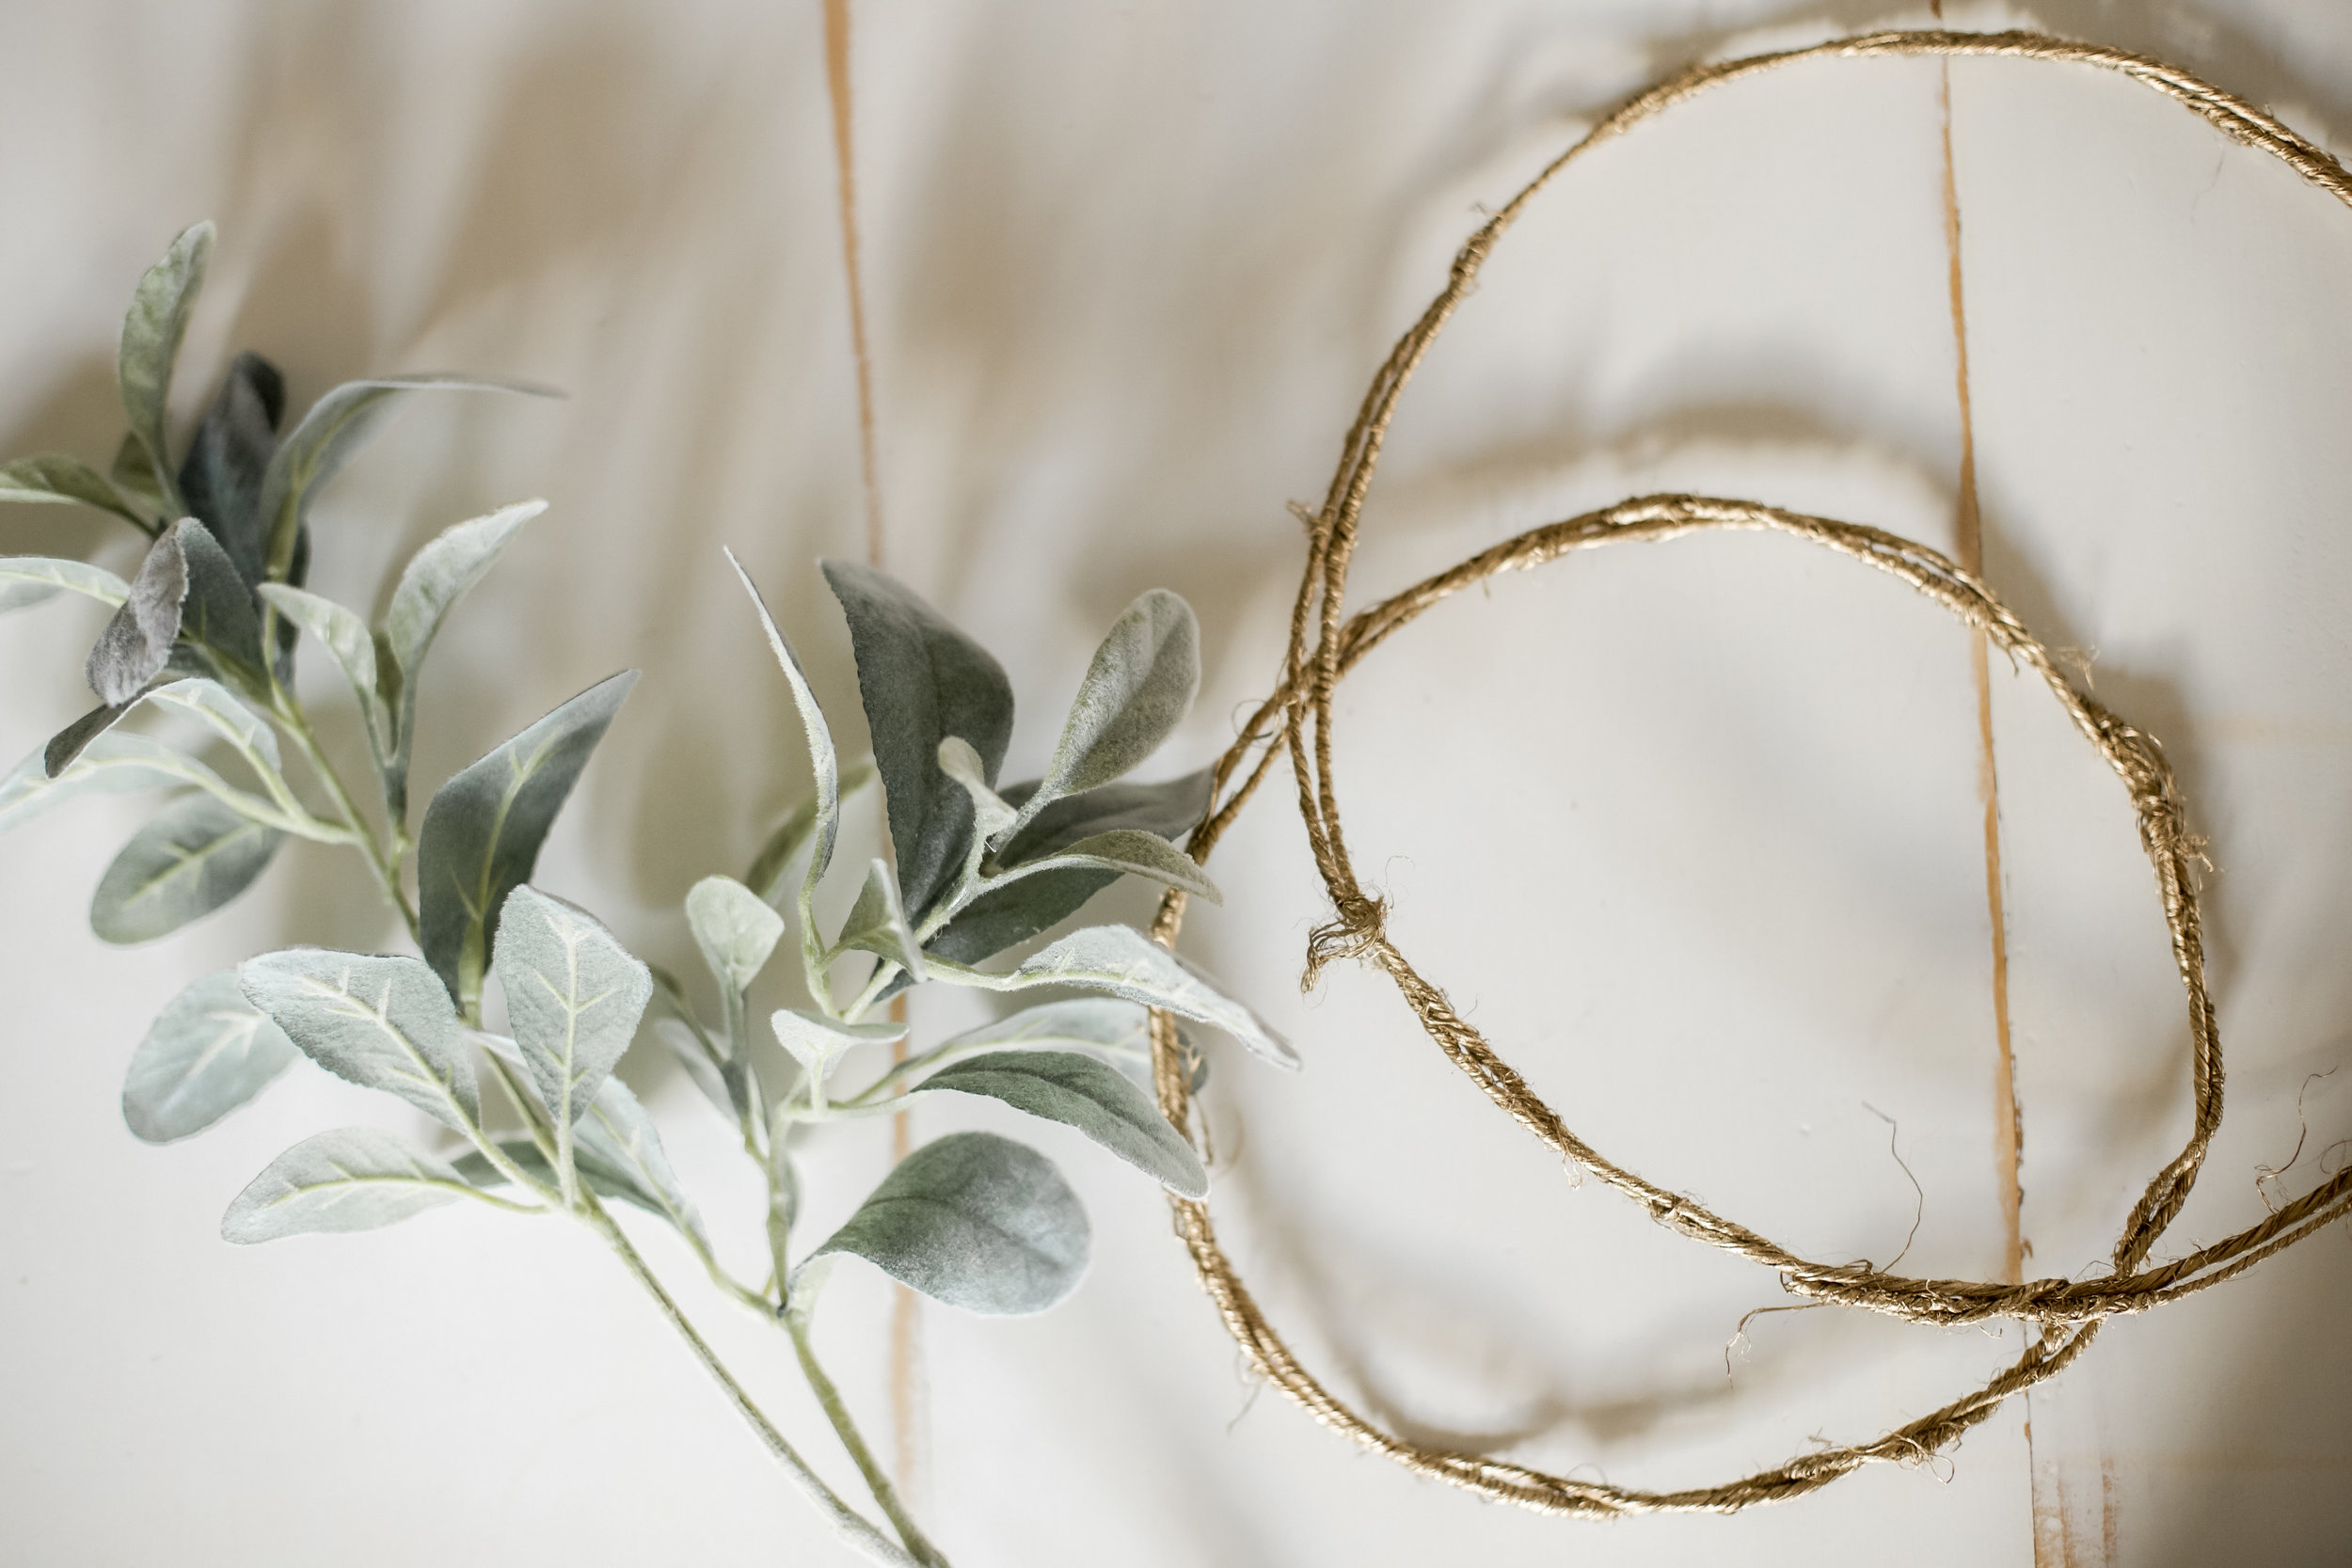
Flower Wire (5 ft of green floral wire)
Fine Floral Wire (not pictured-cut into 2 inch pieces)
Gold Metallic Spray Paint
Wire Cutters
Greenery Stalks (I had a bunch laying around the house so I collected a bunch of different ones)
Fishing Line (to hang wreaths up at the end)
**You can find all these supplies at your local Hobby Lobby or Michael’s Craft Store
DIY Hoop Wreath Project
After I had all my supplies together, I then unrolled my larger floral wire and cut/manipulated it to form a circle (as big or small as I wanted. I made a variety of sizes so just do whatever you want here). to make it a little thicker I doubled up my hoop and twisted my layers around each other to make them appear more seamless. Then, I spray painted each side using my gold metallic spray paint. Once that dried, it was time to add the greenery.

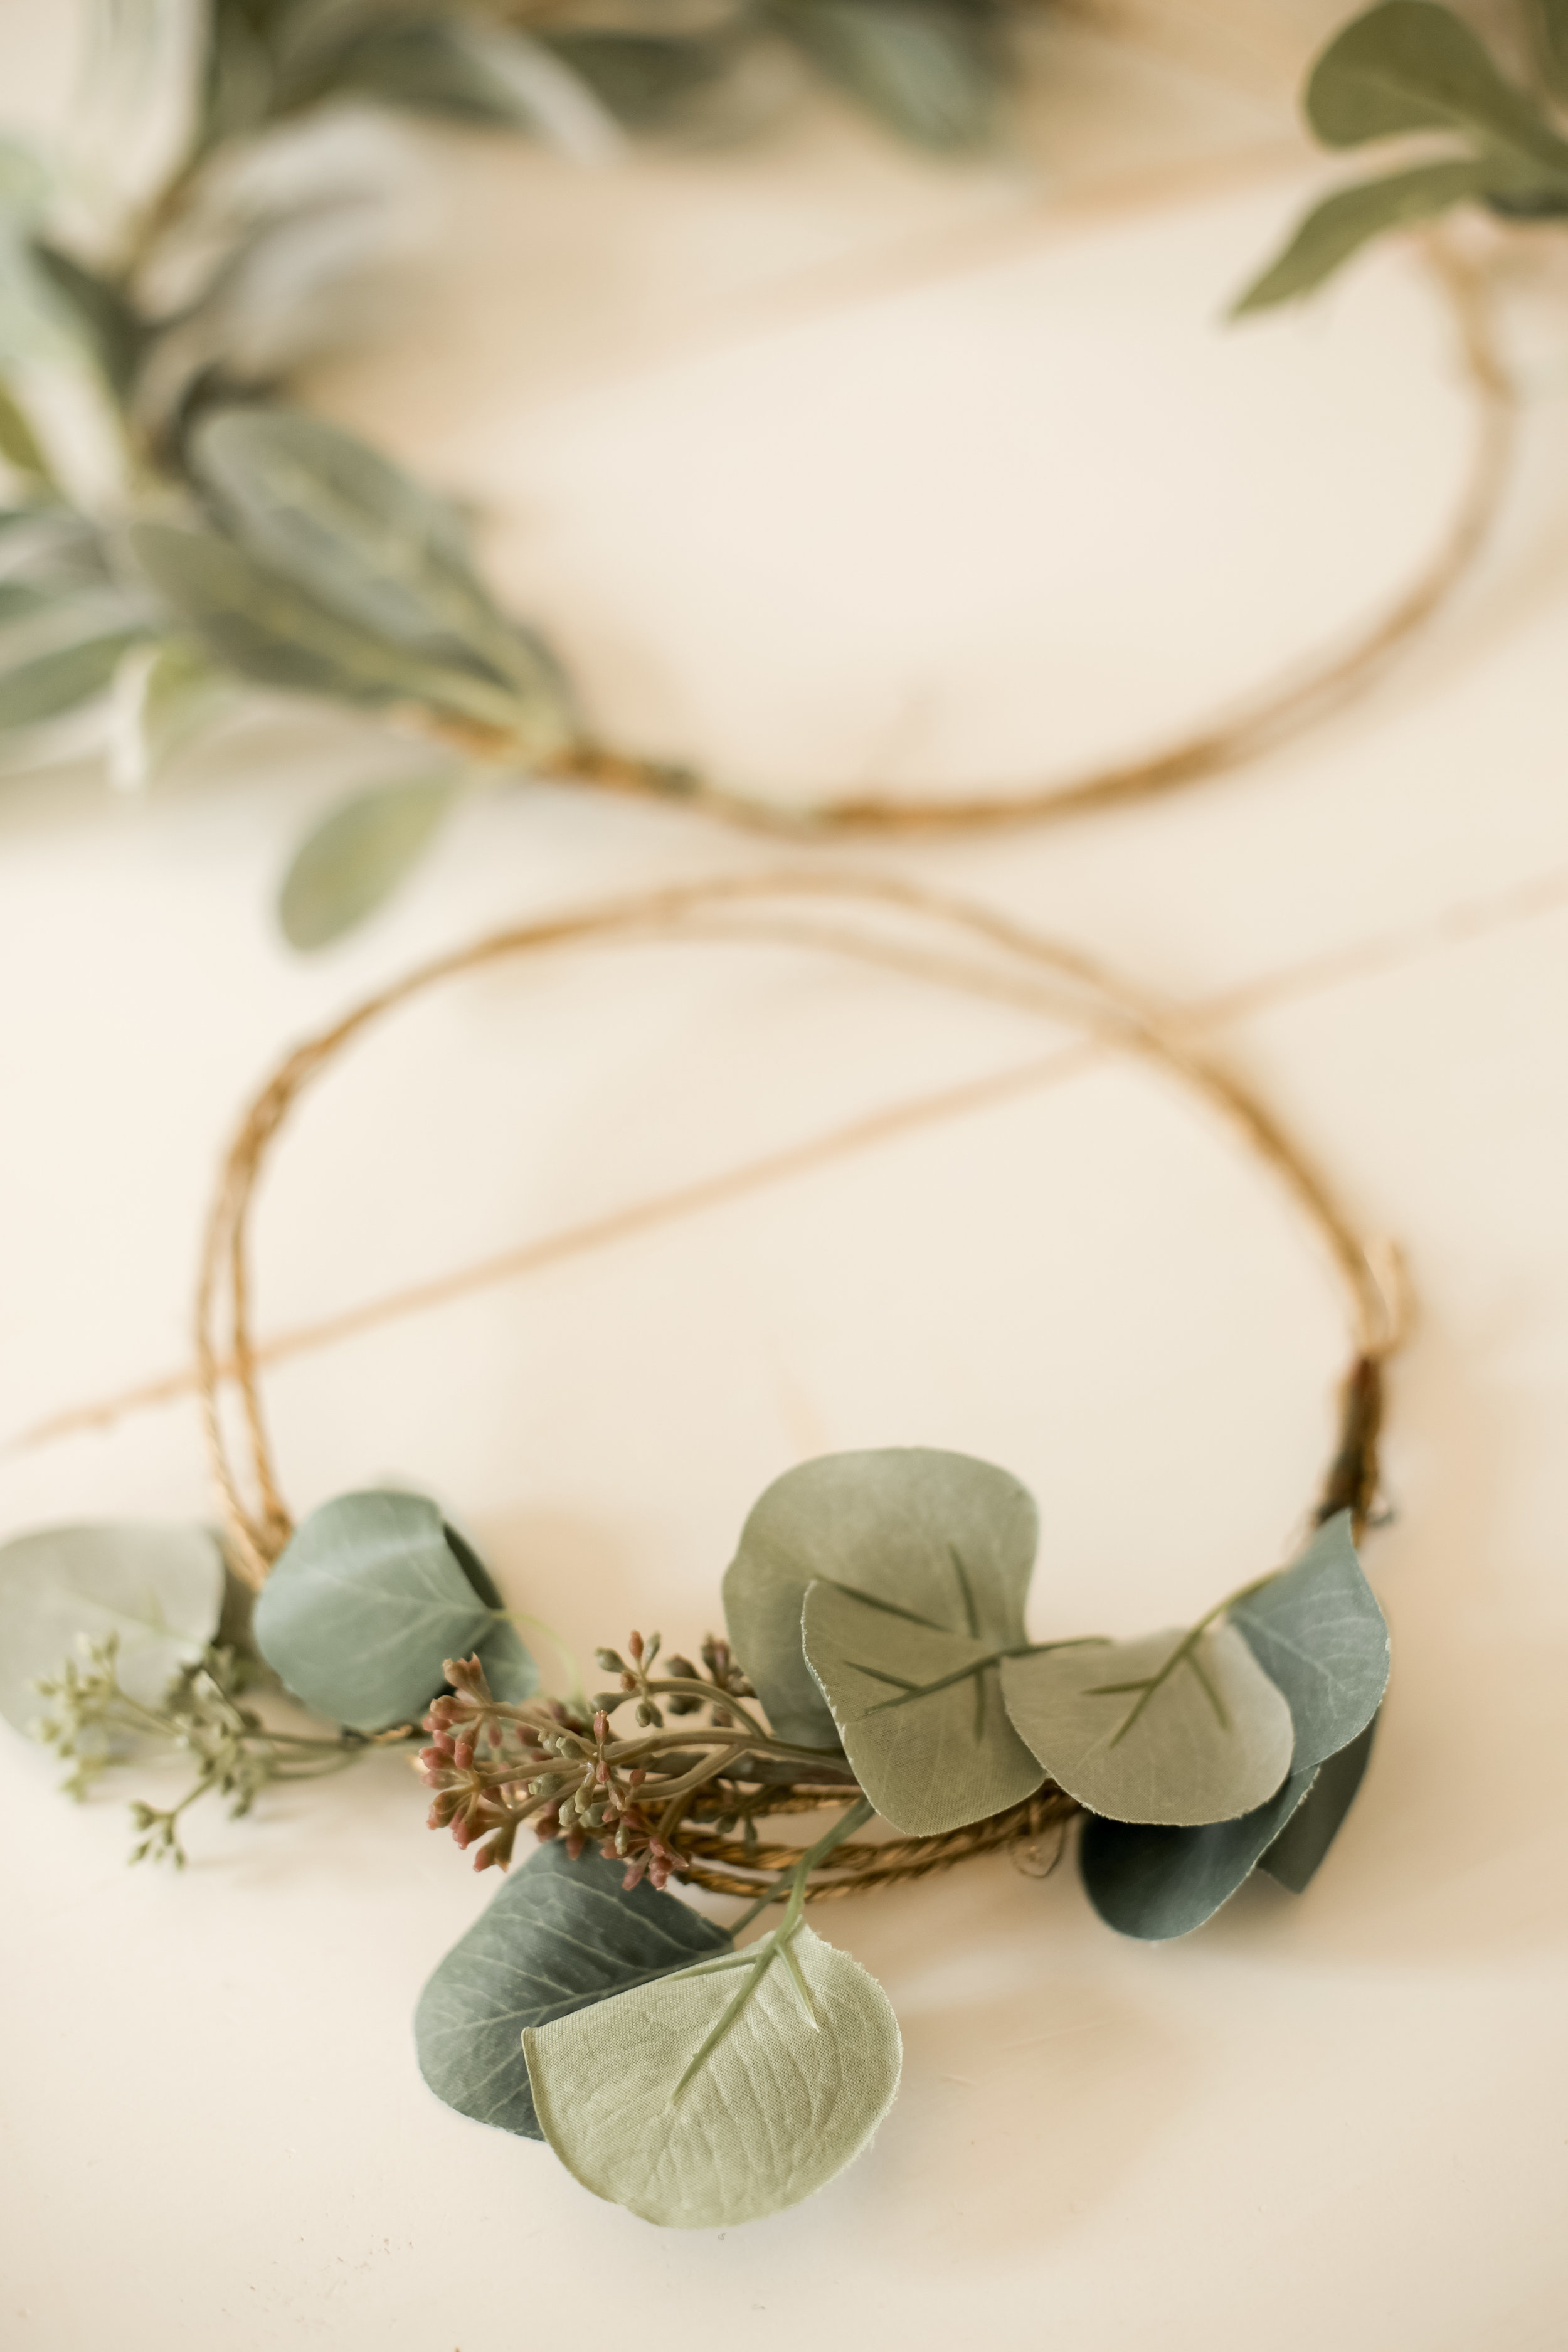
Once you have the greenery you want you just need your wire cutters to be able to cut the greenery off the stems or garland. And from here you can mix and match the greenery or keep it how it came when it was on the stem. To keep the greenery in place on the (now) gold wire, use your 2 in fine wire to secure it on. I did mine sort of like a twisty tie, making sure to put the wire in more inconspicuous places. For this step you can place as much or as little greenery on the wire as possible. It’s really up to you!

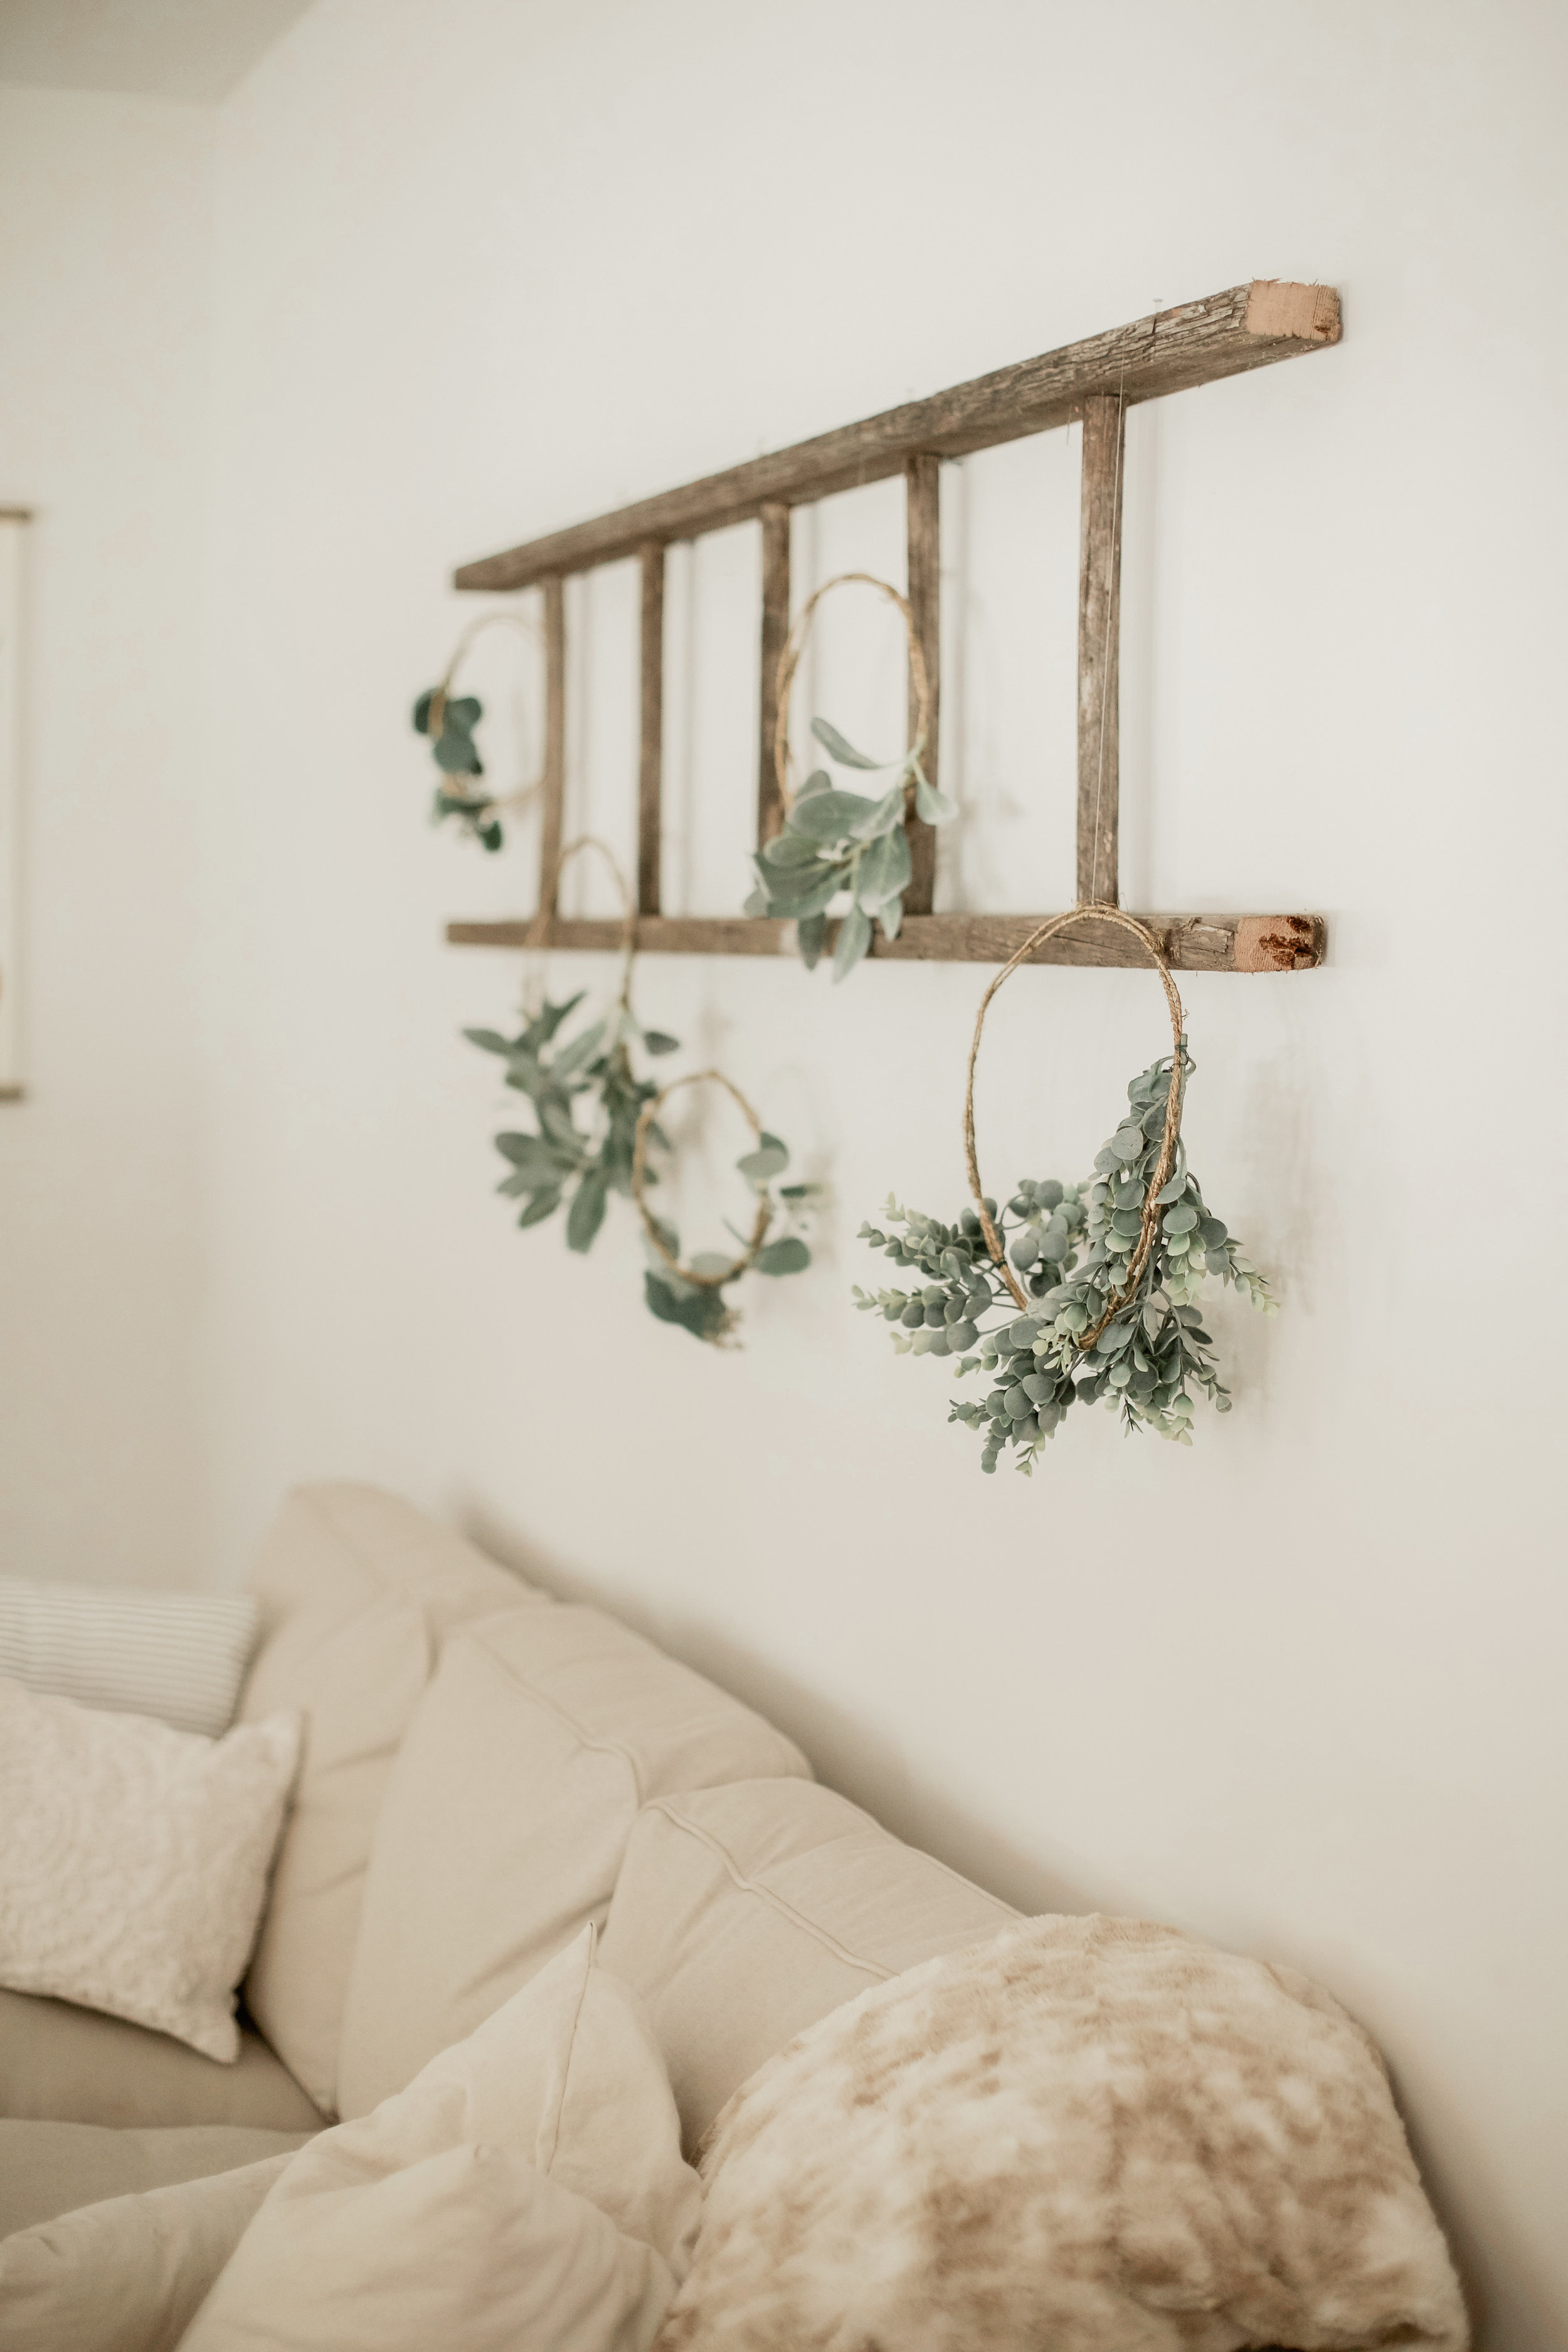
And after you’ve got all your greenery pieces secure you’re done. You can hang it up as it or use fishing line to hang it from the ceiling or another piece like I did (below). These pieces really are so versatile and easy! Once I decorate for Christmas I plan on putting these pieces in the new nursery that we are working on!
If you have any questions please feel free to ask! I hope you enjoyed and be sure to follow me over on Instagram to stay up to date daily with happenings in the Kirby house! As always, thank you so much for stopping by!
xoxo, Tessa