
How We Make Our Open Shelving for a Fraction of the Price

Alright folks, we have been getting asked for YEARS how we make our open shelving; whether it’s been for our own home or one of our flip houses we have done it A LOT of times. So I can confidently say, after much trial and error, we have mastered the opening shelving trend and at a FRACTION of the price of the pre-made stuff.
Listen to me when I say, you do NOT need to be a master DIY-er to complete this project. This is a perfect “jump in, get your feet wet” kind of project. So let’s gt right to it…
How We Make Our Open Shelving for a Fraction of the Price


This post contains some affiliate links which means that every time you click on one of these links below or even buy from here a small commission goes to us. This is such cool way that you get to support us. So THANK YOU!
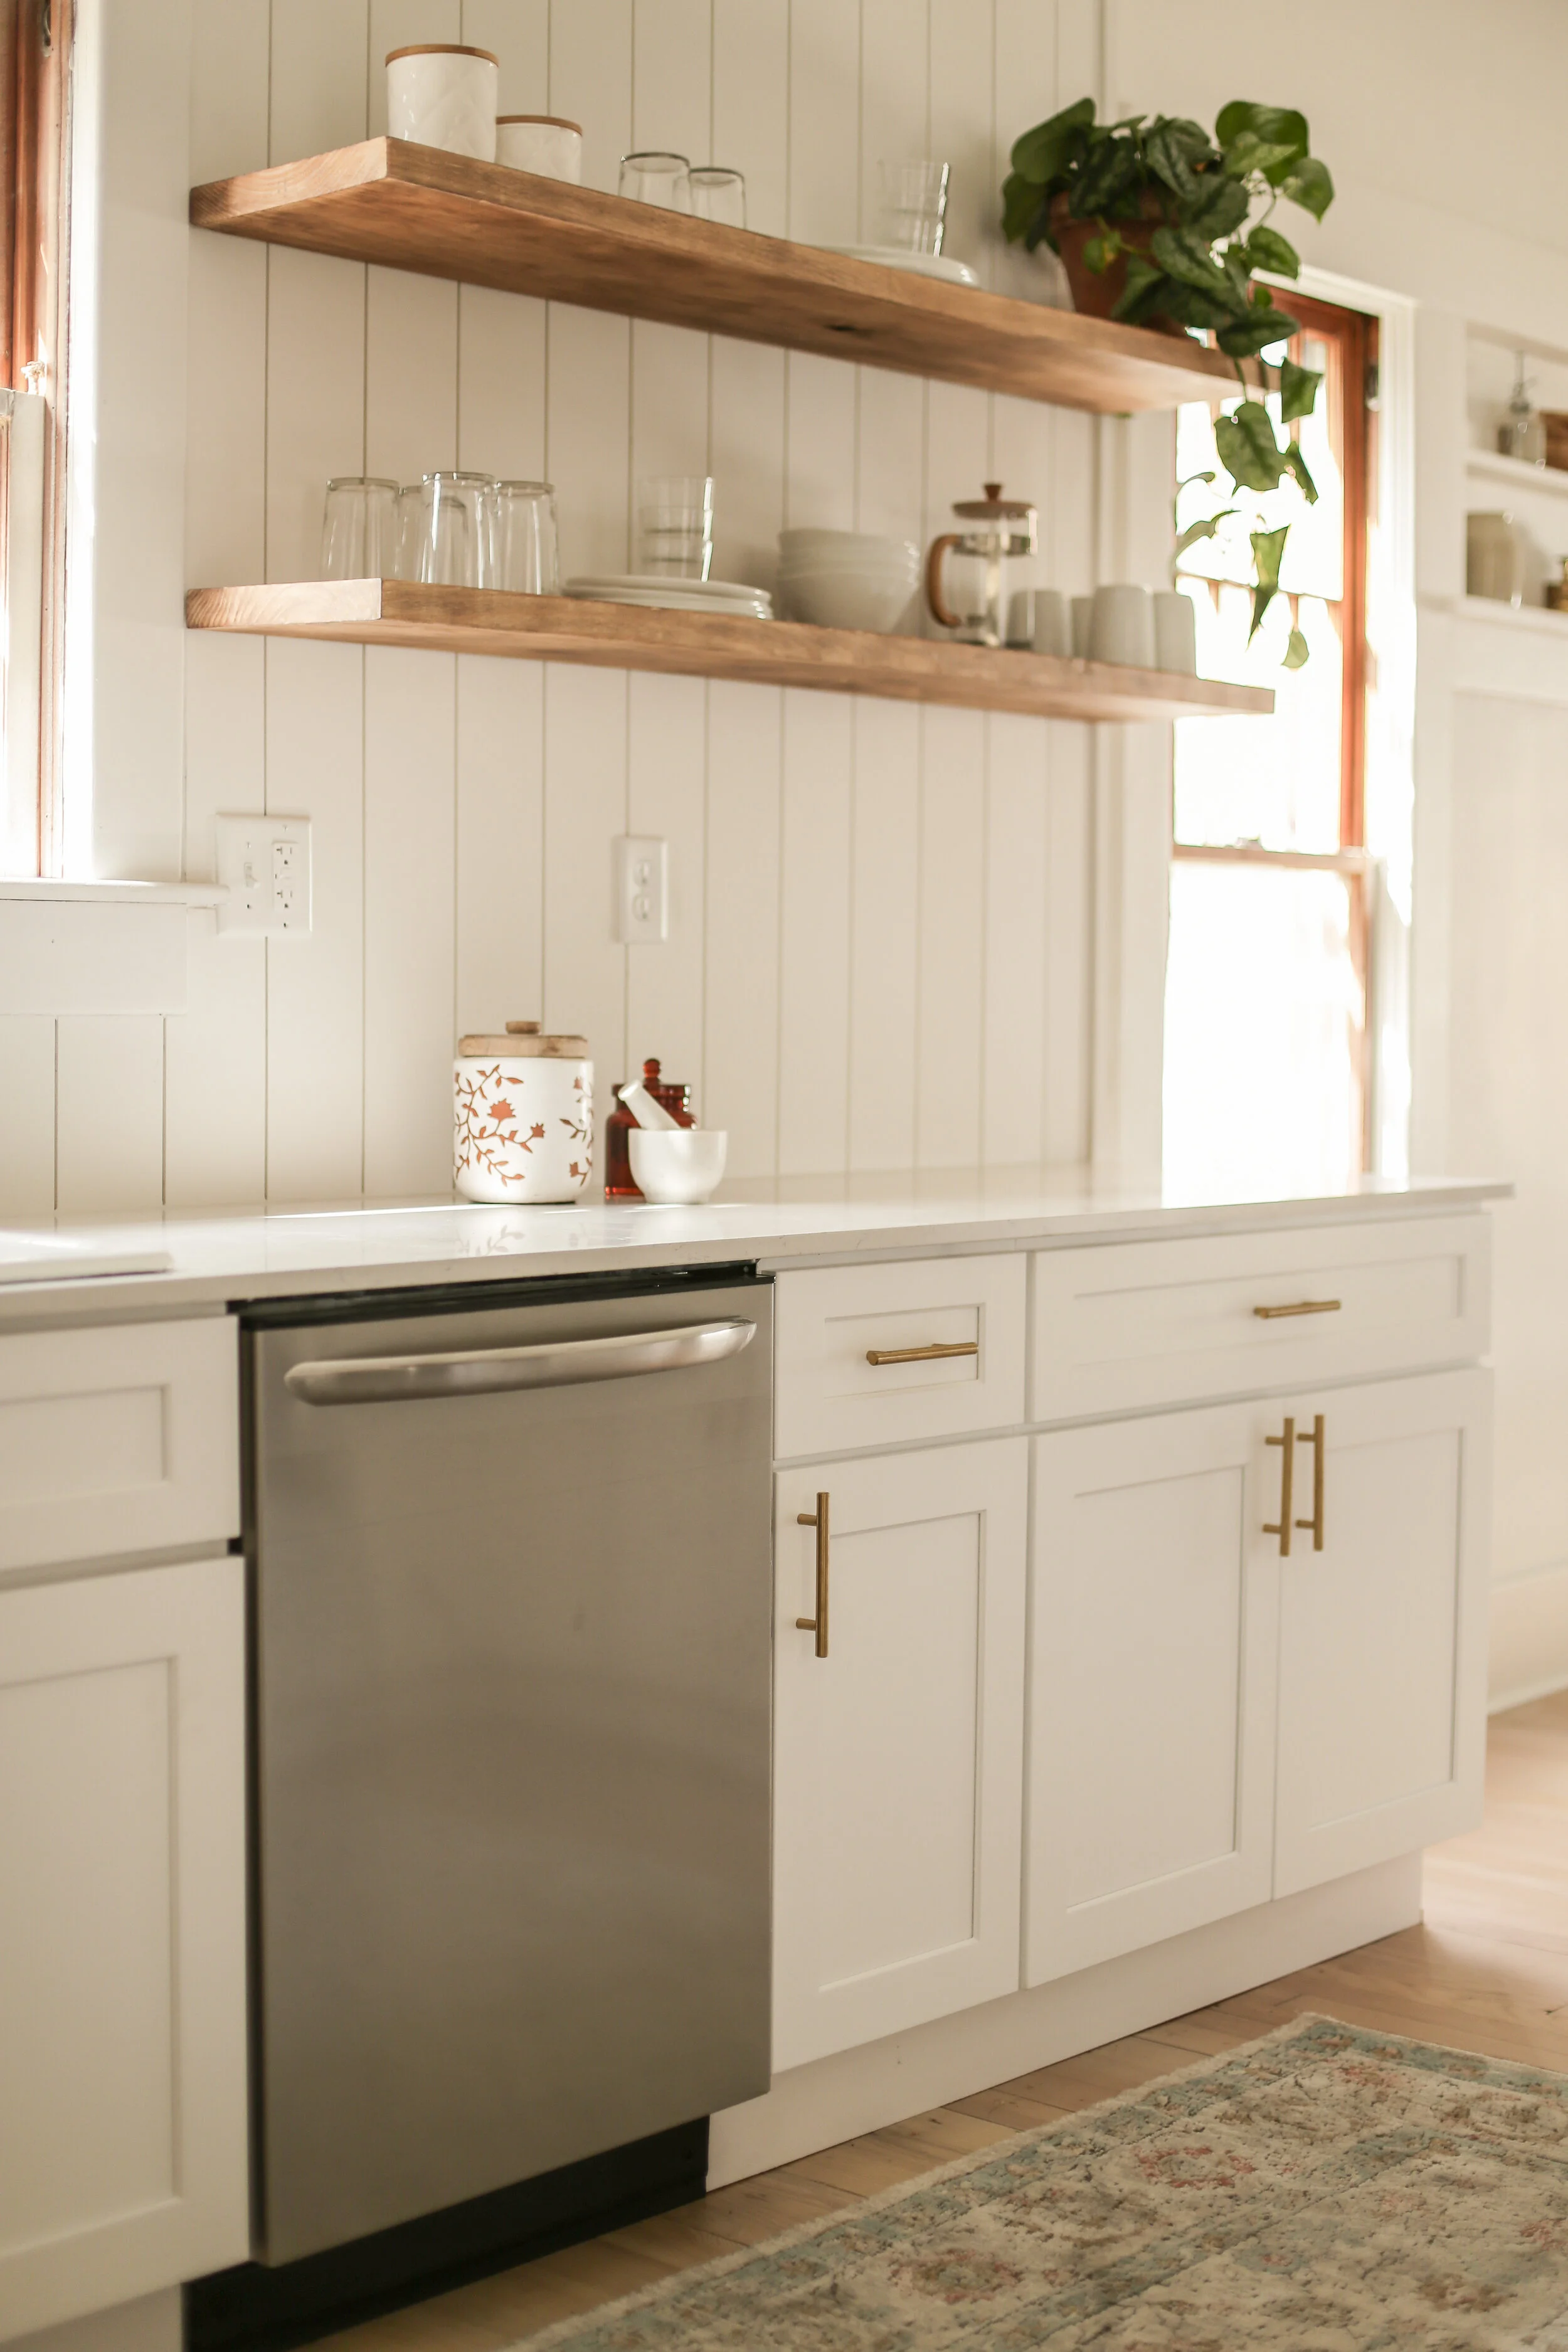
Guy and I have found that the best depth for both functionality and aesthetics is a 12 in deep board. And we always buy the 2x12 pretreated construction lumber, it’s the cheapest option (less than $12/board) and gives up the look and thickness we desire. After we’ve left it laying horitzontal in our house for a couple days (acclimating to our homes humidity) we give it a light sand, and fill in any of the major knots (or we just make sure the biggest, knottiest parts of the wood are facing upward so you can’t see them) with wood putty.

After we’ve allowed the putty to dry and we’ve given that a light sand, we apply our first coat of stain. We have found that Minwax’s Early American (only $5/quart) gives our wood the most natural look while adding a little depth of color as well. The TRICK is to apply as minimally as possible. We like to do the wipe on, wipe off method. If you find you’ve added a little too liberally, then don’t worry! You can save it by adding a layer of Minwax’s Simply White on top, again wiping it off right after applying it.
Once you’ve done all that, it’s time to do a light sanding with your 120 grit sanding block before you add your polyurethane.
Another trick to create the most natural looking shelf is to use a water based matte polyurethane like this one from Varathane. We’ve found that 3 is the lucky number of coats for the poly. Typically after we’ve stained/ sanded and everything is dry, we evenly apply our first coat of poly. Once dry we do another light sand with our block sander and REPEAT this 3 times. It’s SUPER important that you continue to sand in between coats (and equally as important that you wipe the board down with a lint free cloth after sanding). This step ensures that your board stays smooth and not bumpy or gritty feeling.
After that, you’re ready to apply your brackets. We love the floating shelf look so we’ve always used these hidden brackets. It’s super simple; measure on the wall where you want your shelves to go, (triple checking your level) mark where your bracket will go (depending on the length of the shelf, we do 2-3 brackets per shelf) and then drill a hole into the backside of your board that will butt up to the wall, make sure your holes you’re drilling align with your bracket placement. And simply slide your board onto your brackets. VOILA! It’s really that easy!
If you’re interested in different bracket types, you can check out these ones I’ve linked below!


Check out our favorite gold cabinet pulls HERE!

