
How To Makeover Old Furniture With Amy Howard Chalk Paint
I have been meaning to write about my enchanted living room buffet for WEEKS (months even) but am JUST now getting around to it. When we renovated our John Deere split-level back in September, I continuously envisioned the space and how I would decorate it, I kept dreaming about having a long, graceful buffet that I could place beautiful trinkets and decorations on, but WHERE would I find one of these beautiful, graceful buffets without paying an arm and a leg?
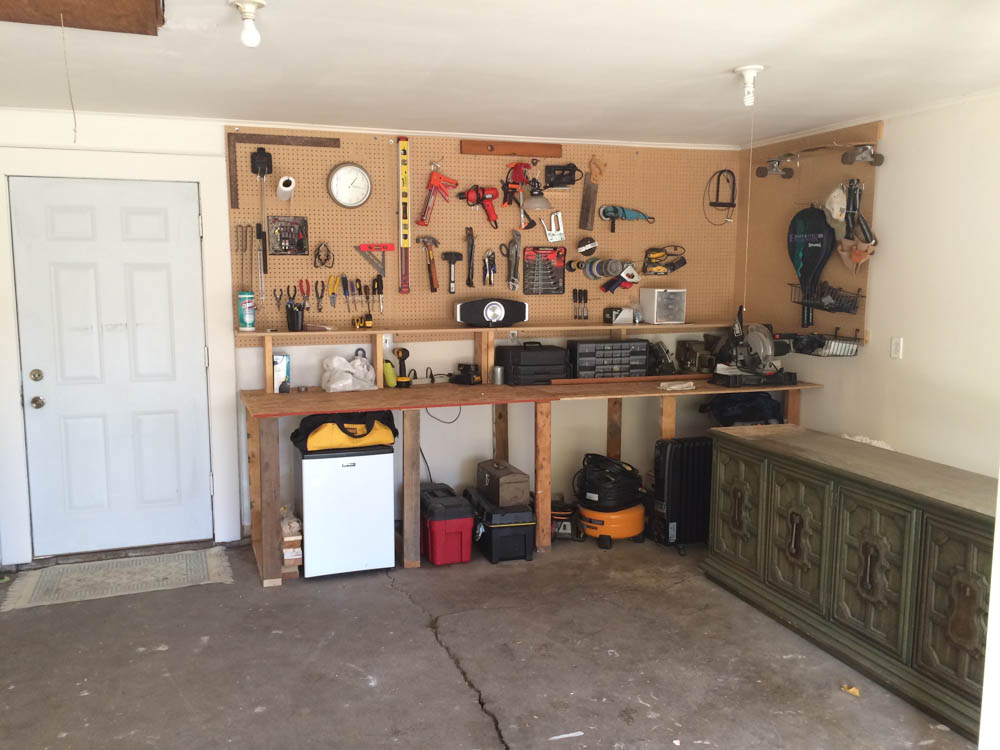
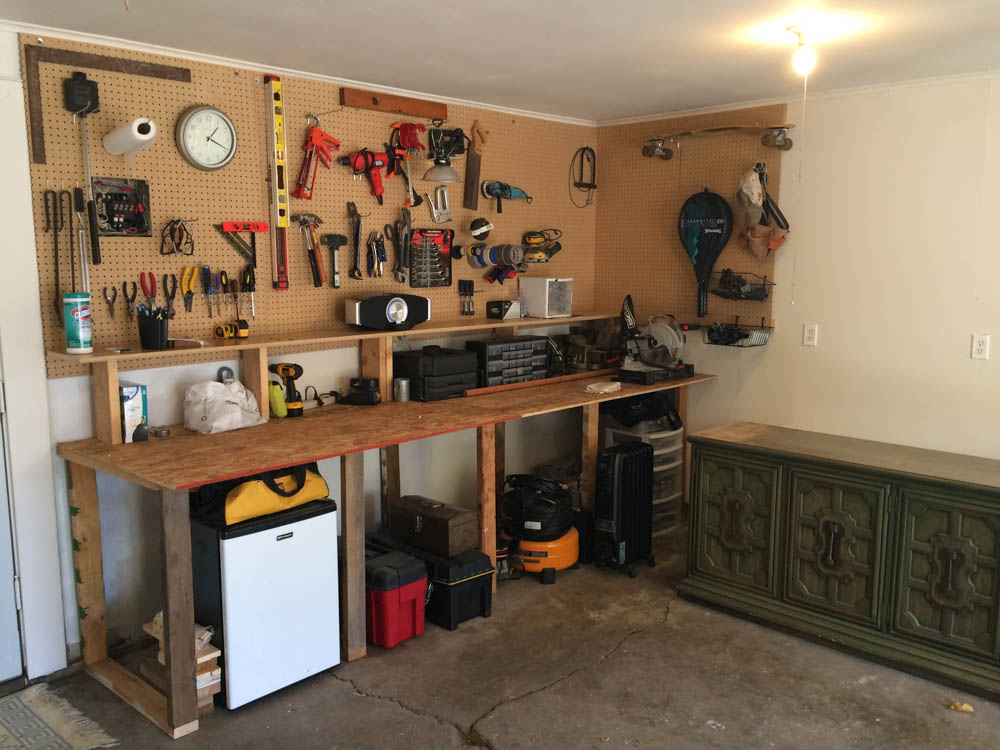
Like a true bargain shopper, I started searching on craigslist and varagesale for a unique piece that I could spruce up and bit and make my own. It took a solid month of looking before I found something that truly "spoke" to me! Here is what I saw online when I told the seller I wanted to buy this piece (pictures from varagesale). Unfortunately all my other "before" pictures were lost when my computer crashed (sad day) but you get the picture right?
This 6 foot long, green-stained, solid piece of wood weighed a ton and needed a lot of TLC but all I could see was the immense potential that it possessed (and did I mention I snagged it for $50?)! So what color to paint this masterpiece? As many of you know from looking at pictures of our kitchen remodel...I LOVE cool neutral colors and so when I went on the hunt for paint colors, I knew I wanted to keep it rather...well...neutral.
I have worked with chalk paint a number of times on different projects and love the way it gives its subjects a warm, rich, and vintage feel...that being said, I ended up going with Amy Howard's One Step Paint in LUXE GREY.


Once, I got all my ducks in a row, I began prepping my piece of furniture. I knew that I wanted to mix this neutral tone with a warm, wood tone so I stripped the top of my buffet using Citristrip-Paint & Varnish Stripping Gel.
This was the most intimidating part of the process for me, for I had never "stripped" anything off of wood before. I first started by using my handy-dandy, Dewalt palm sander to get rid of as much of the old stain as possible. I wasn't able to get the edges of the buffet with my sander so for that I used the CITRISTRIP gel. This product worked wonders for me! I lathered it on the entire top of my buffet and along the edges and corners and let it sit for about two hours. Then I took a scouring pad and got to scrubbing. It took a bit of elbow grease but nothing I couldn't handle!
Once that was finished I wiped the entire thing down with warm water and grease lightning. Make sure to use a cloth-free rag when wiping down furniture to ensure you don't leave behind any dust or lint pieces.
After removing all the hardware and getting everything taped off I prepared for my paint job! Before I started this project I made a small investment in a paint sprayer. I knew I would use it down the road but didn't want to spend a fortune so I bought the Earlax HVLP Sprayer from Lowe's. This thing saved me a LOT of time! I sprayed two coats of my Amy Howard-One Step Paint and was ready to seal the next day.
The great thing about chalk paint is it has a VERY quick dry time between coats so you can begin your next coat within an hour or two of finishing!
With chalk paint it's important that you use wax to seal it properly. This method was very intimidating to me at first but I promise, you can't mess up! For this project I used Minwax Finishing Wax, my waxing brush, and a cloth free rag. When waxing, it's important that you get enough wax on your brush or rag to evenly cover an area but not too much that the wax is thick and "balling" up. Move your brush and/or rag in a circular motion, while going with the grain (up & down). At first you're going to want to put on more wax than you need because you can't really see it very well but I promise it's going on!
Once done, wait and hour or two to begin "buffing" your wax out. This gives your piece of furniture a subtle shine that takes it from a "matte" finish to a "satin" finish. To begin buffing, take a clean piece of cloth (I like to use old pillow cases personally), and rub the wax in a circular motion, while simultaneously moving up and down your piece. You'll begin to see the shine appear right away! P.S. don't press too hard!
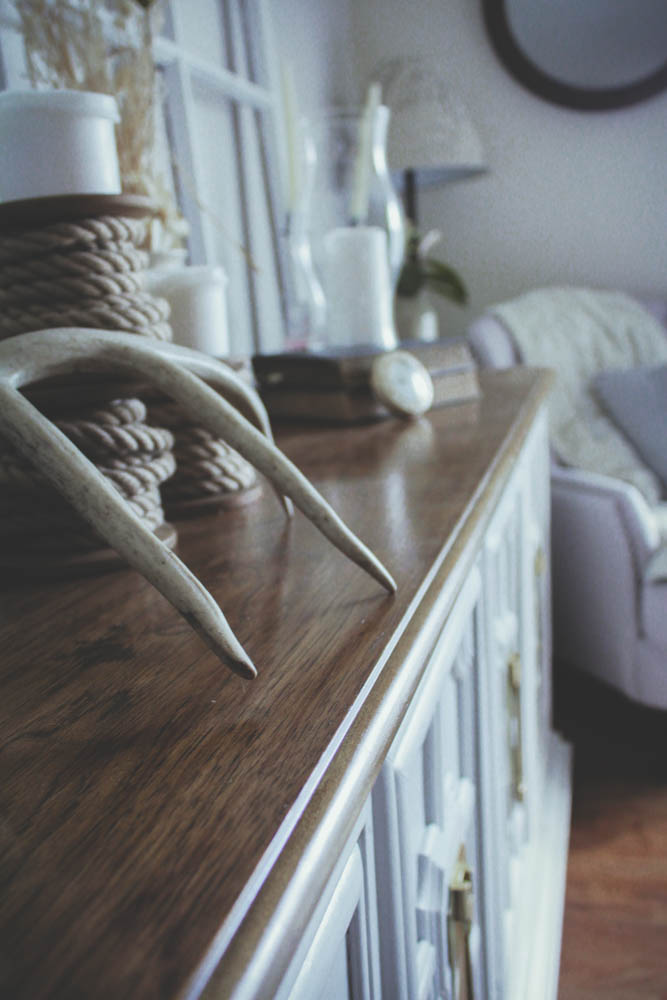
Like I mentioned earlier, we wanted to keep that cool, neutral tone and pair it with the warm tones of the natural wood. To do that we simply stained the top of our buffet using Minwax wood conditioner, followed by Minwax Provincial stain. Once we applied two coats of stain we sealed it with Minwax (clear satin) polyurethane (this gives it a nice shine and makes for easy wipe down). We also did two coats of the poly.

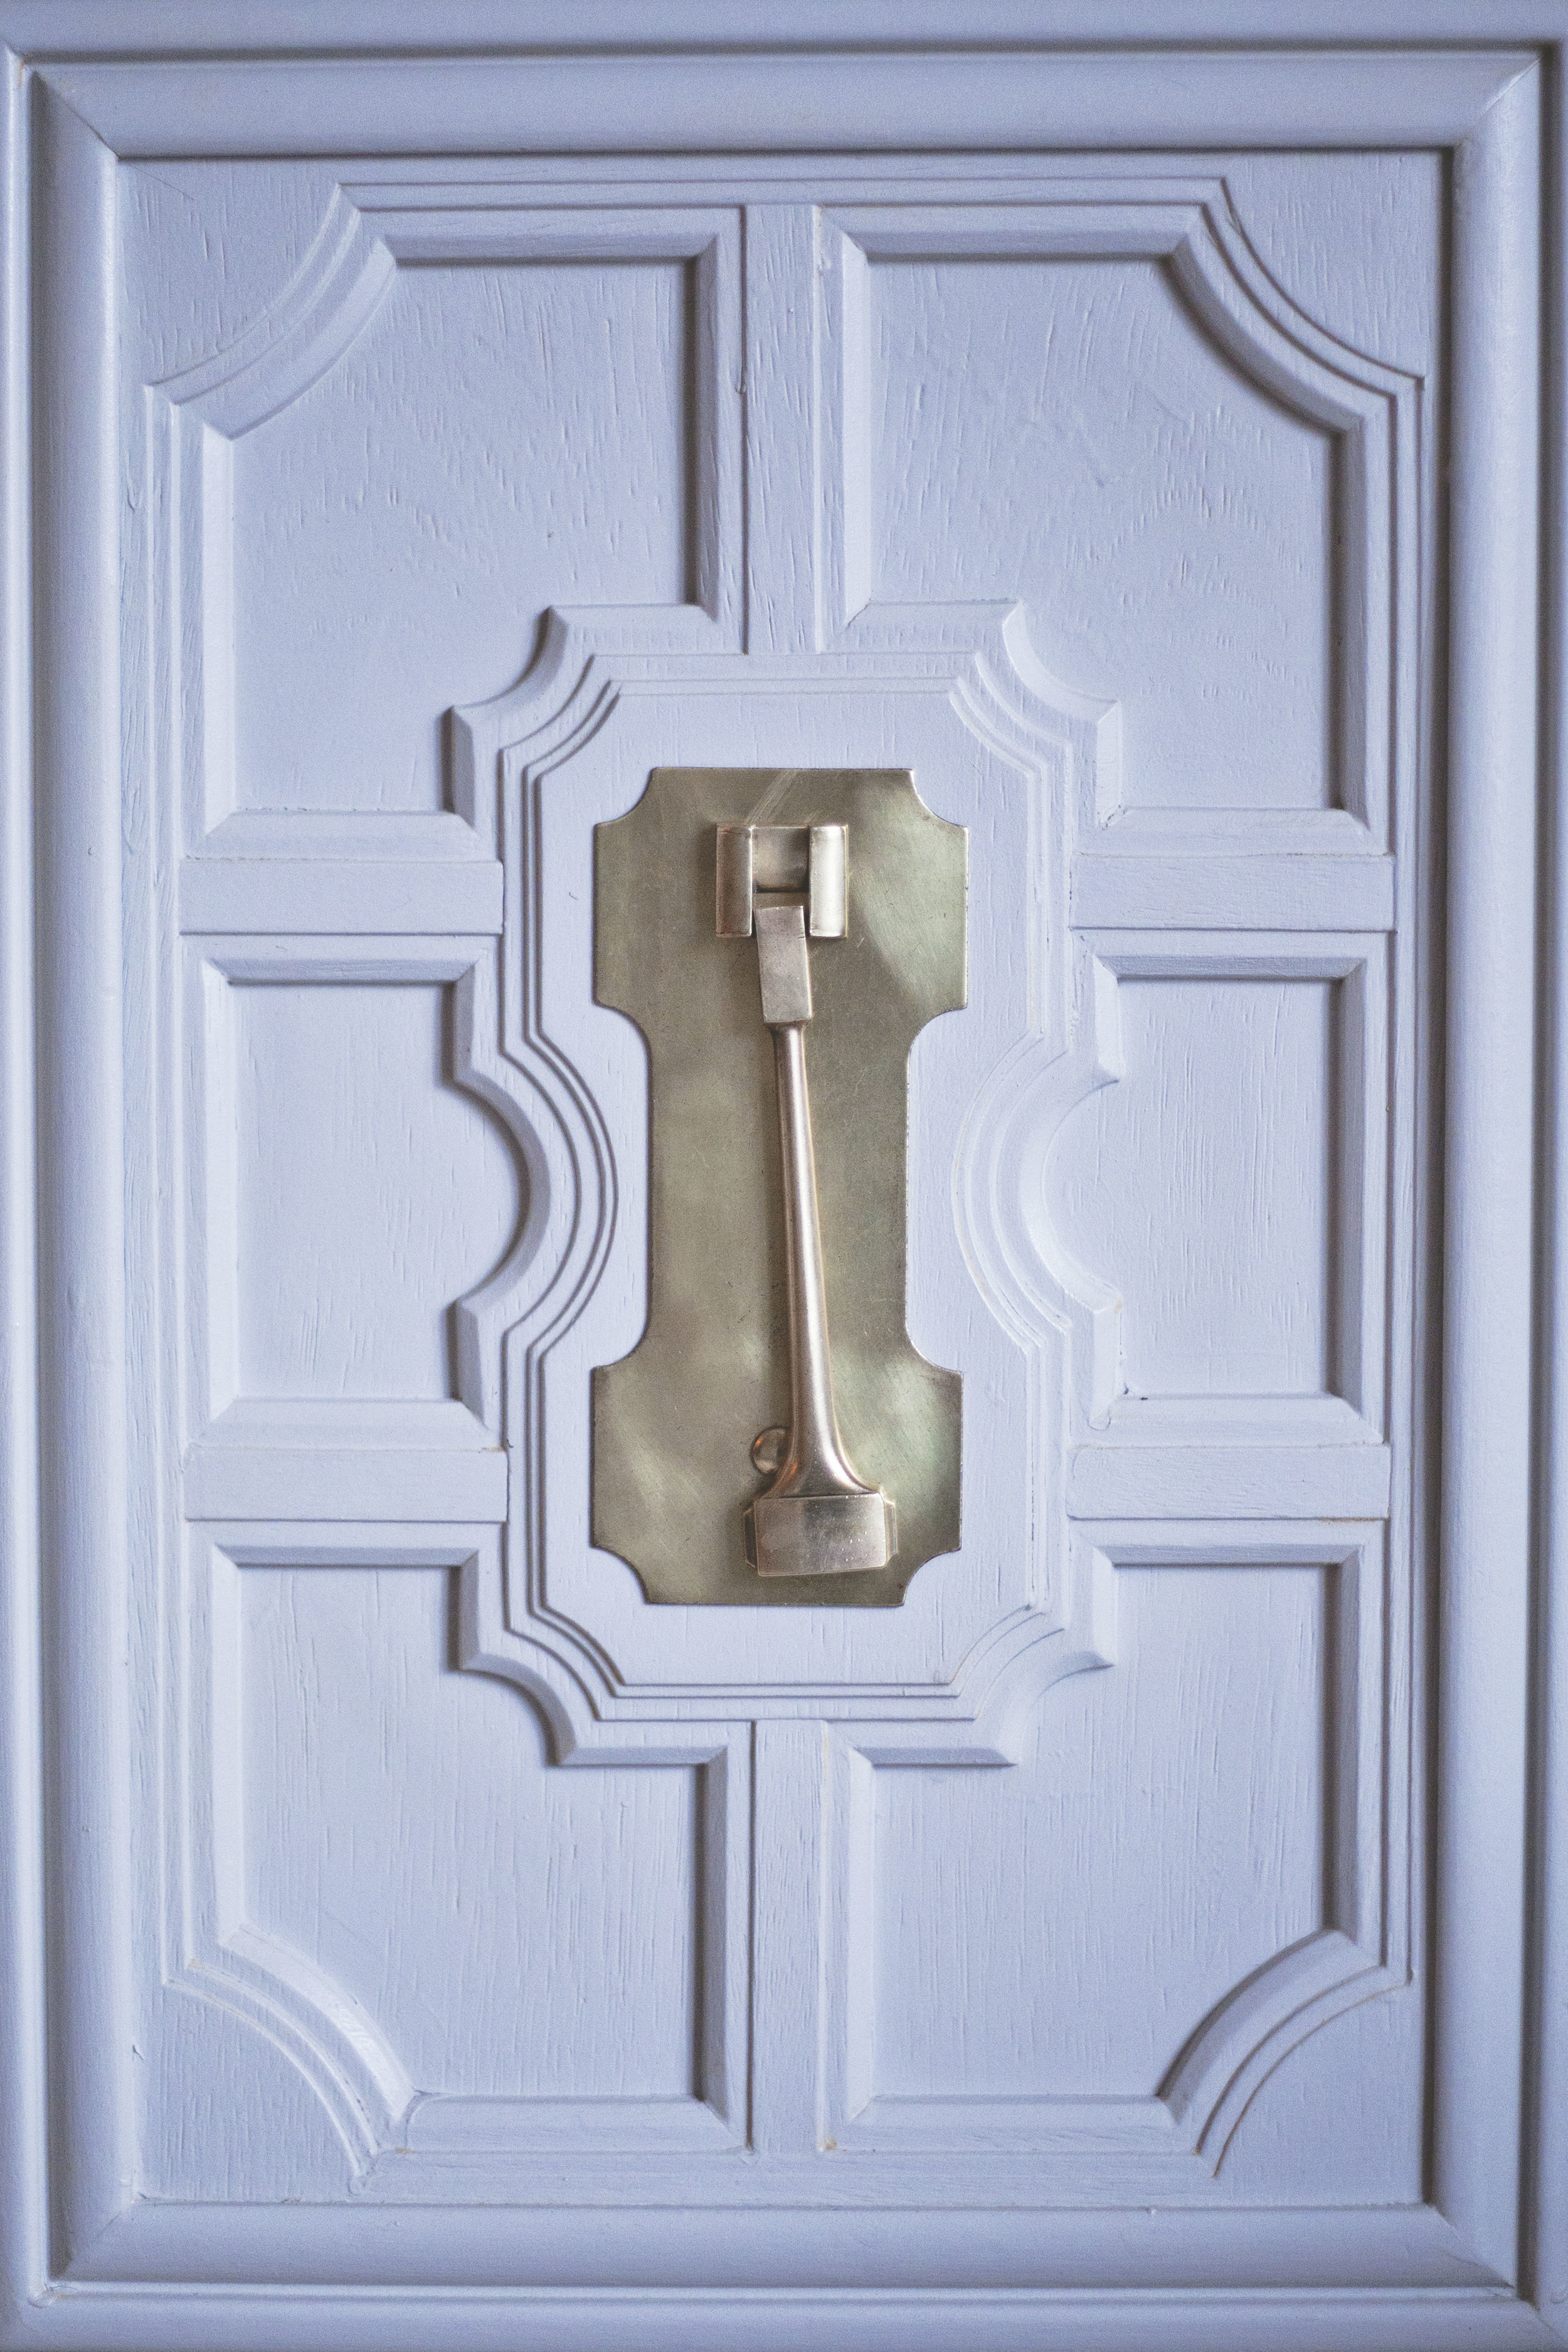
We wanted to keep the original hardware (though a little bit busted) but it was so unique and gave the piece such character. Guy went out and bought some brass cleaner and after a couple hours of harsh scrubbing (see picture above) and some brute strength on his behalf, we ended up with a completely NEW look!
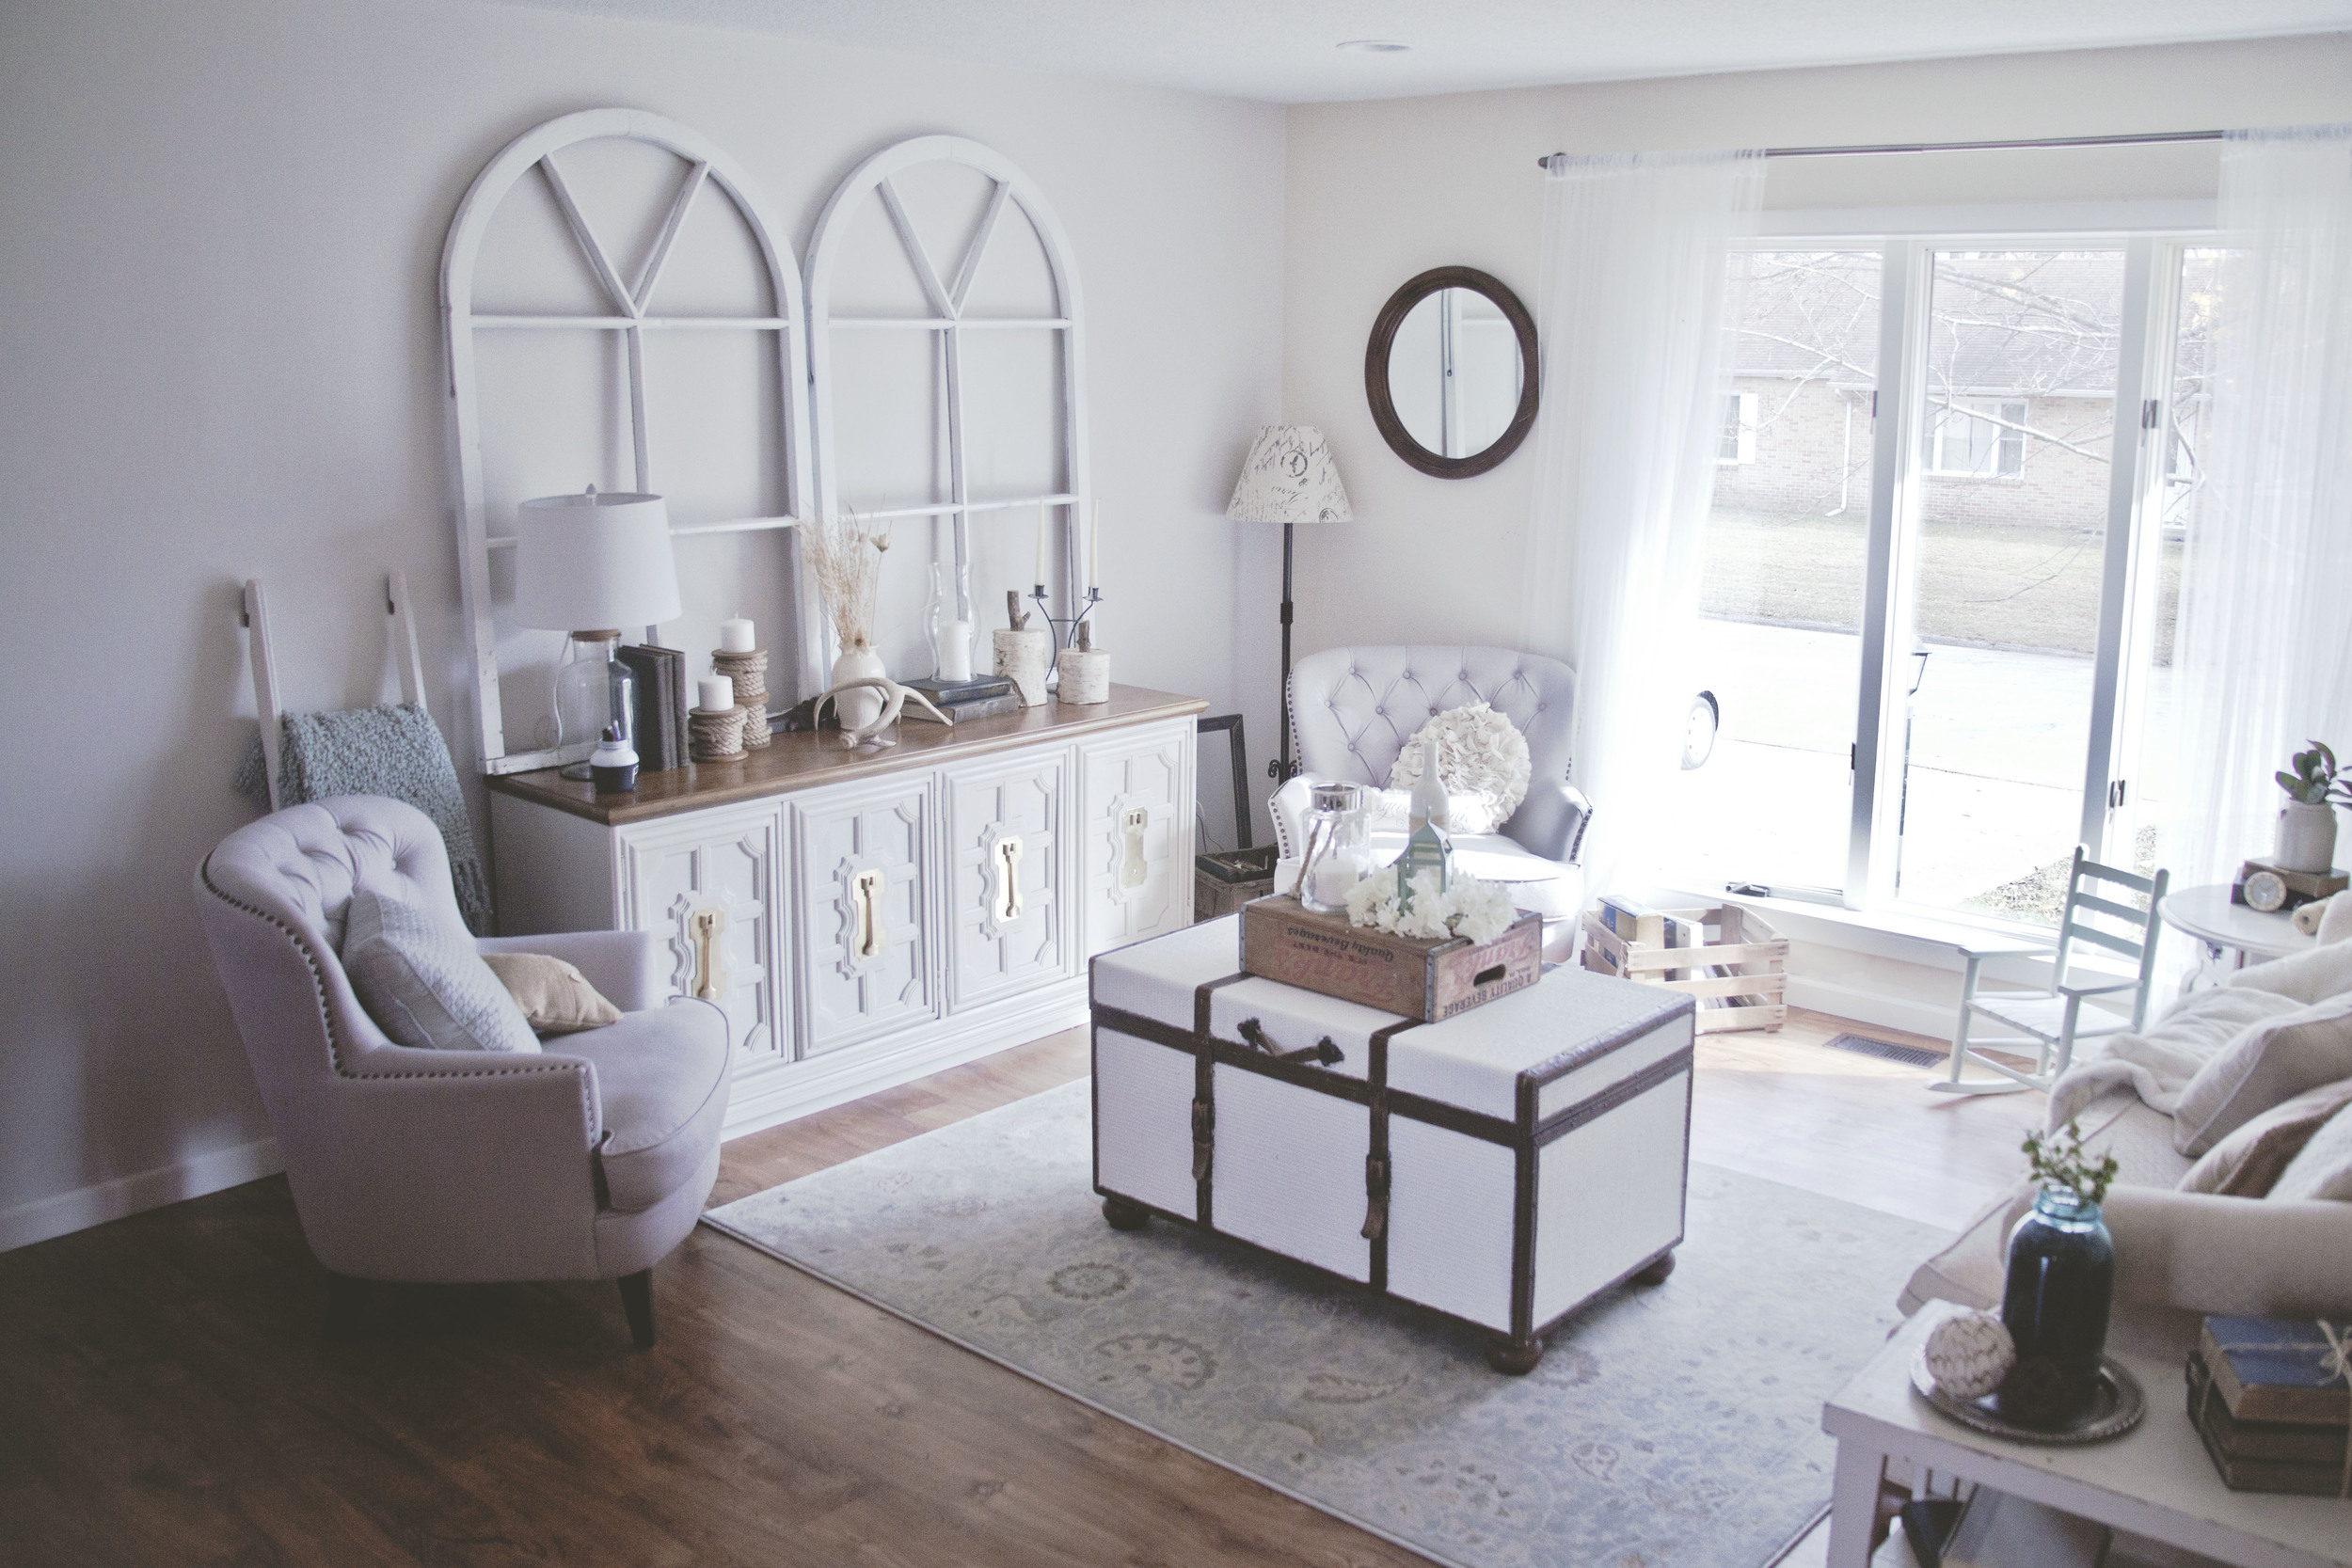
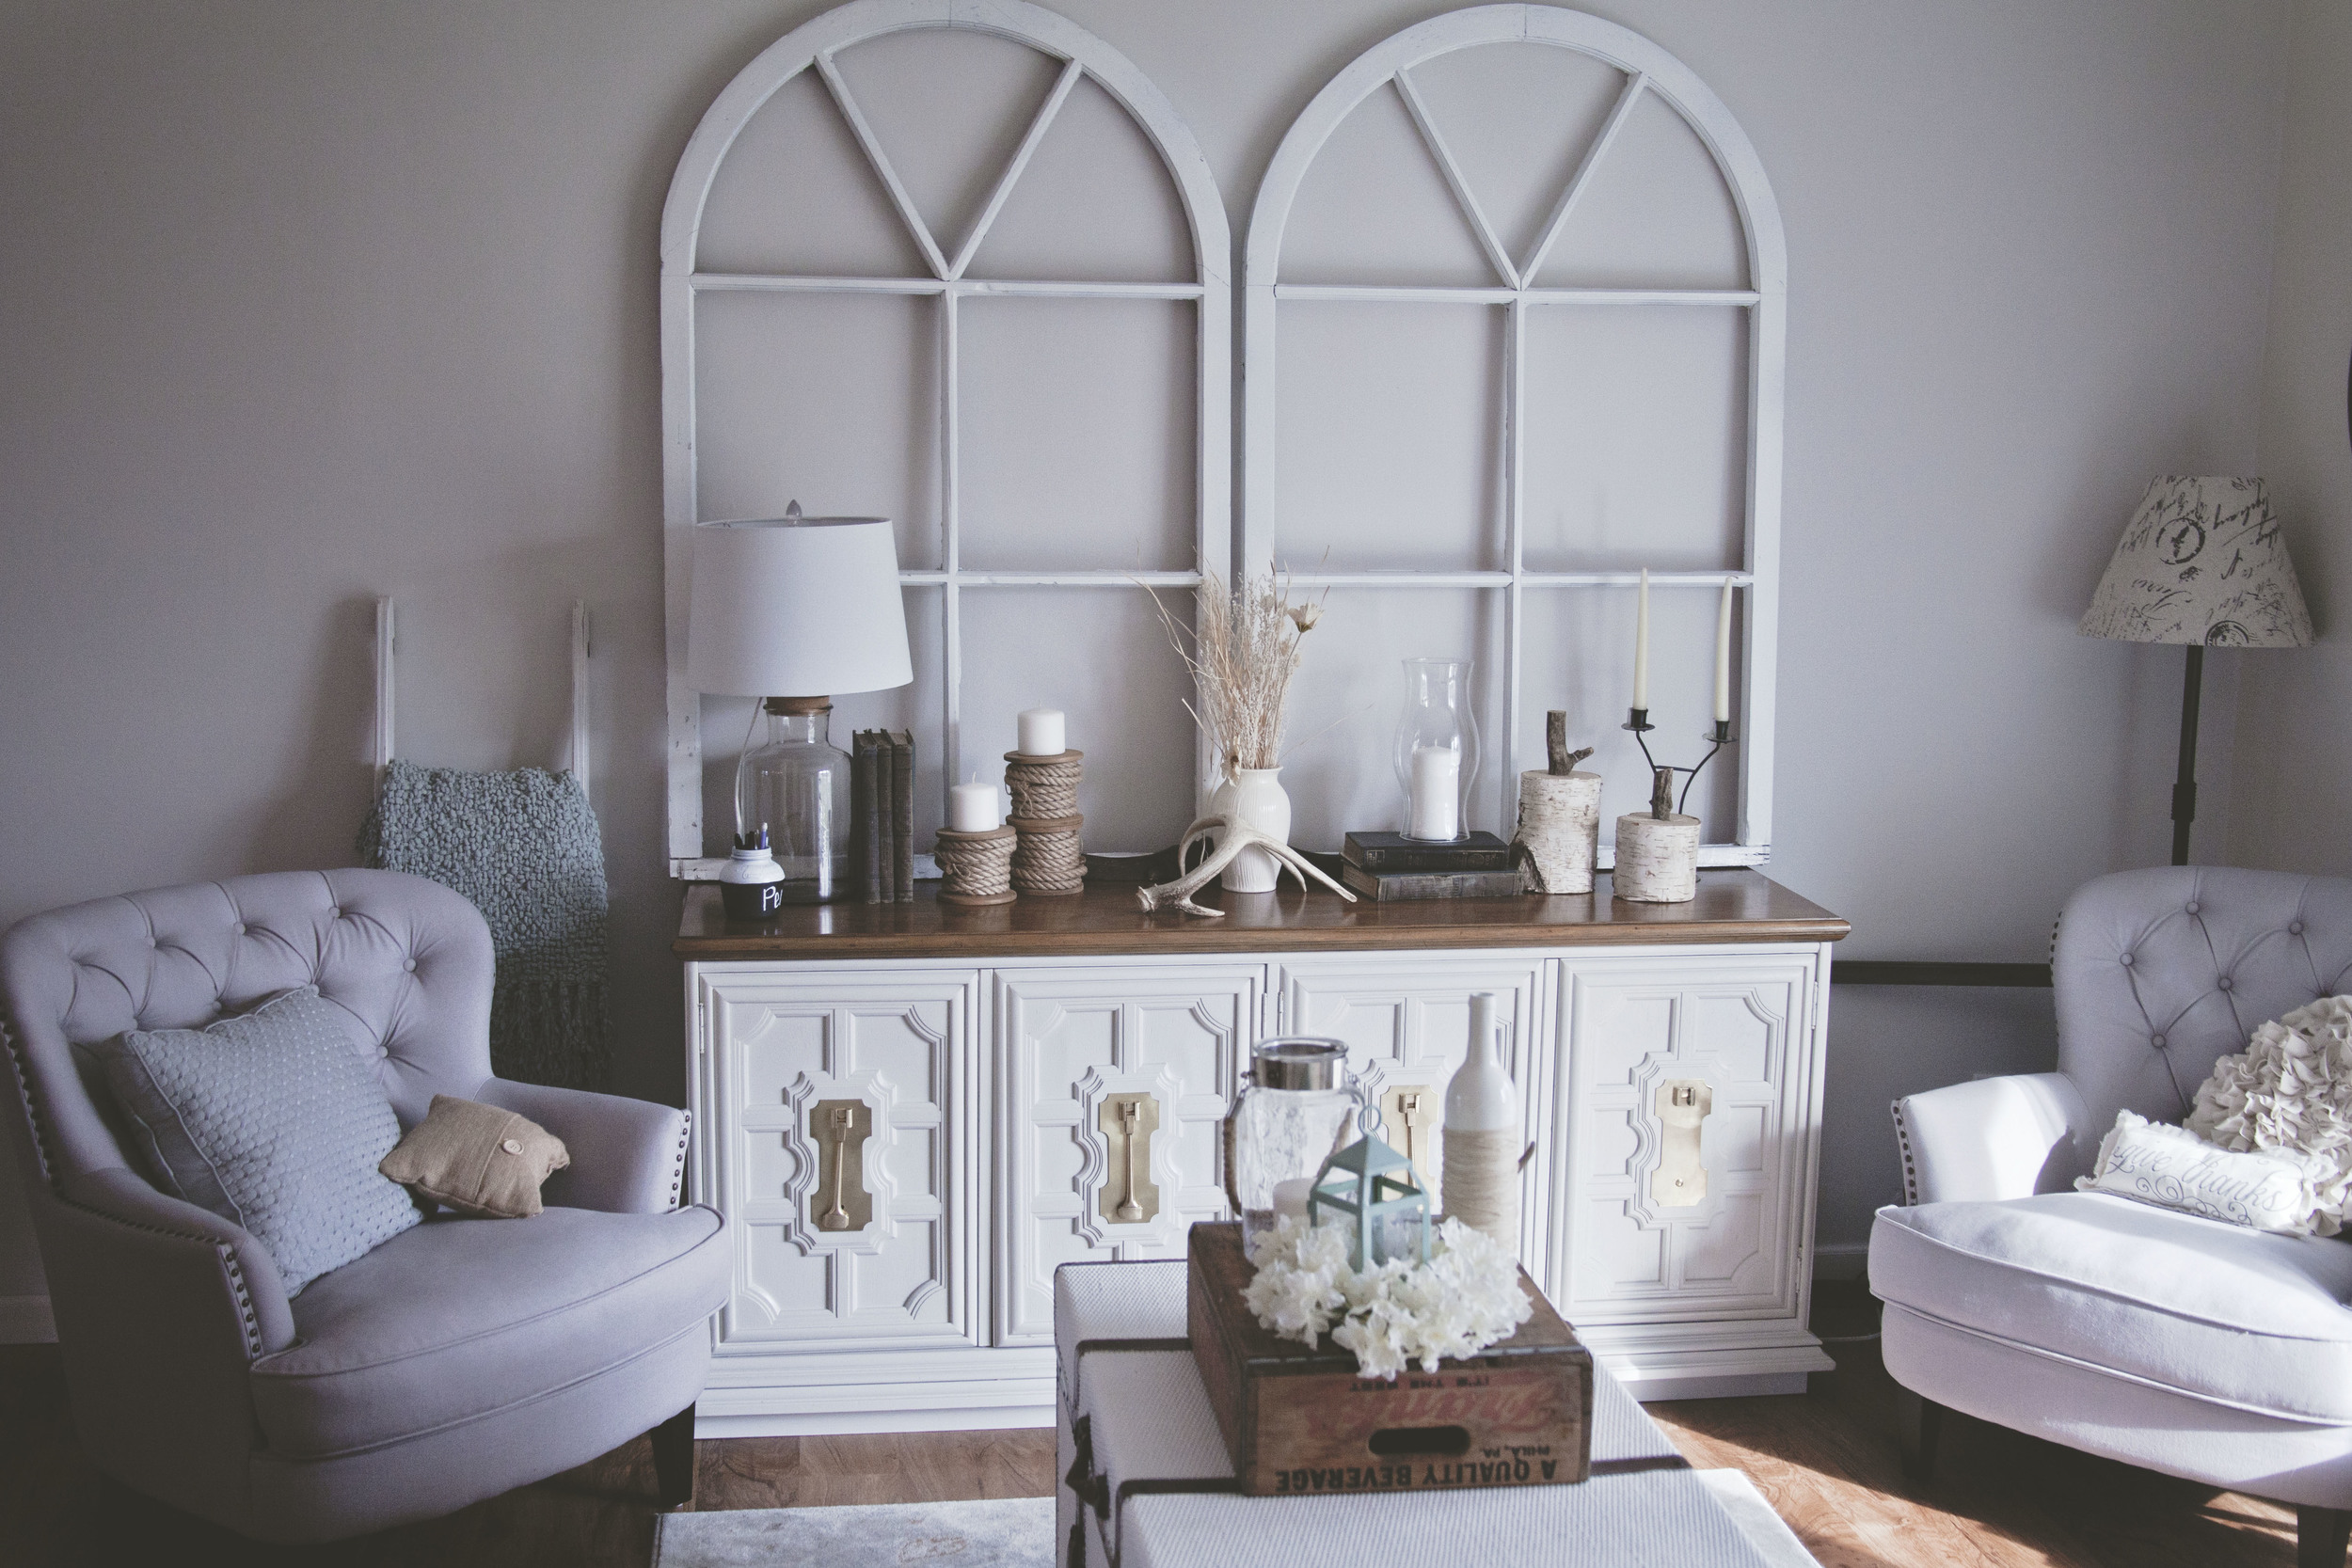
Here are some more up close and personal shots of this beautiful piece!


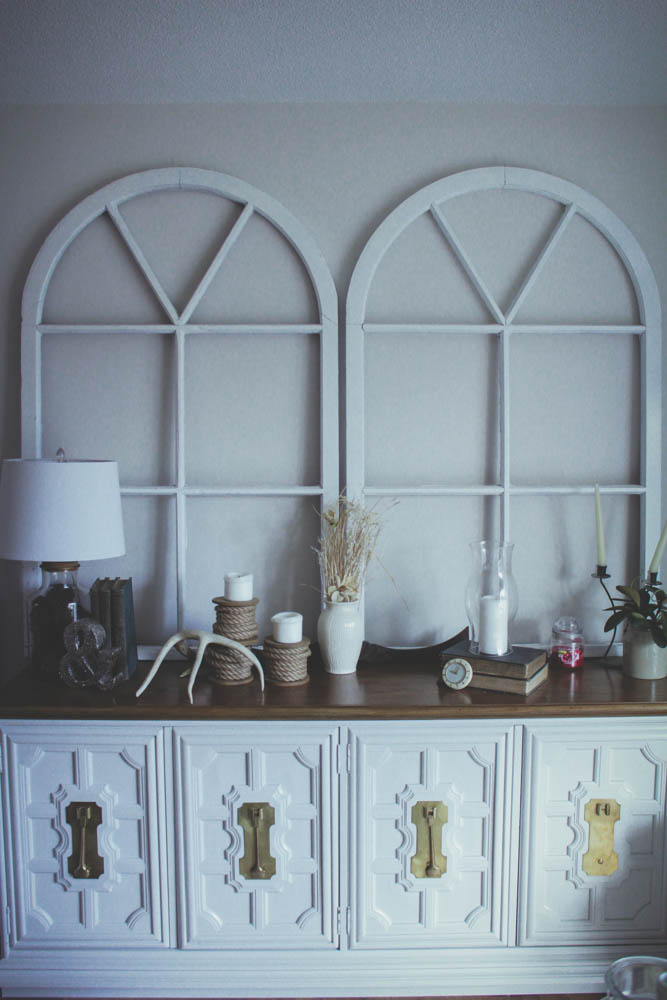

This buffet has become my favorite part of this space. It turned out just like I imagined it would and I could not be more pleased! If you have any questions please feel free to ask me in the comments section!
*Marked images done by