How To Save Your Kitchen Cabinets and Make Them Look Like New
During our kitchen/living room renovation this past September, we decided we wanted to save money by keeping the original cabinets and sprucing them up a bit with some paint provided by Giani Granite. This act alone saved us a ton of money! (You can also what other ways we cut costs for our kitchen makeover here). After having painted two different sets of cabinets, I feel fairly qualified to talk about just how we completed this task.
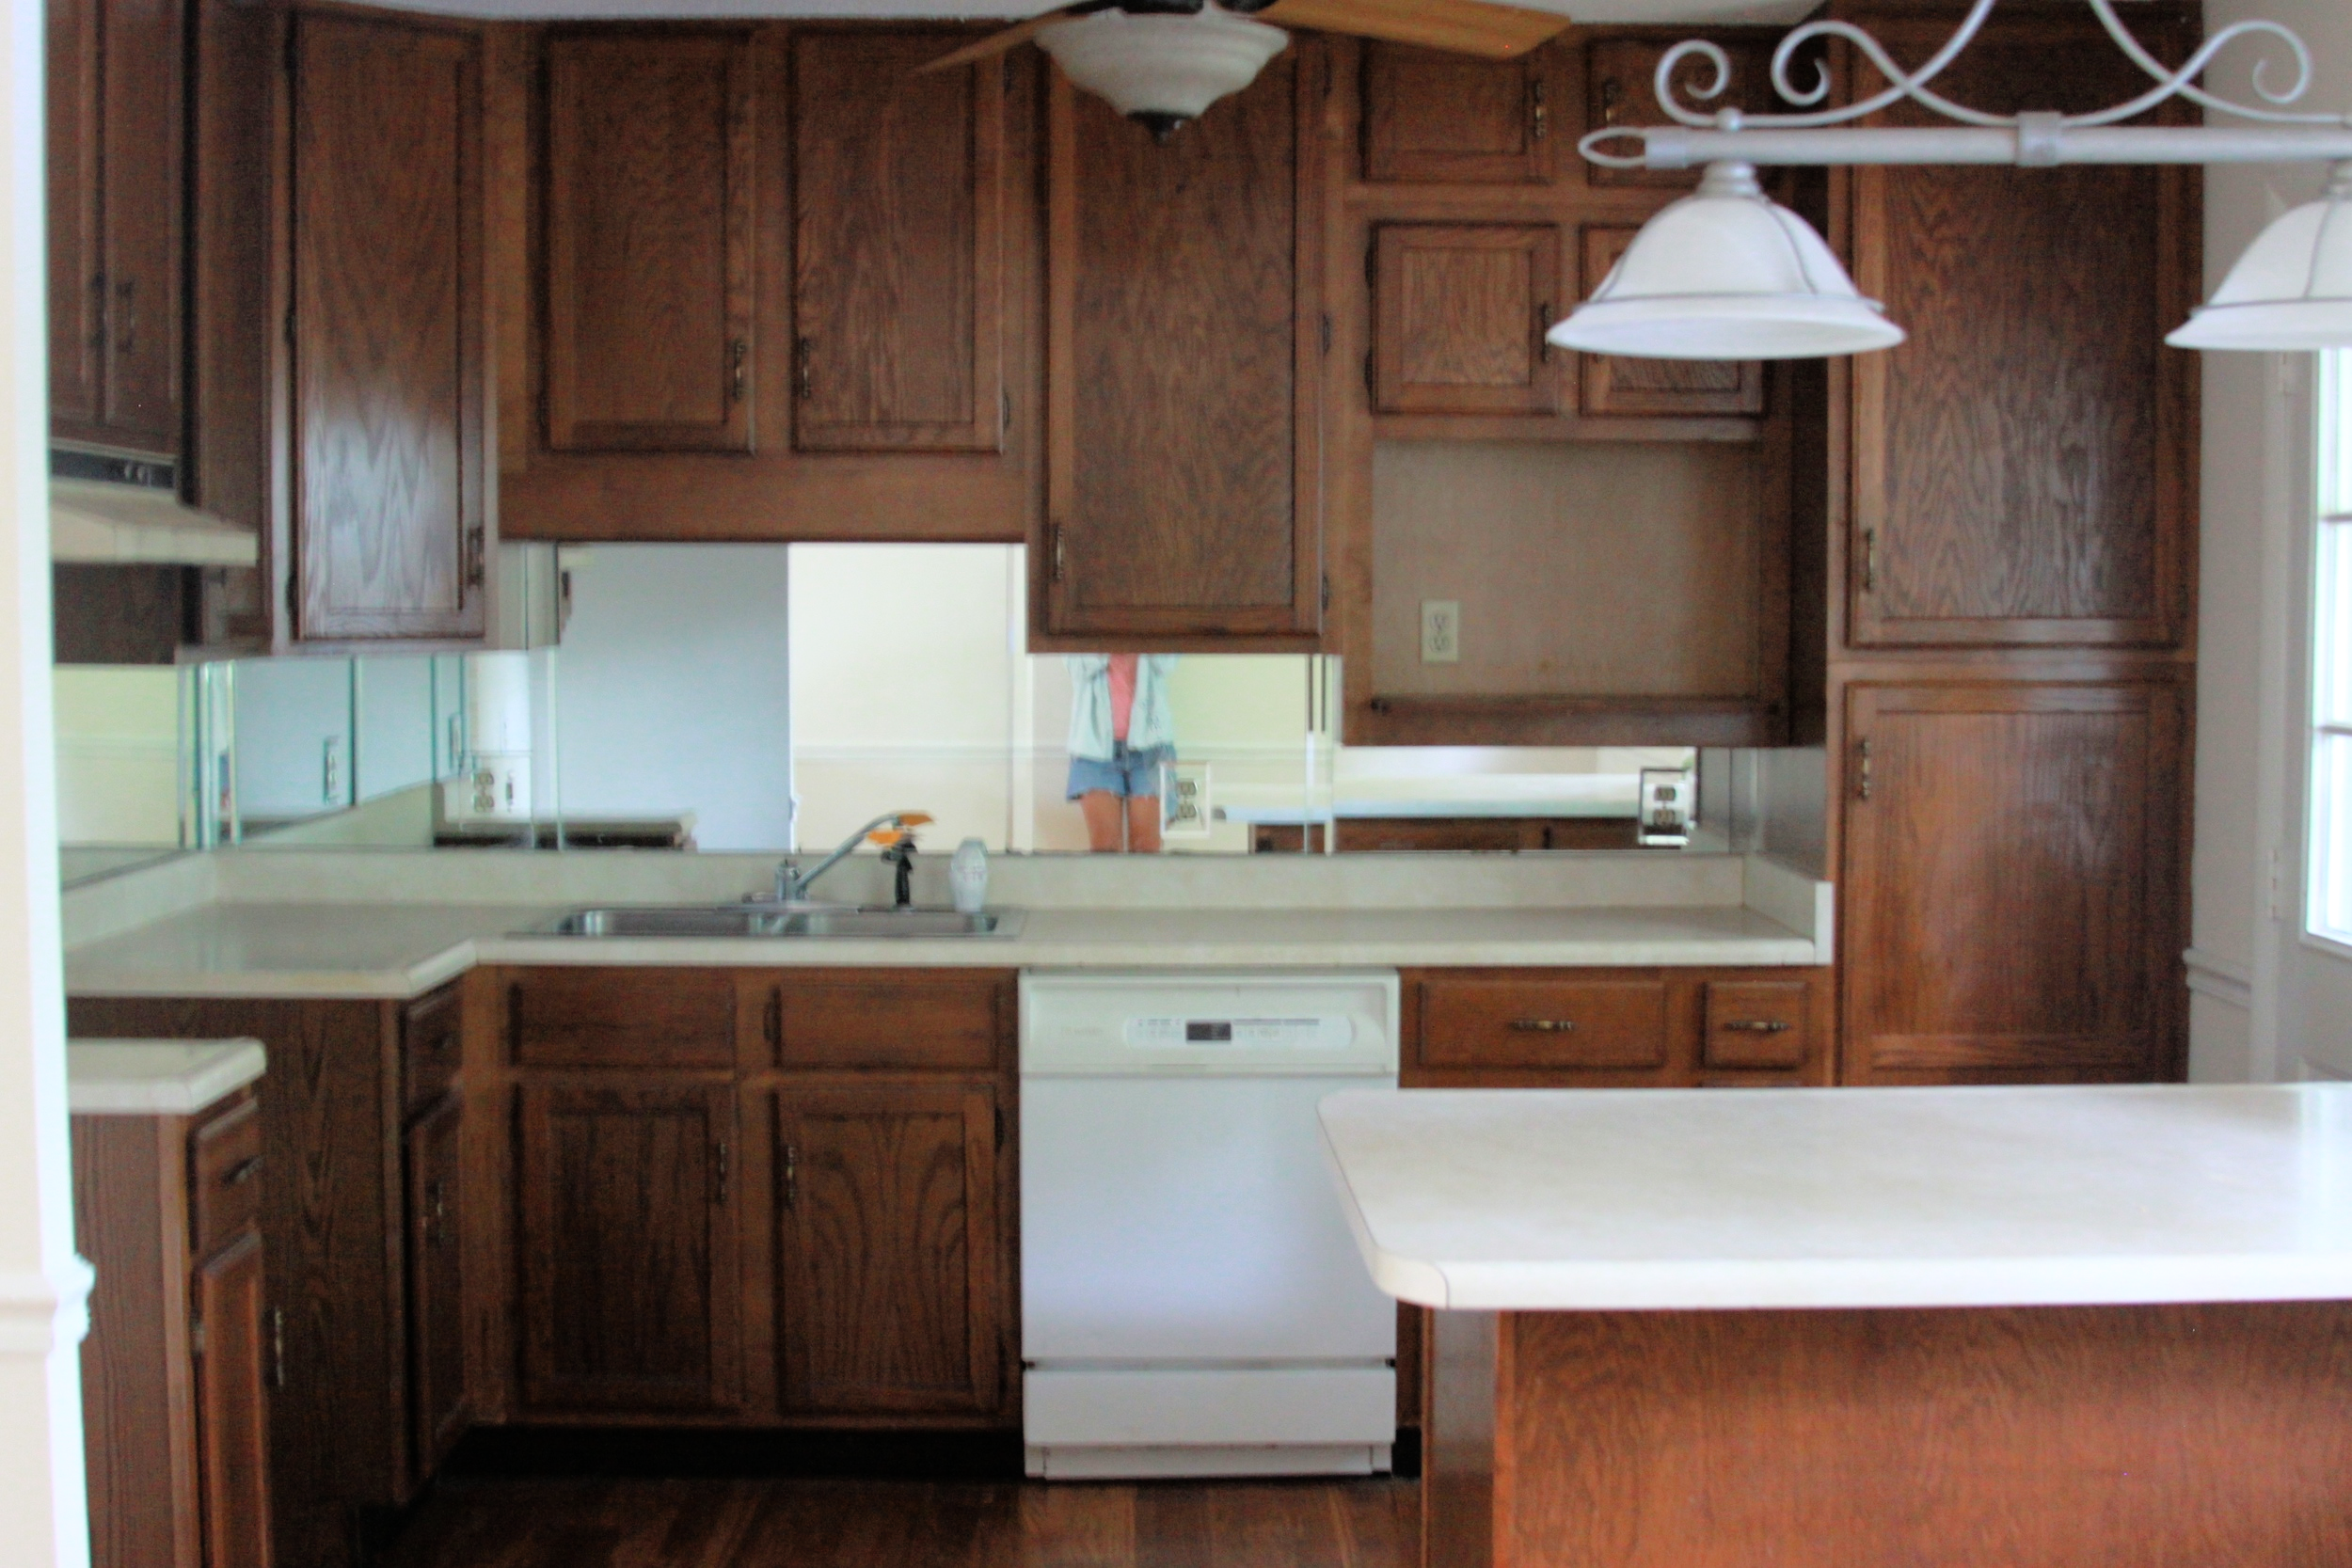
Last summer we painted our friends kitchen cabinets using Annie Sloan Chalk Paint (if you want to check out how we did that click here) and so when we decided to up-cycle our current cabinets we knew what kind of job we were in for. To give you a better picture of what we started with here is what our cabinets looked like before we started painting.
This time around we decided to try out a different option for paint and ended up partnering with a company called Giani Granite (we used this same company to refinish our kitchen countertops). So when they asked if we wanted to team up again to try some of their cabinet paint we were thrilled and jumped at the opportunity.
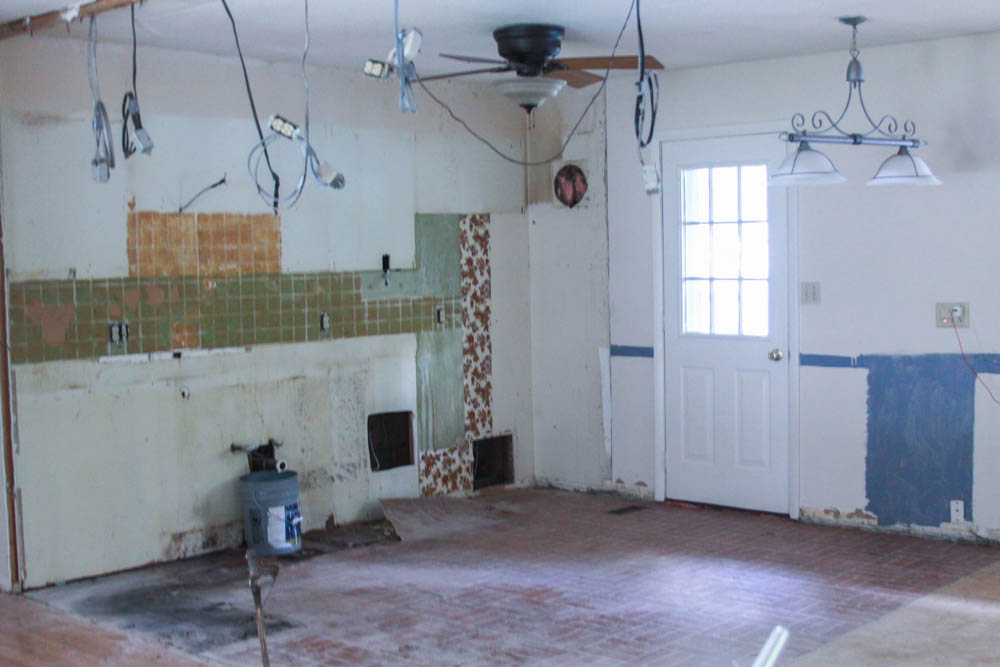
Since we did a total kitchen makeover we had to first remove ALL of our kitchen cabinets. The process looked a little something like this:


Yes, I worked a lot of times with a baby on my hip and a power drill in my hand!
As you can see from the picture above, we labeled all the cabinet faces with their corresponding drawer or door using blue masking tape. This saved us major time in the long run so that we didn't have to figure out which door went where at the end. Once we had all the doors off, we began deconstructing the cabinets themselves and brought them in the the garage to be painted.

*Side note: the only reason we took out the entire cabinet structure was because we were changing the location of the cabinets.


Once we got the cabinets into the garage we lined them up according to how they would be put back into the kitchen. I know it looks like there is absolutely no organization happening here, but I assure you there was! :)
We then lined up all the cabinet doors and drawers on the other side of the garage where we began "de-grunging" each one with a hot water/vinegar mixture. These things were absolutely NASTY! They had such an intense layer of grunge coated on them that I thought multiple times about just scraping them all together.


After a lot of scrubbing we finally began sanding these bad boys. For this I used my Dewalt palm sander (probably my most used power tool) and once I was finished with that step we used grease lighting and a lint-free rag to clean off any and all residue from the surface. I did the exact same steps for the faces of the cabinets as well!
Once that was done it was time to paint! For the majority of this project I used a foam roller but for some of the doors I used my Earlex paint sprayer.


The beauty of this paint was that it went on fairly thick and dried rather quick as well. The fast dry time allowed us to get in multiple layers in one siting which was very convenient for our time frame. We ended up doing 3-ish coats on each surface (aside from the backs of each of the cabinet doors where the coverage didn't matter as much).
After that, we reinstalled the cabinet bases into their new location, reattached each door with the original hinges that we also "de-grunged" and spray painted (see how we did that here) to save on cost. We then installed new handles that we got on sale at Menards and voila we were finished! This whole process (including the painting and installing) took us less than a month between all the other projects that we had going on in the kitchen. However, it could take significantly less time if this was the only project of focus.
If you have any questions please let me know in the comments section below!!! Thanks for reading!
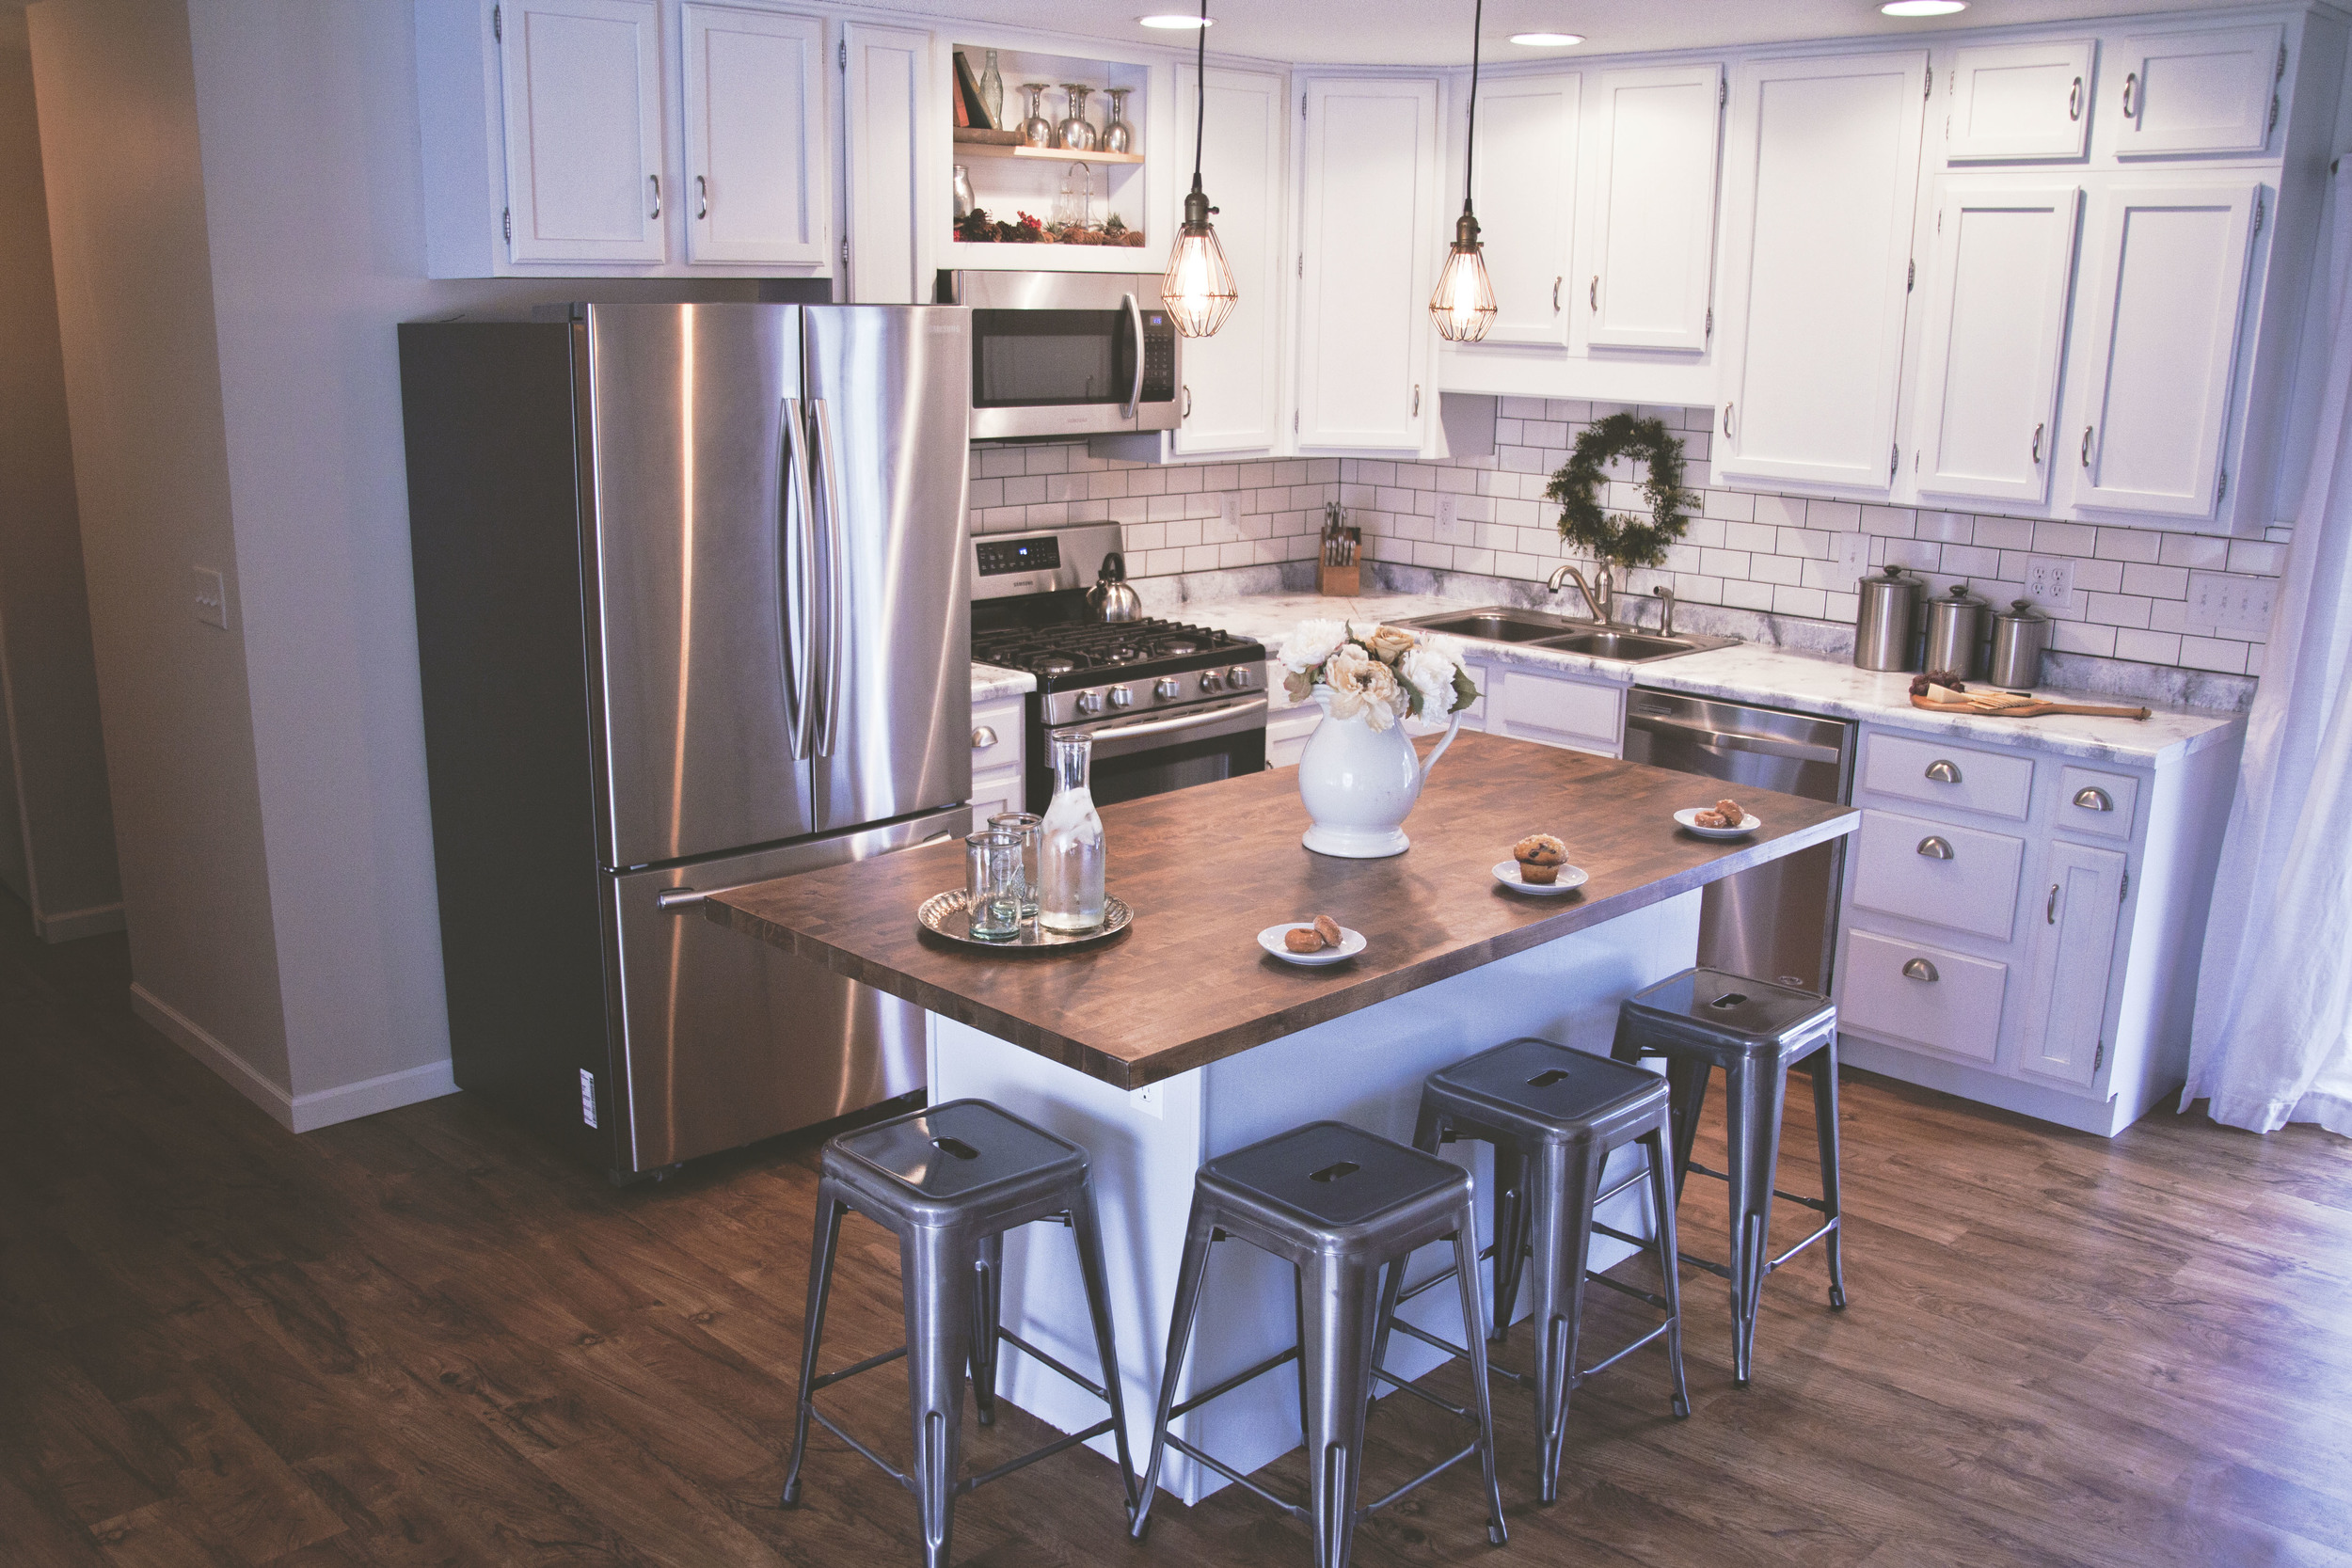 Here is the "after" picture of our total kitchen renovation.
To see more pictures from our total kitchen/living room remodel check it out here!