
A Simple Bedroom Refresh: DIY Headboard Reupholstery
I’ve been drawn to those in-between home projects—the ones that aren’t full renovations, but still bring that satisfying sense of progress and renewal to a space. Our bedroom had started to feel a little stale last year, so I decided to give it a refresh with a fresh coat of paint and new fabric for our headboard.
This simple DIY headboard reupholstery project ended up making a bigger impact than I expected. I wanted to document the full process here in case you’re feeling inspired to try reupholstering a headboard in your own home.

Why Reupholster Instead of Replace?
We originally bought this headboard years ago, and while the shape and structure still work beautifully, the fabric no longer fit where my style has evolved.
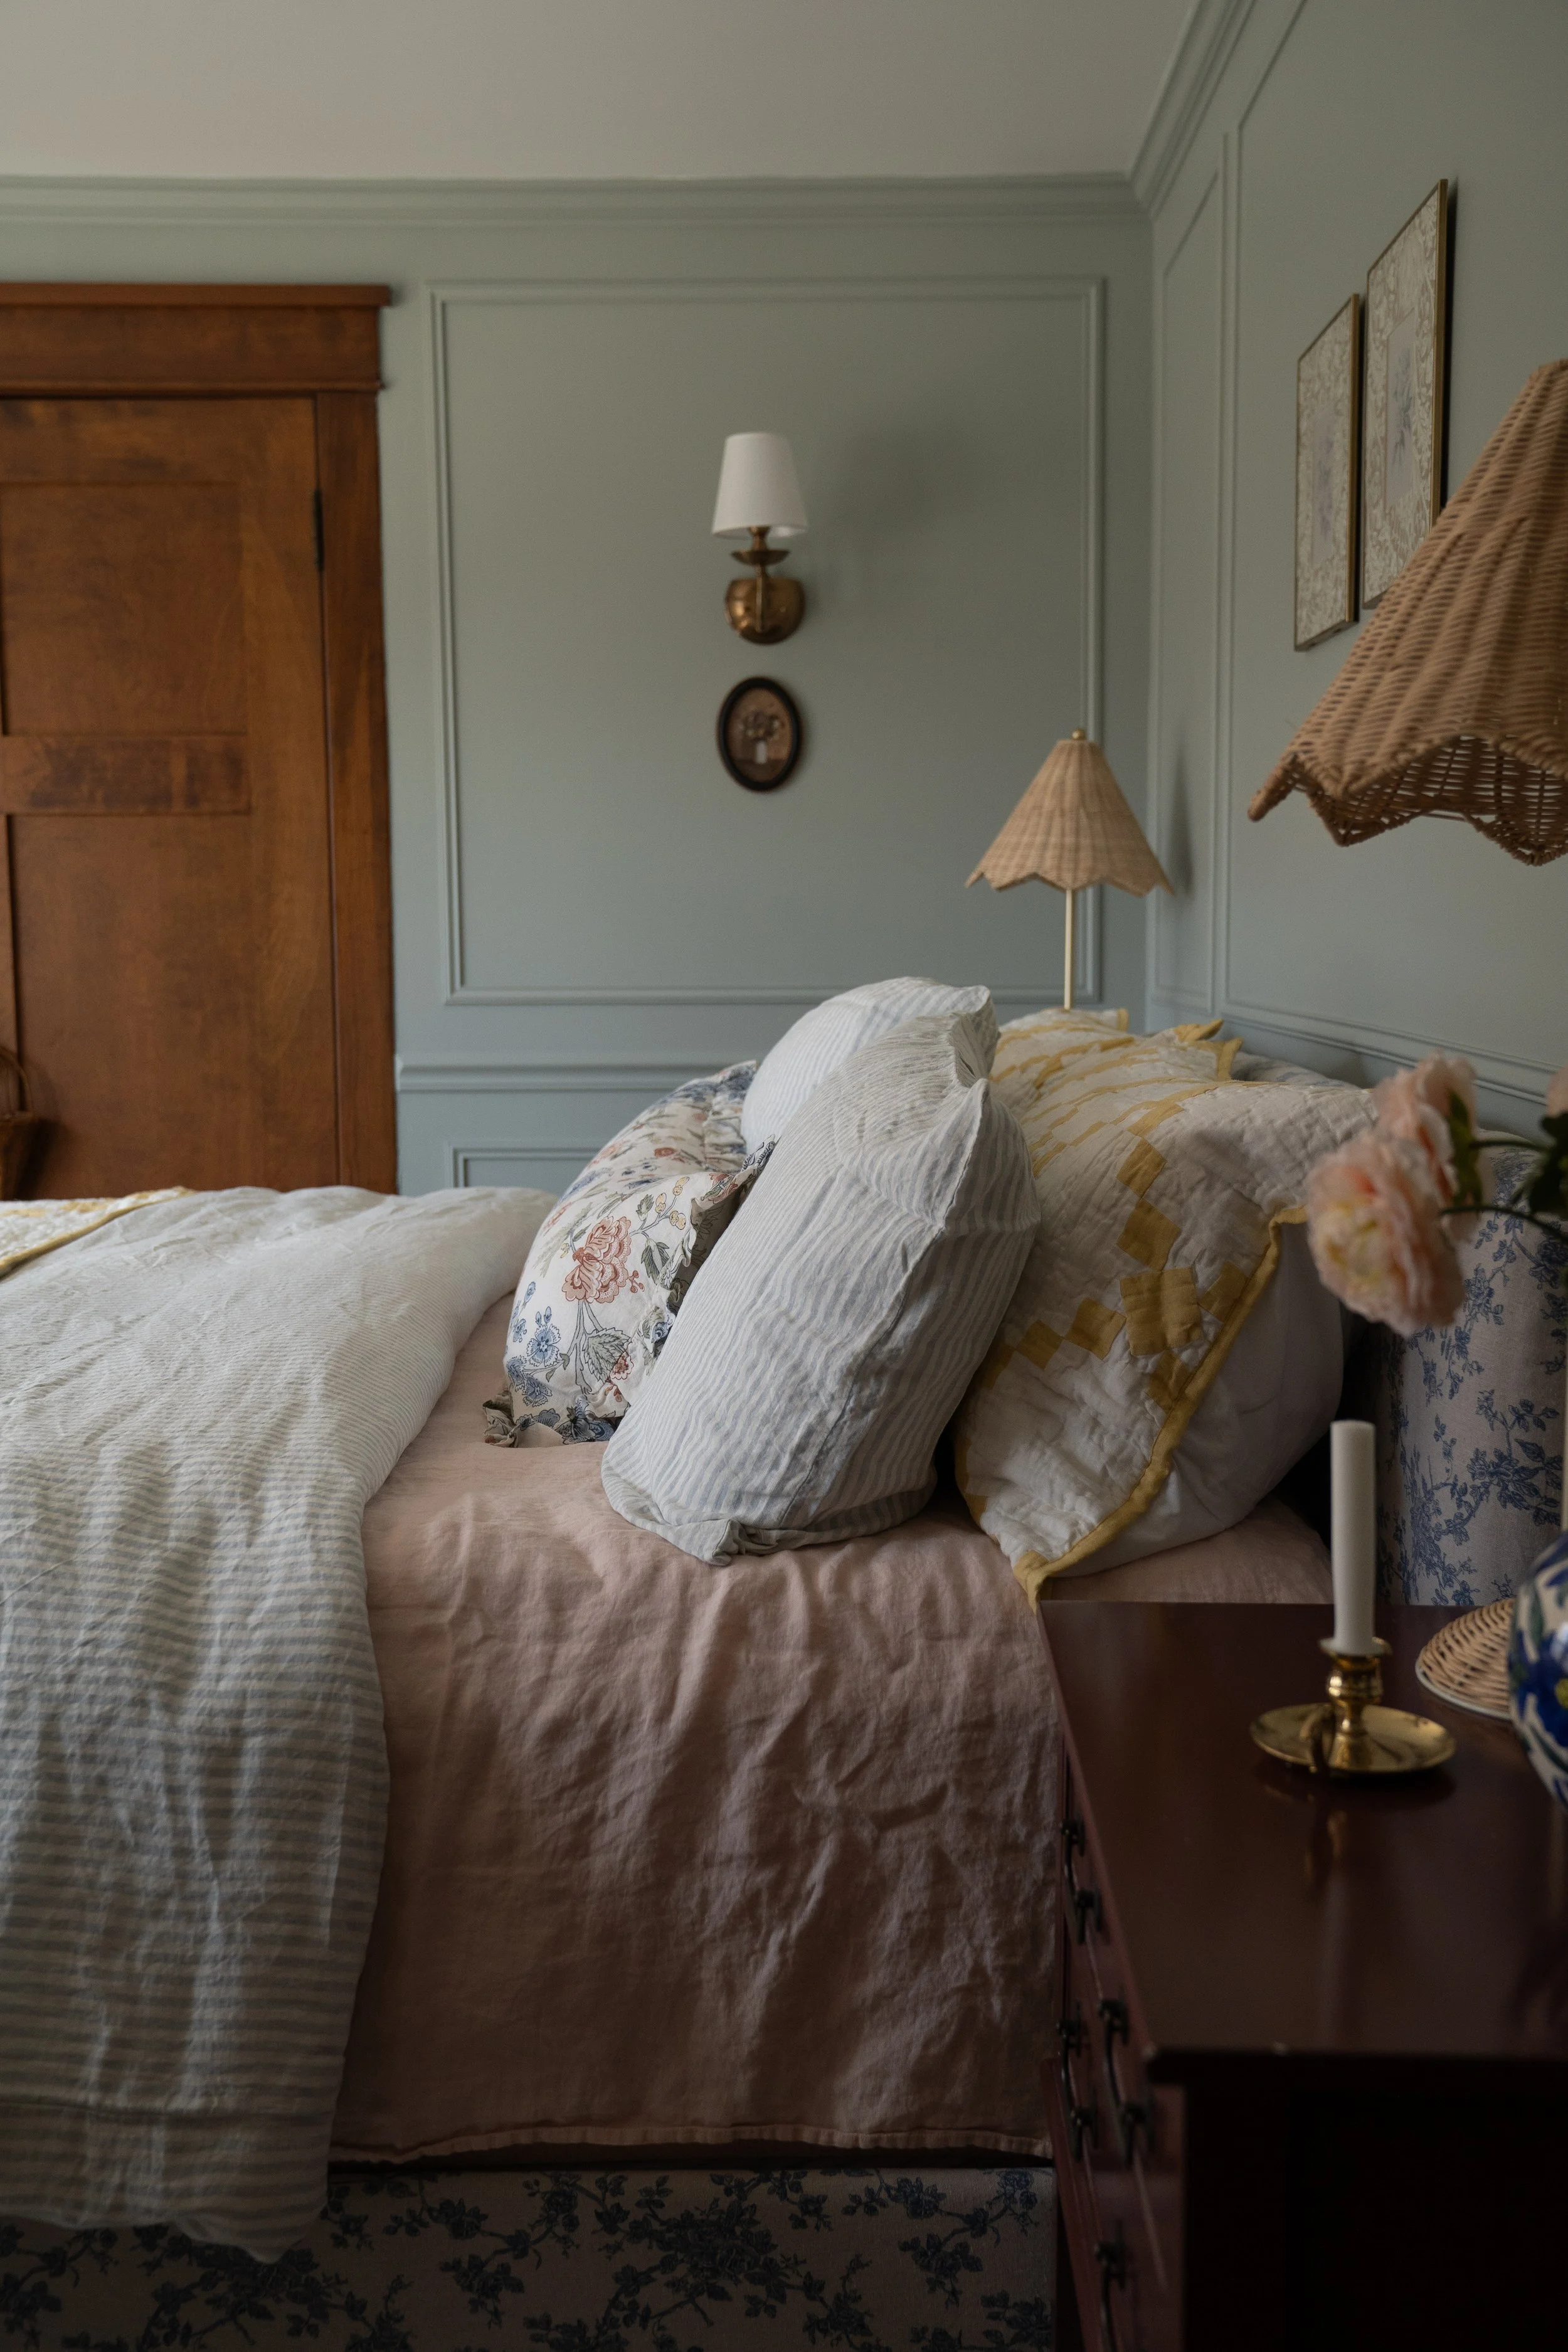
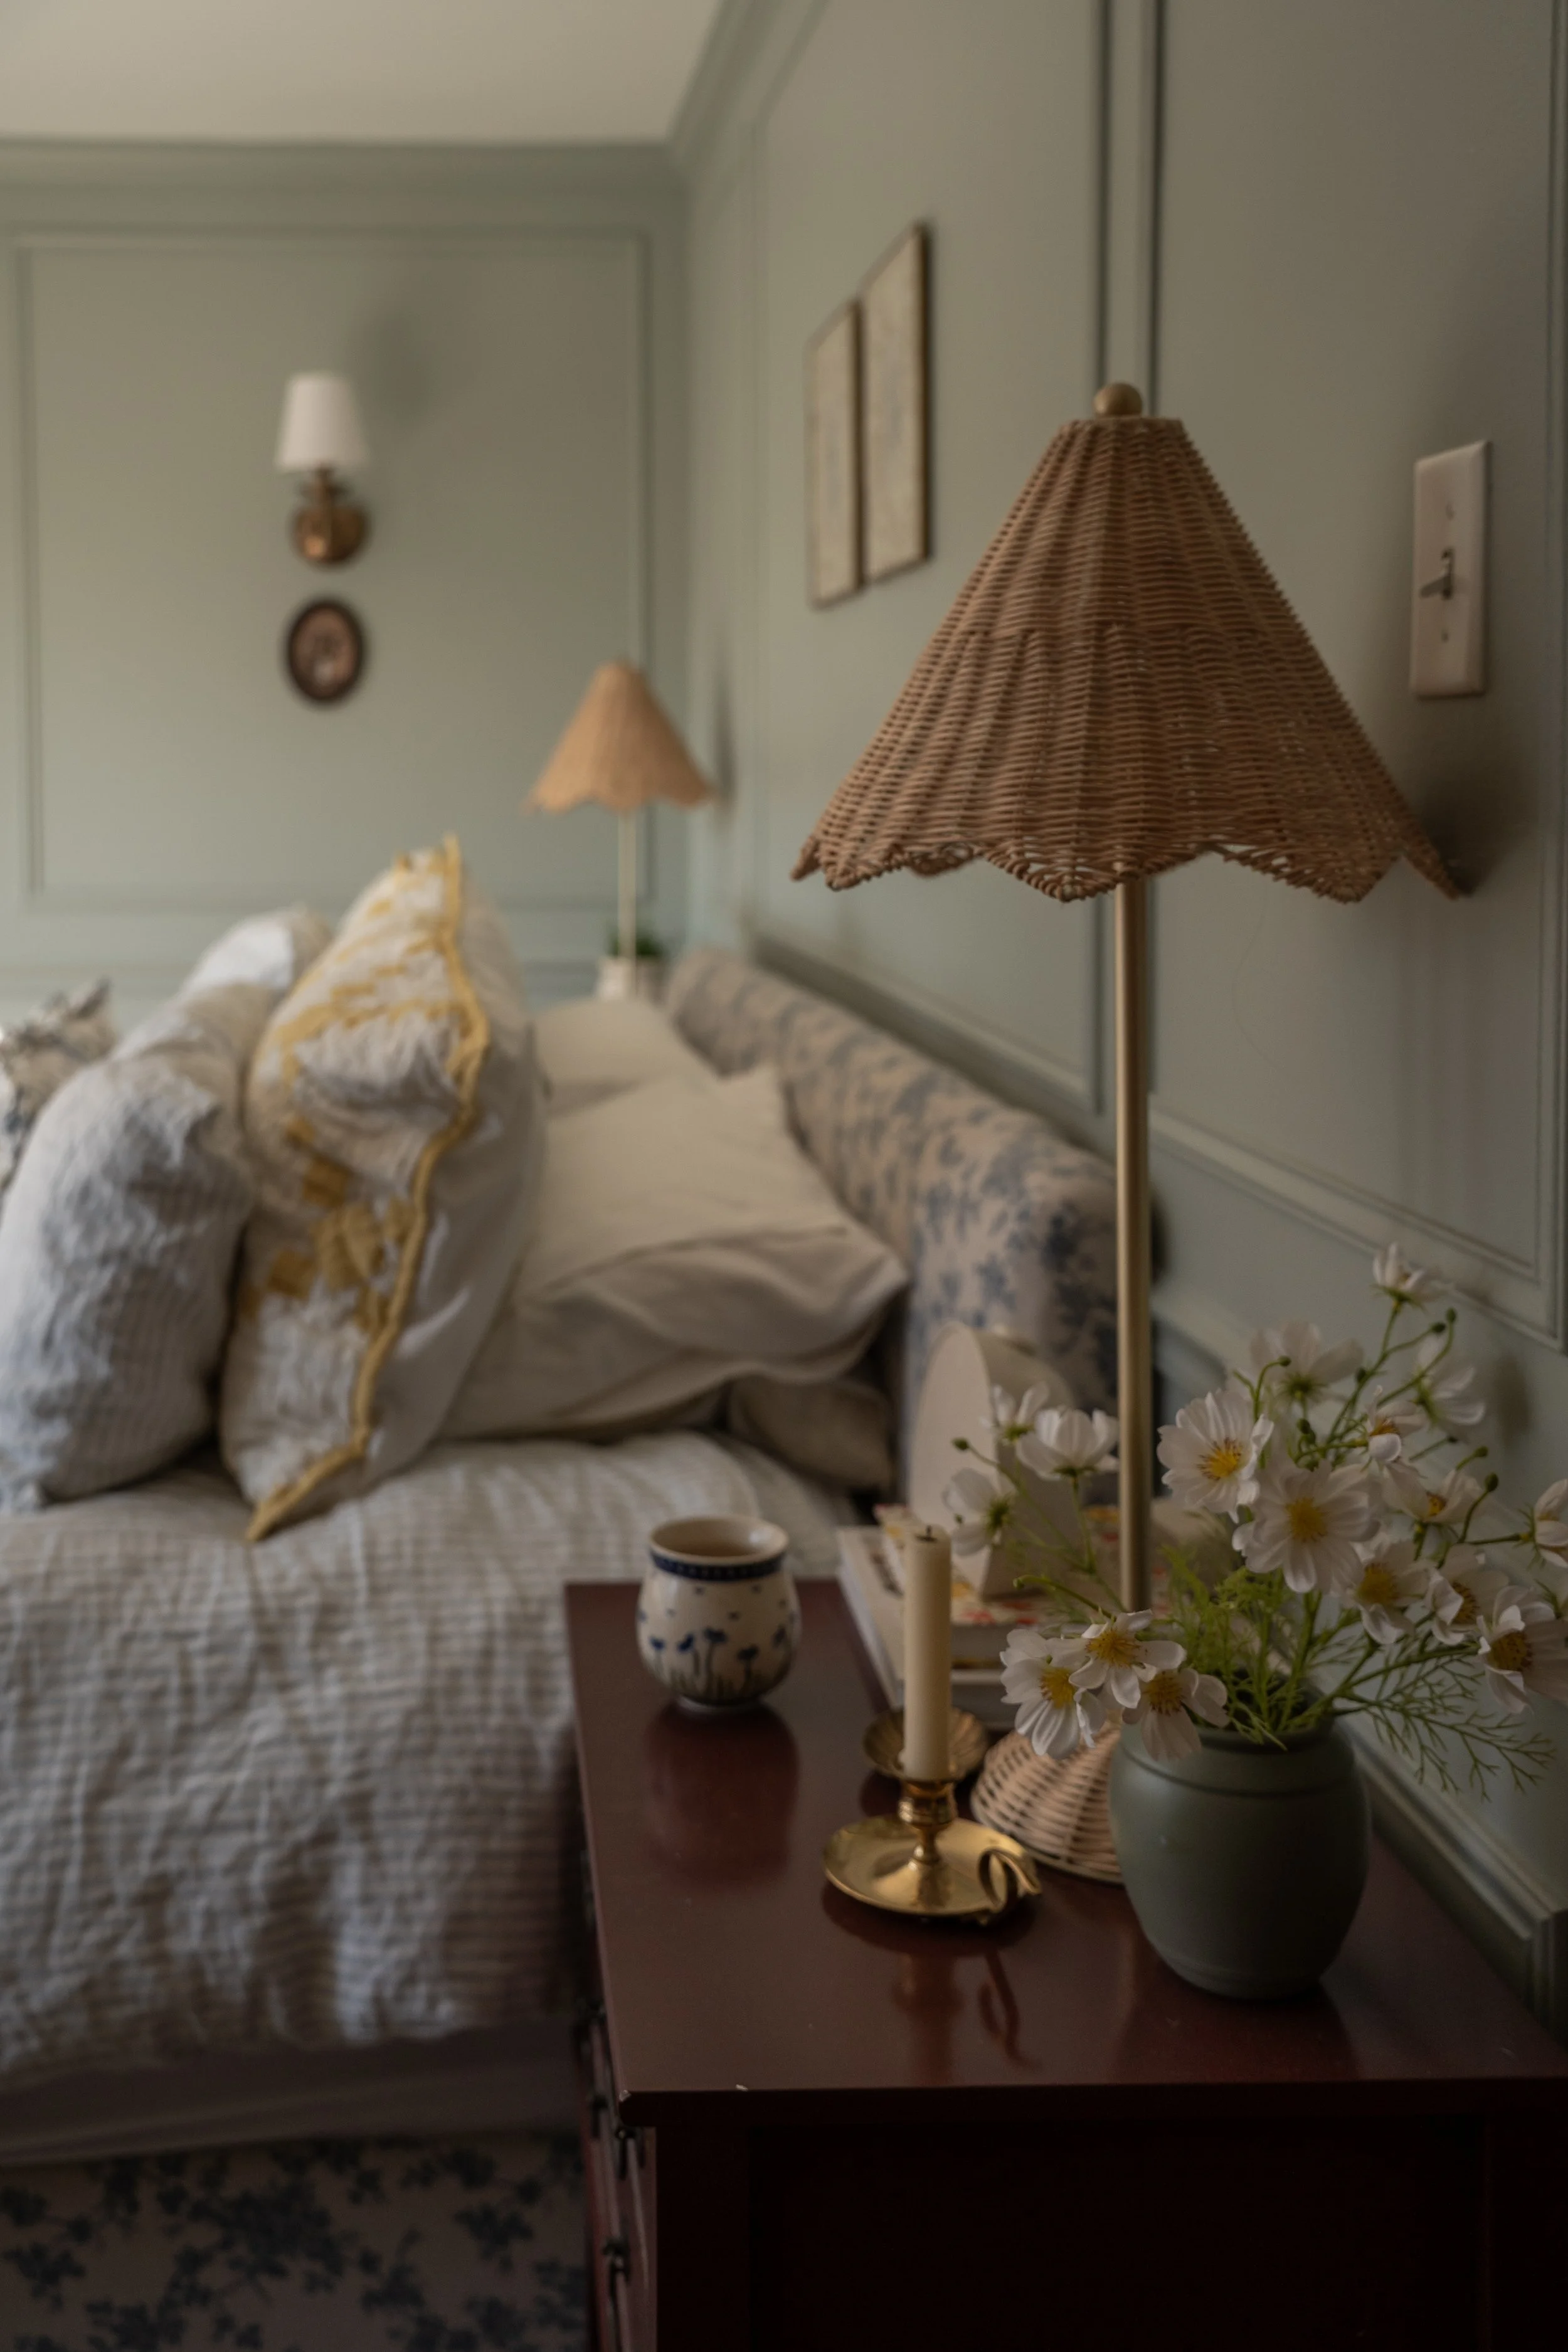
Lately I’ve been leaning into a quieter, more relaxed look at home—warm, worn textures, soft neutrals, and natural finishes that feel calm and timeless.
Rather than buying something new, I loved the idea of refreshing what we already had. Reupholstering allowed me to choose the exact fabric I wanted while keeping a piece that already fits the scale and style of our bedroom perfectly. It’s also a budget-friendly way to update a bedroom without replacing furniture.

Materials I Used
This project is surprisingly simple and requires just a few basic tools:
Staple gun (a must!)
1.5 yards of fabric (depending on headboard size)
Measuring tape
A little patience
Step-by-Step: How I Reupholstered Our Headboard
Step 1: Choose Your Fabric (or Tablecloth!)
Instead of traditional upholstery fabric, we used a patterned tablecloth. It’s an affordable option, often comes in beautiful designs, and the wider width makes it easy to cover large furniture pieces.
Just make sure the fabric is thick enough to hold up to some stretching and stapling. For our project, we used two 60x102 tablecloths, which worked perfectly for our headboard size. If you have a larger headboard, you can always opt for a larger tablecloth.

Step 2: Cover the Headboard
We used one uncut tablecloth to fully cover the headboard portion of the bed frame.
Step 3: Cut Fabric for the Bottom Frame
Next, lay your second tablecloth flat and cut panels slightly larger than each section of the lower bed frame. You’ll want a bit of extra fabric on each side so you can wrap it around the edges and staple it securely.
Step 4: Wrap and Staple
Pull the fabric tightly over each section, wrapping it almost like you would wrap a present. Then use your staple gun to secure the fabric to the back or underside of the frame.
Take your time with the corners—neatly folded corners will give the finished piece a much more tailored, professional look.
Step 5: Reattach and Enjoy
Once everything is upholstered, simply reassemble your bed frame and step back to admire the transformation.
This easy DIY bedroom update made such a difference in the room, and it’s a great reminder that sometimes the simplest projects can have the biggest impact.
A Few Tips From My Experience
If you’re thinking about trying a DIY headboard reupholstery project, here are a few things I learned along the way:
Choose fabric with a bit of weight.
Heavier fabrics like linen blends, canvas, or thicker cottons work beautifully. They’re easier to pull smooth and tend to give a more polished, tailored finish.
Take your time with the corners.
Corners are usually the trickiest part of any upholstery project. A few thoughtful folds and small pleats can make all the difference in creating a clean, professional-looking result.
Trust your eye.
Step back often while you’re working and adjust the fabric as needed. The beauty of a project like this is that it’s surprisingly forgiving—small tweaks can quickly make everything look just right.
Protect the finished fabric.
To help the fabric last longer, I recommend spraying it with Scotchgard or a fabric protector once everything is finished. It adds an extra layer of durability, especially in a well-loved space like a bedroom.


Final Thoughts: Small Changes, Big Impact
This headboard project reminded me how even the smallest shifts can have the biggest impact. I didn’t buy anything new besides the fabric, but the whole room feels softer, cozier, and more intentional now especially with the styling final touches.
If you’ve got a piece in your home that’s feeling tired, don’t be afraid to give it a second life. You don’t need to be an expert upholsterer to create something beautiful—just a few tools, a little time, and a whole lot of love.
Here’s to making home feel like home, one project at a time. 🤍
—Tessa

Discover the latest Kindred Homestead weekly recap featuring curated home décor, timeless furniture, cozy lifestyle pieces, and trending style finds. Shop reader favorites and handpicked treasures to inspire your home and wardrobe this week.