
Our Fixer Upper...REVEALED
It’s been exactly 2 months and 13 days since we signed on our new house; 2 months and 12 days since we “broke ground” on our house; and 1 month and 3 weeks since we moved in to our house. Let’s just say that life has been a WHIRLWIND! While each day seems to fly by, I can’t believe that we began this huge endeavor only a little over 2 months ago. Somebody asked us the other day, “So you guys have been living here for about a year right?!” I laughed and replied, “It sure SEEMS like it!”
While most of our renovation has been done for about a month now, this pregnancy has kept me from feeling any kind of motivation in the decor department, so needless to say it hasn’t felt “finished” to me till about…yesterday. Coming out of my first trimester I started to gain some ground in the energy department and felt motivated enough to re-finish a buffet, as well as, some old windows that I have been dying to figure out what to do with for the last 6 months, design a shelving unit for a very useless kitchen cabinet space, stain and help build some more shelving units, and decorate our entire living room/dining room/kitchen (where has all this energy been all my life?)
So FINALLY my stubborn perfectionist self feels like we are actually “finished” and I can actually reveal the completed product to all of those that have been following along with us on our DIY adventure! This reveal is going to be a bit of a series, seeing as I have many “how to DIY" blogs in the works for all the things I was able to work on during this project! I can’t wait to share those with you! But for the time being...
Here are some BEFORE pictures of our humble abode!

Here is a just a glimpse of our glorious kitchen before our renovation. To the left is a wall (on the other side of it is the living room), to the right is a door that leads to the deck, and if you were wondering, yes that is in deed a back splash made entirely of mirrors (and that's me in the mirror, taking a picture).
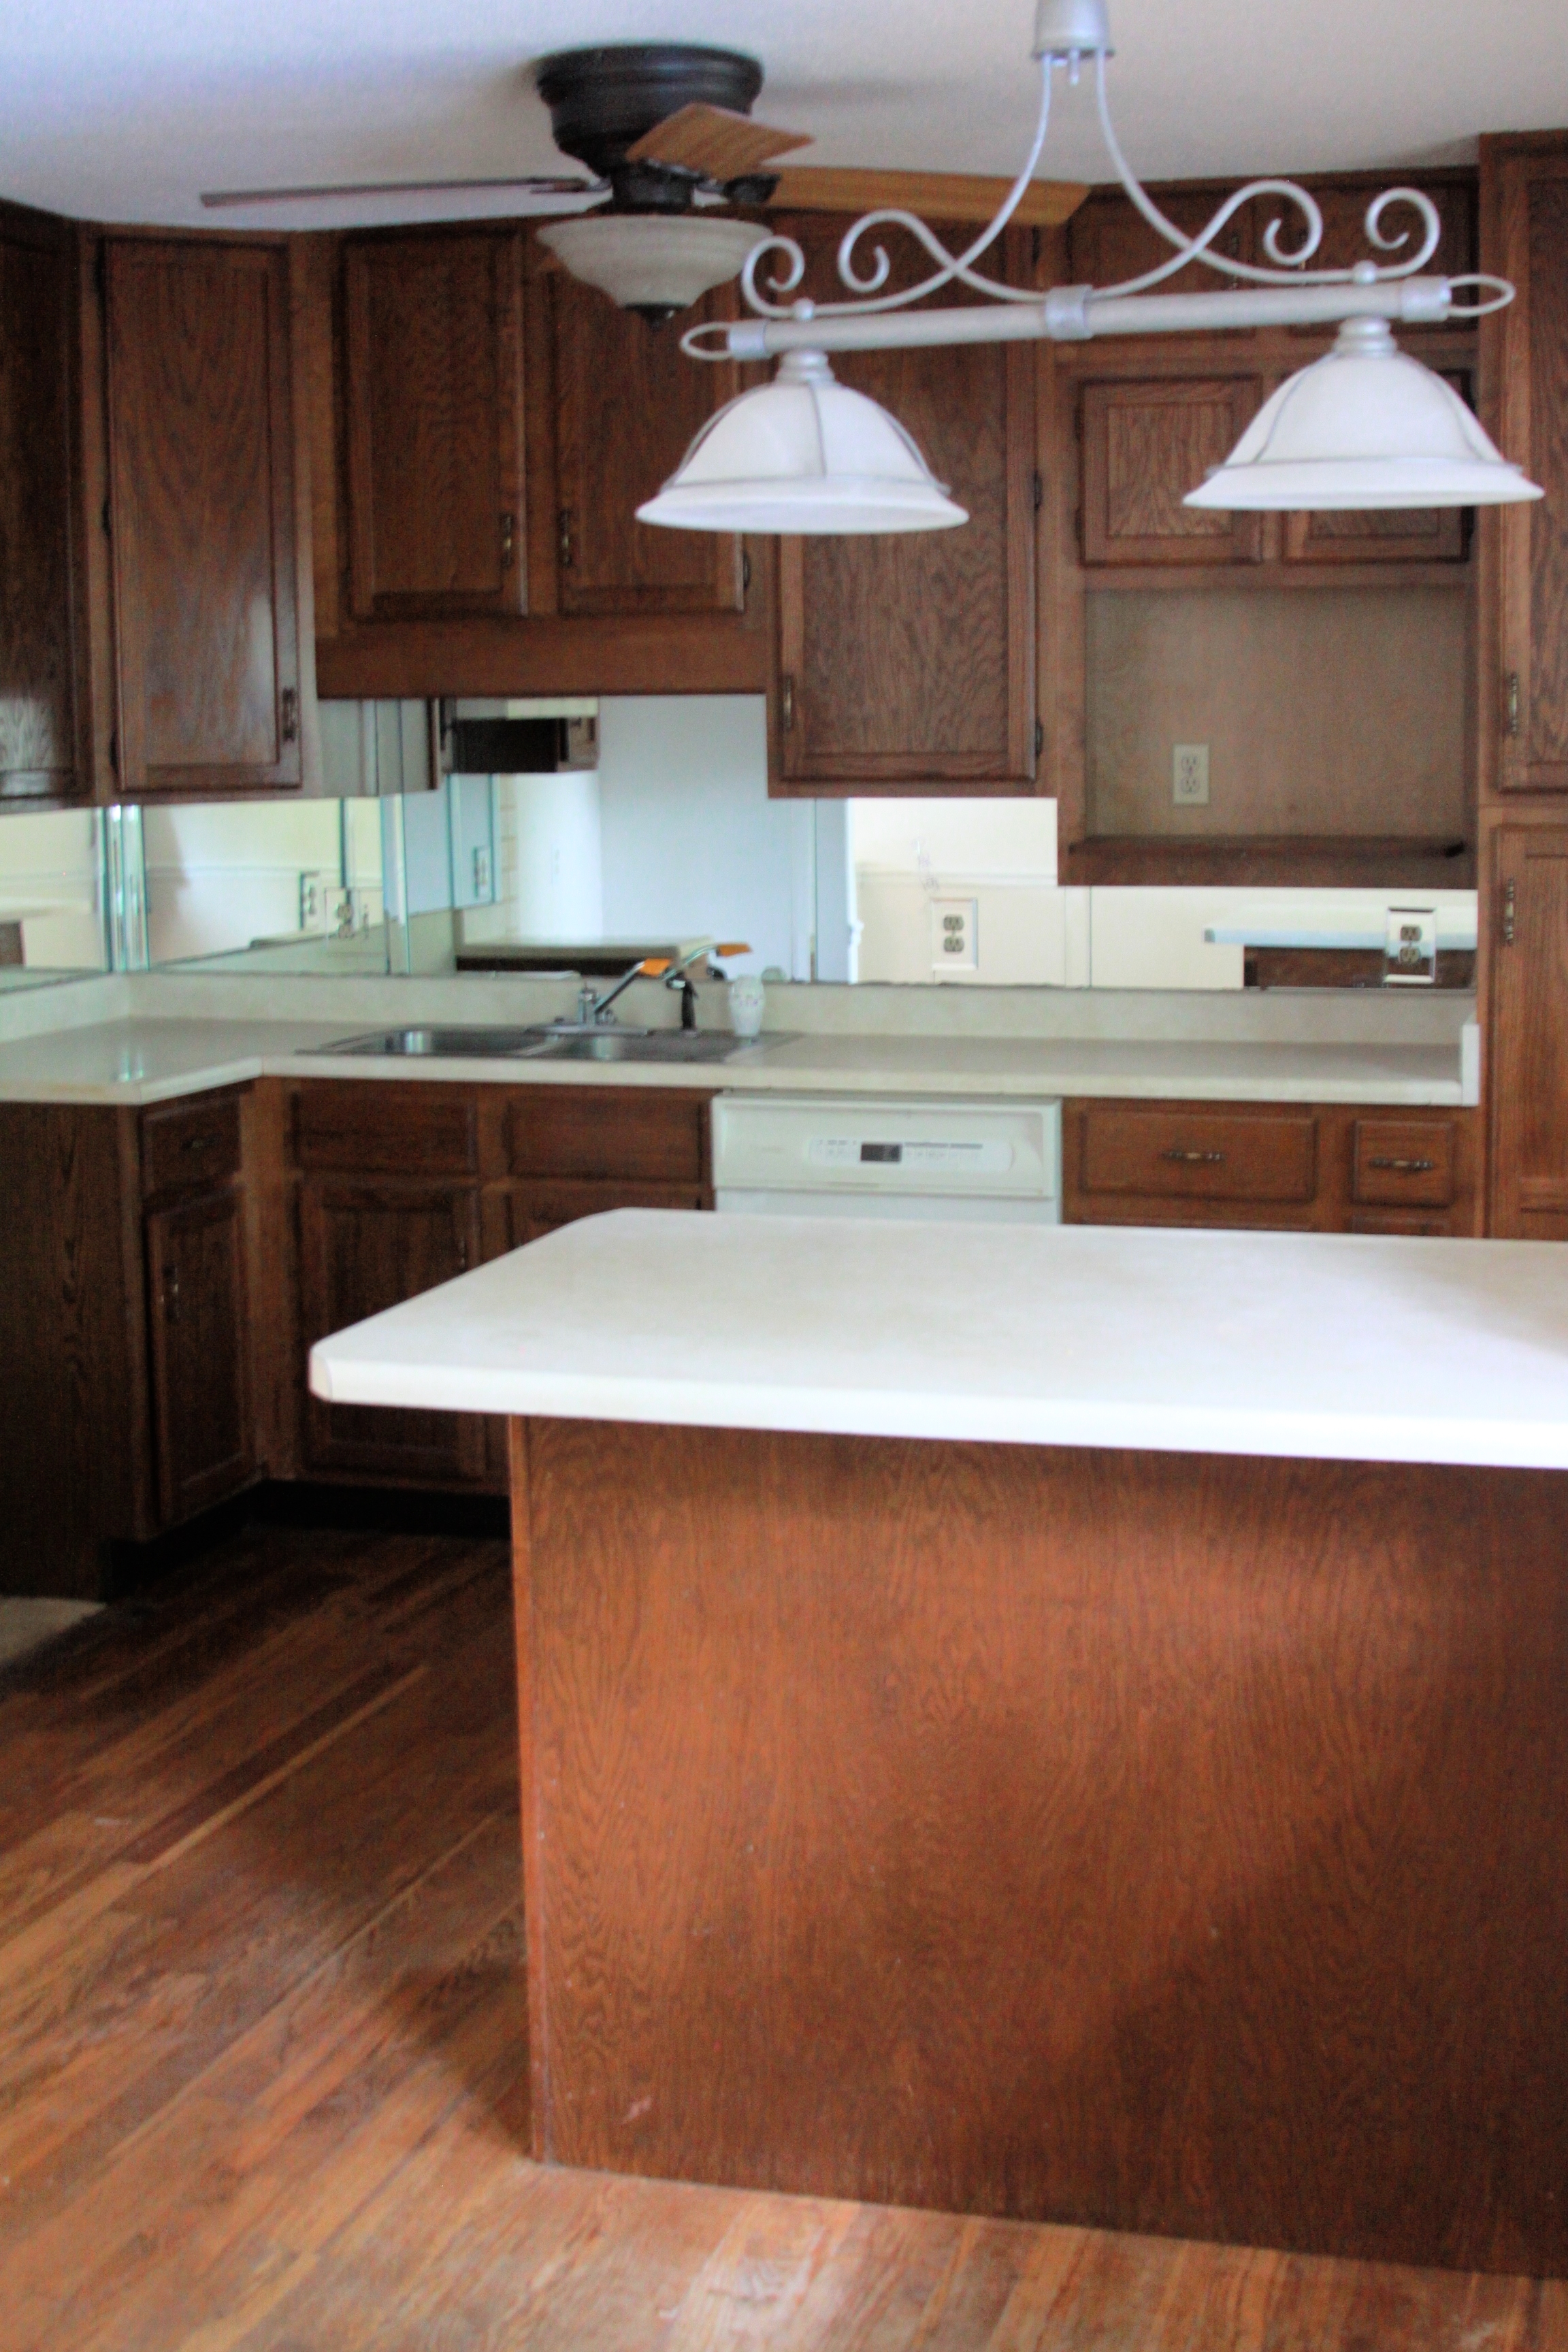


In these pictures you can see more clearly the kitchen layout and the amount of work we had cut out for us. As you can see pictured above, the house is a bi-level so right when you walk up the stairs you walk into a wall (with the kitchen behind it). This was something I HATED! Not to mention the mis-matched flooring and light fixtures, the sheer lack of lighting in the living room, the choppiness of the kitchen and the inconvenience of the (stupid) half wall that served absolutely no purpose.

This is a panoramic shot taken with our iphone. In this picture you can see our front door, our living room, the half wall, kitchen wall and kitchen door (not shown is the window on the right side in the dining room).
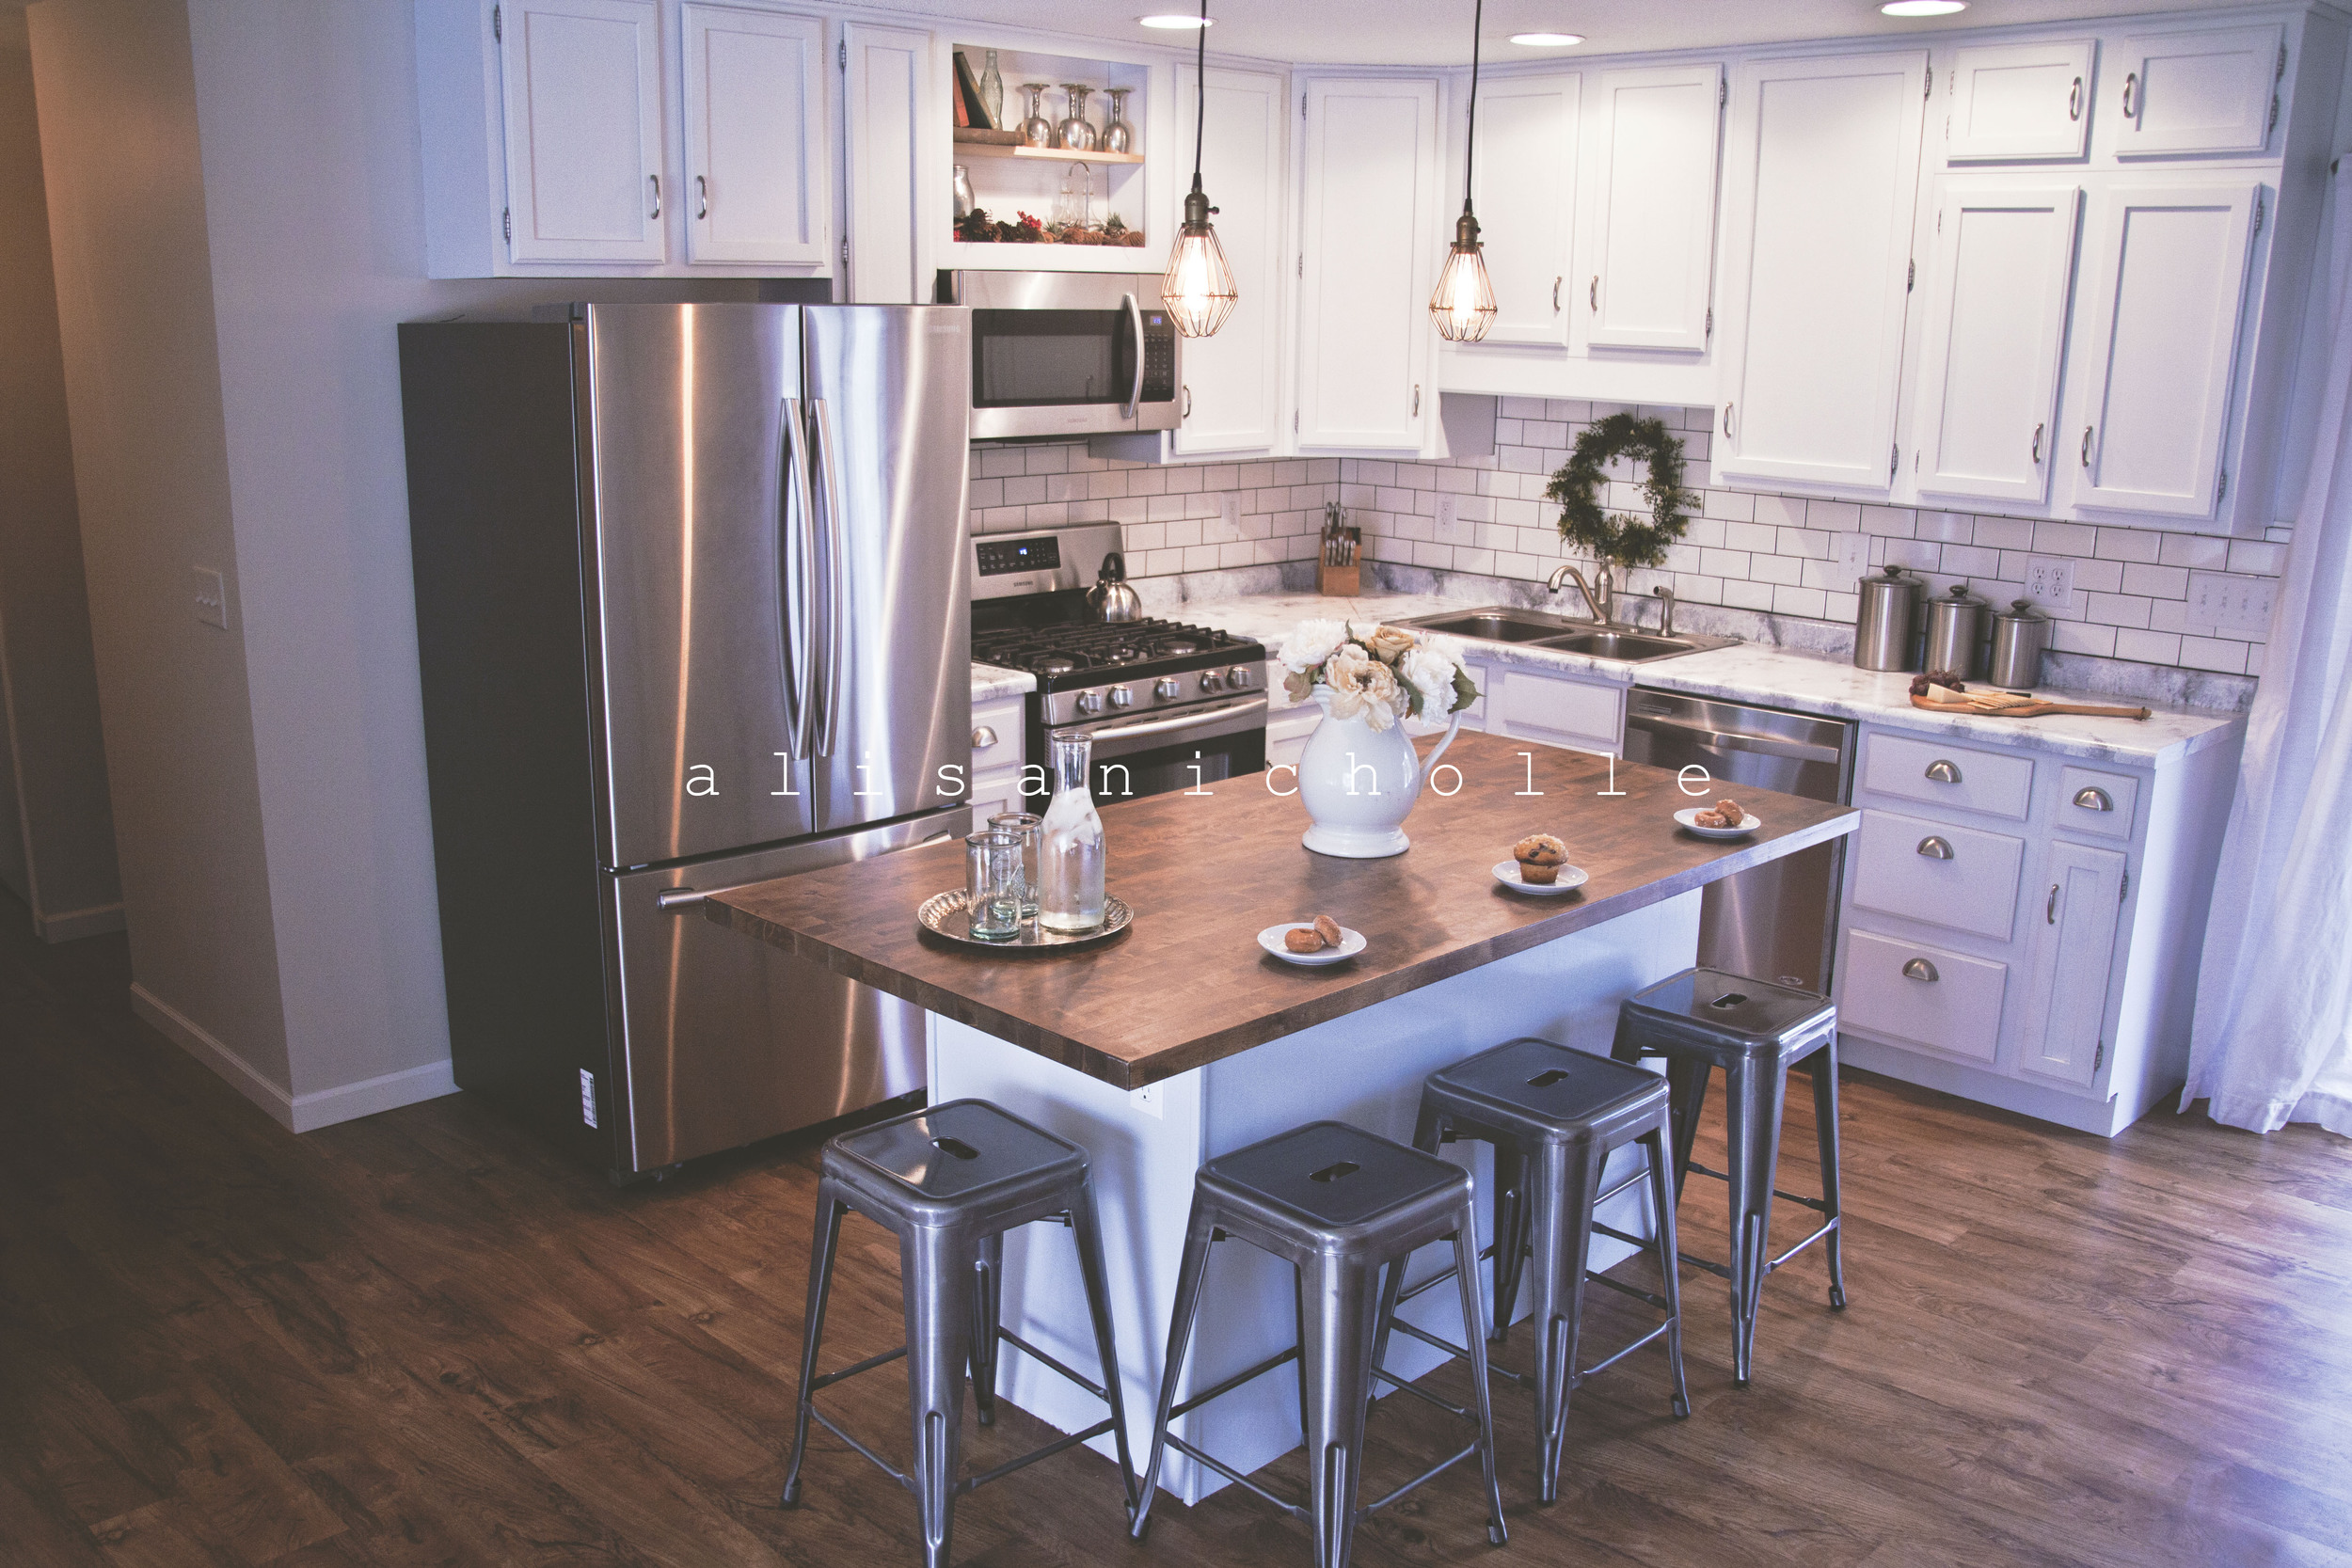
And here we are...2 1/2 months later with a living room, kitchen and dining room that look NOTHING similar to the pictures above. Welcome to our NEW and improved home!
After

Before

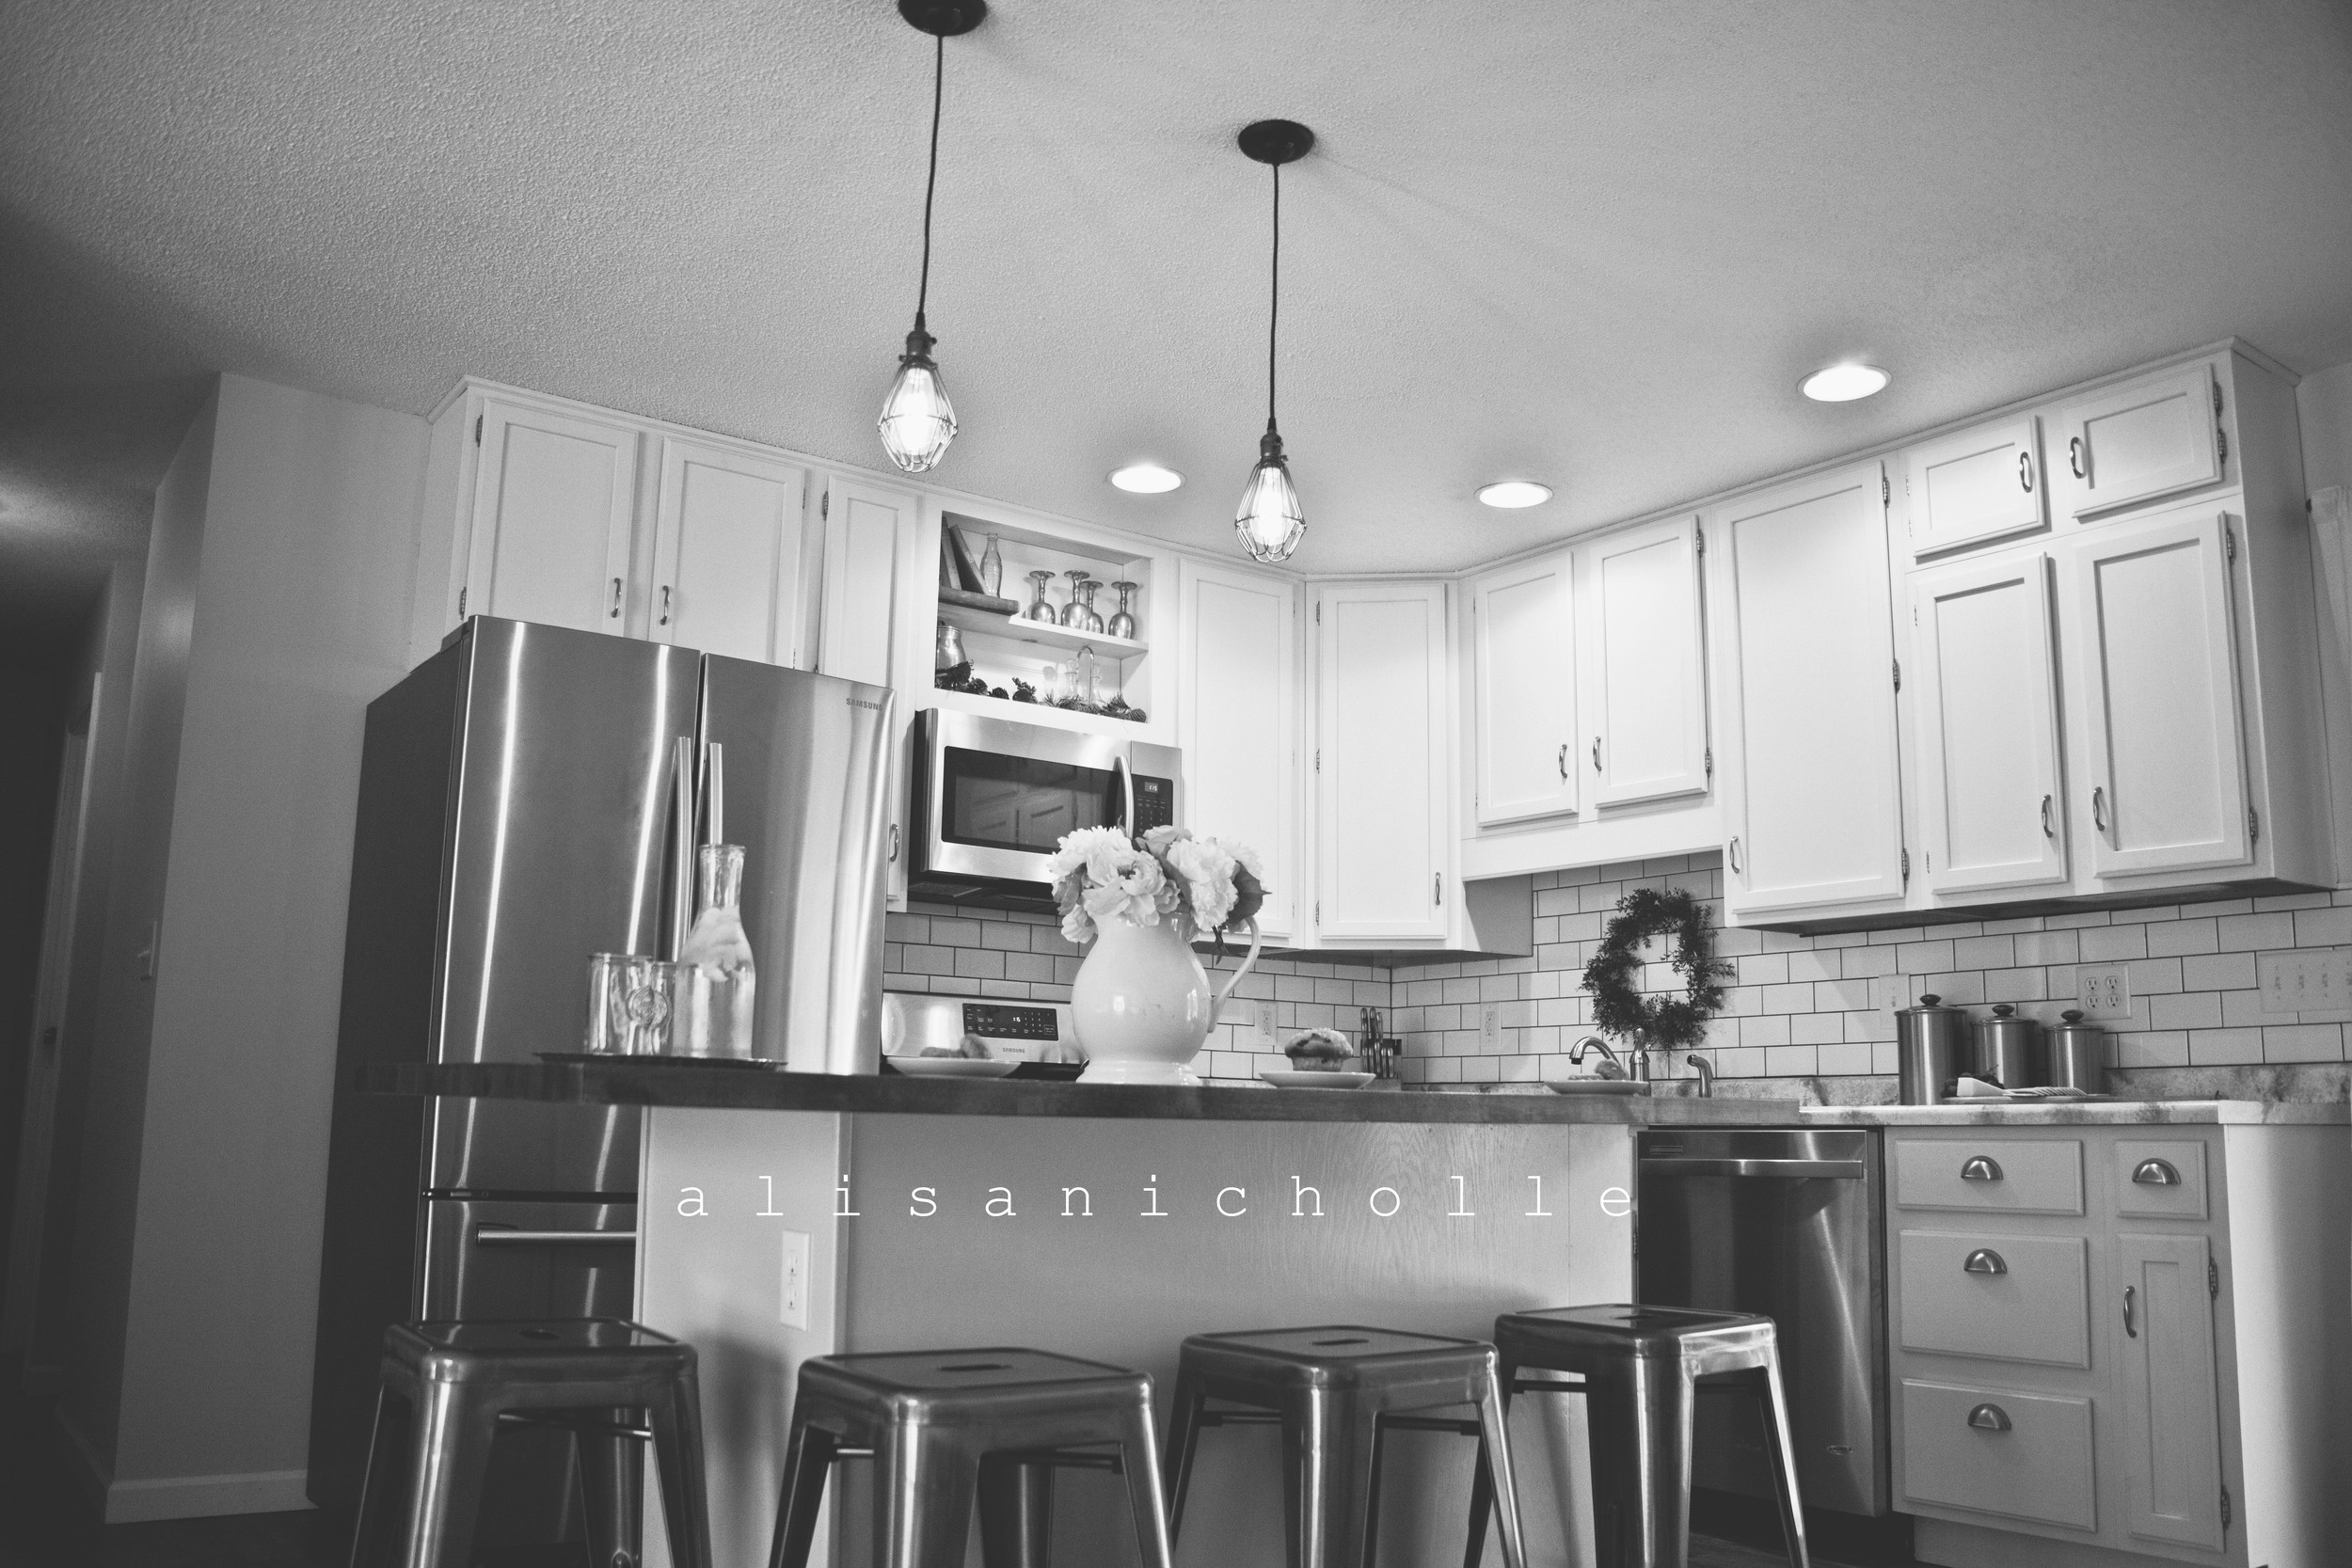
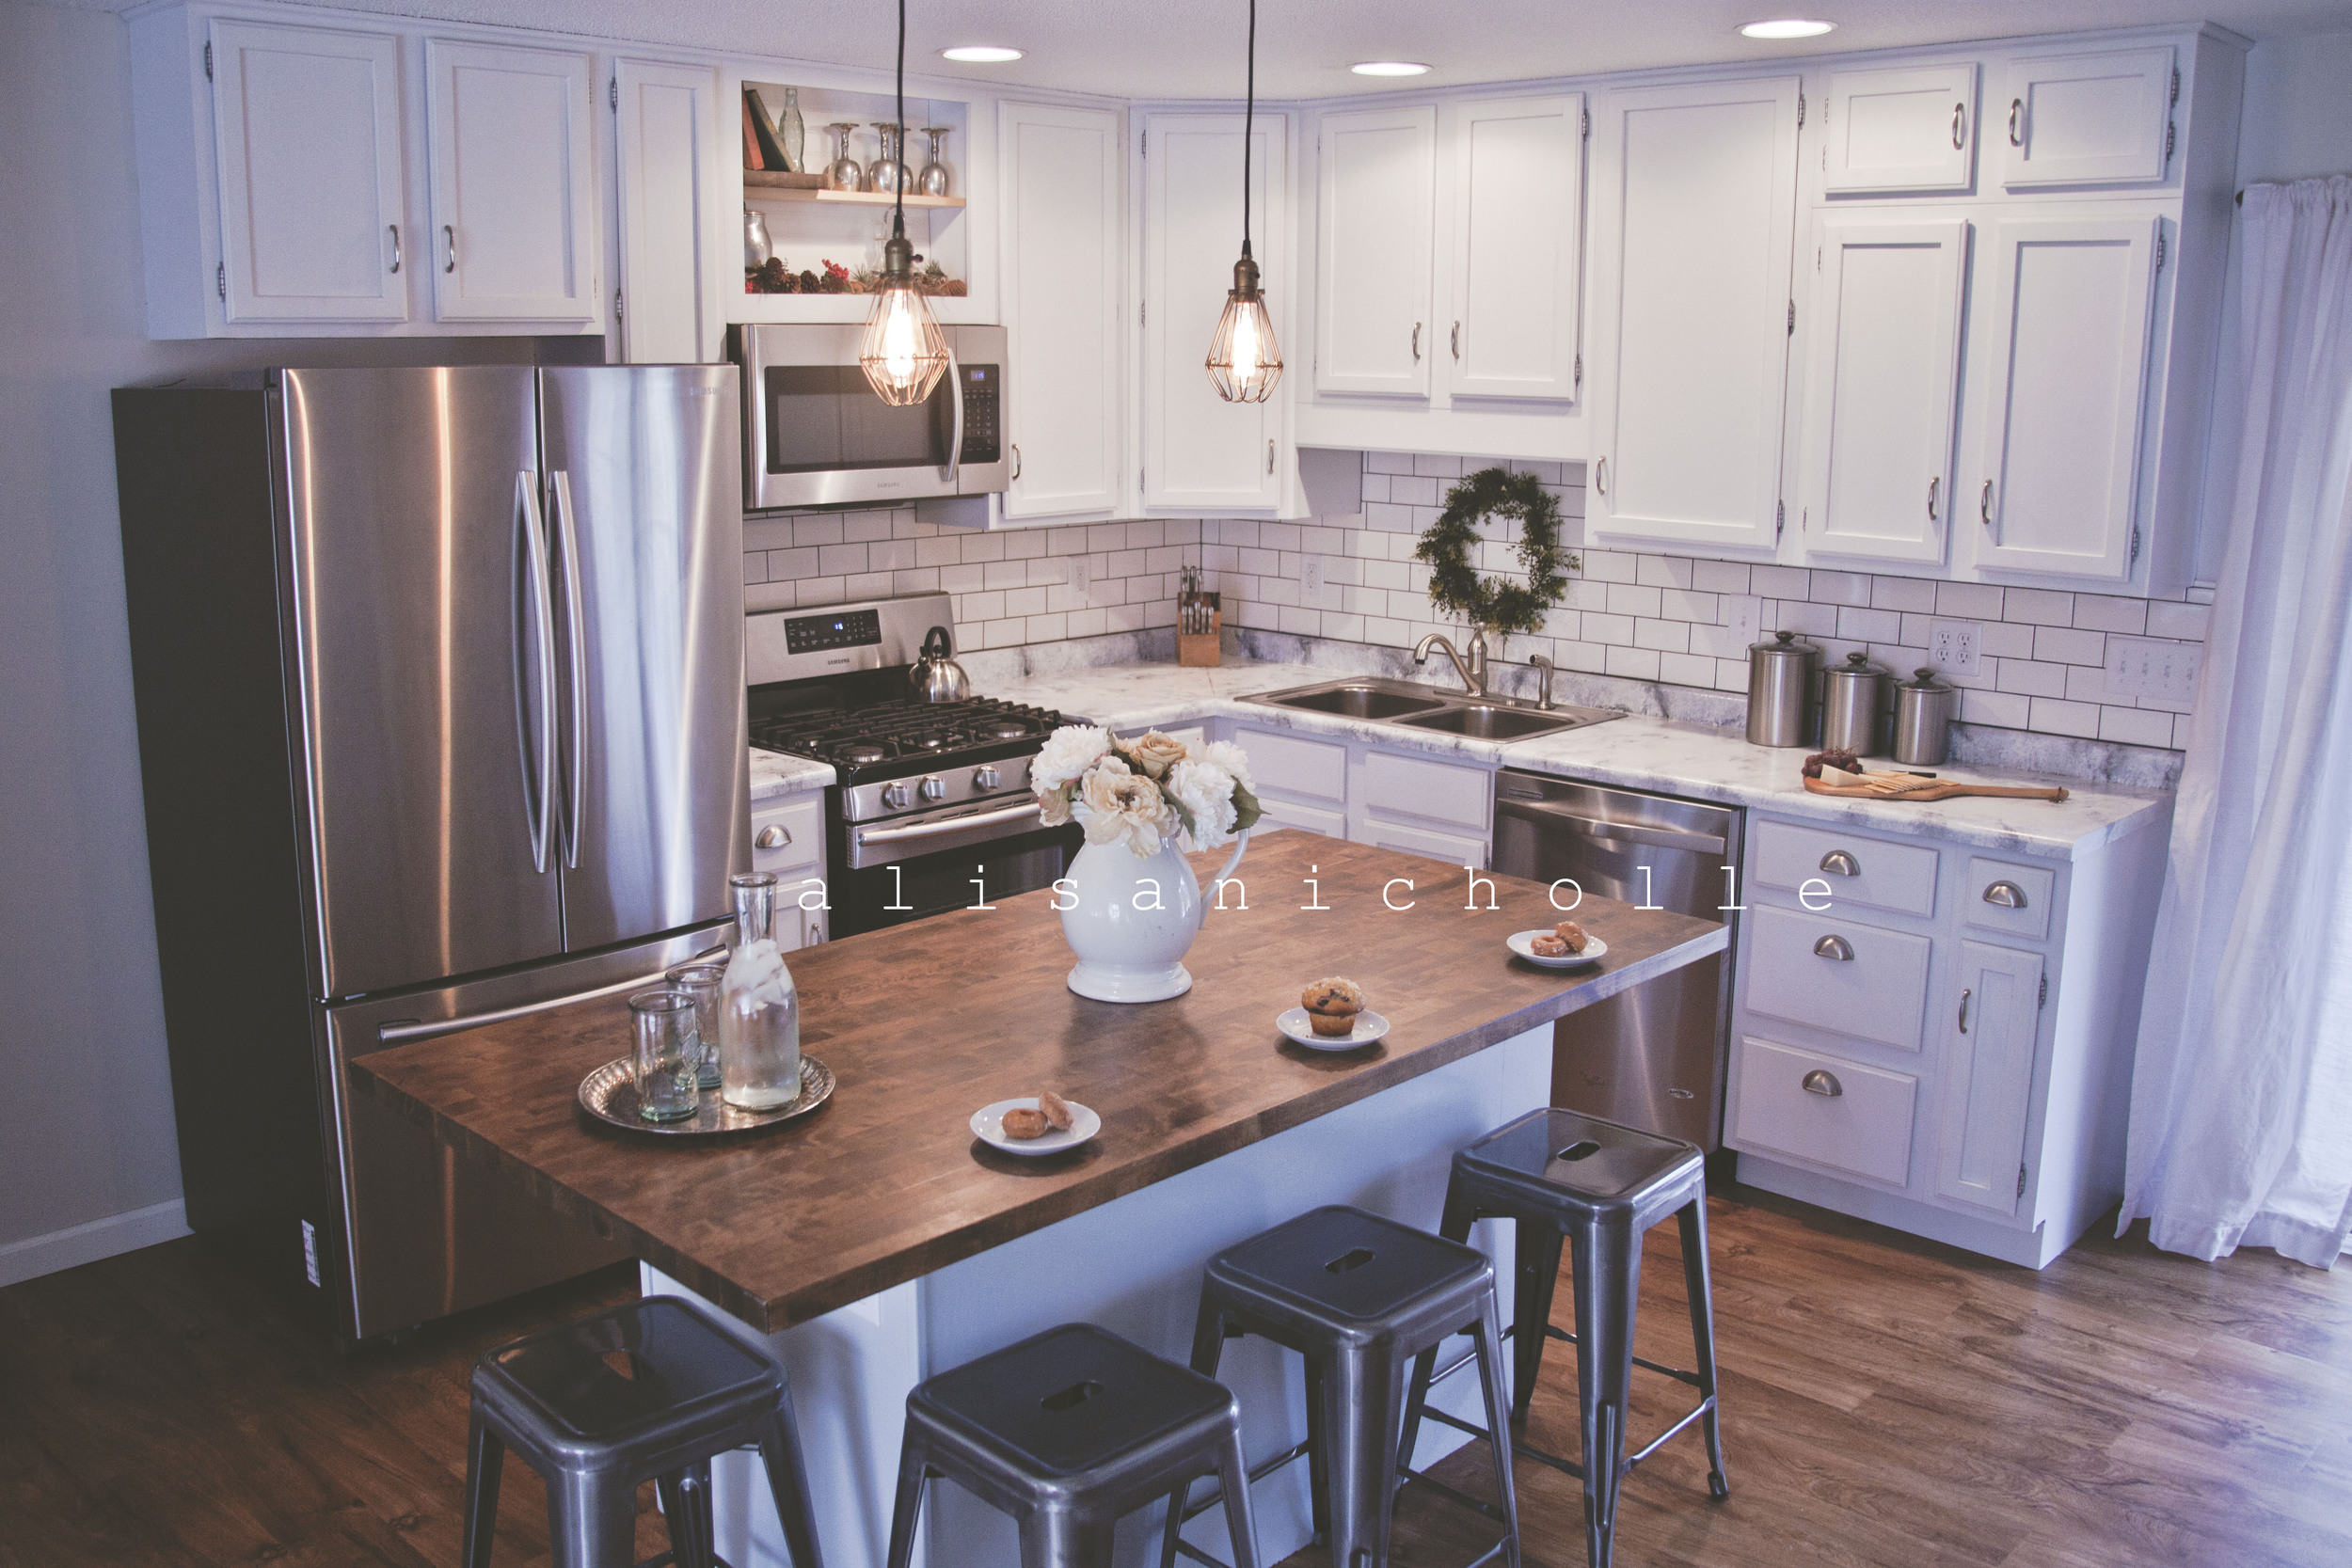
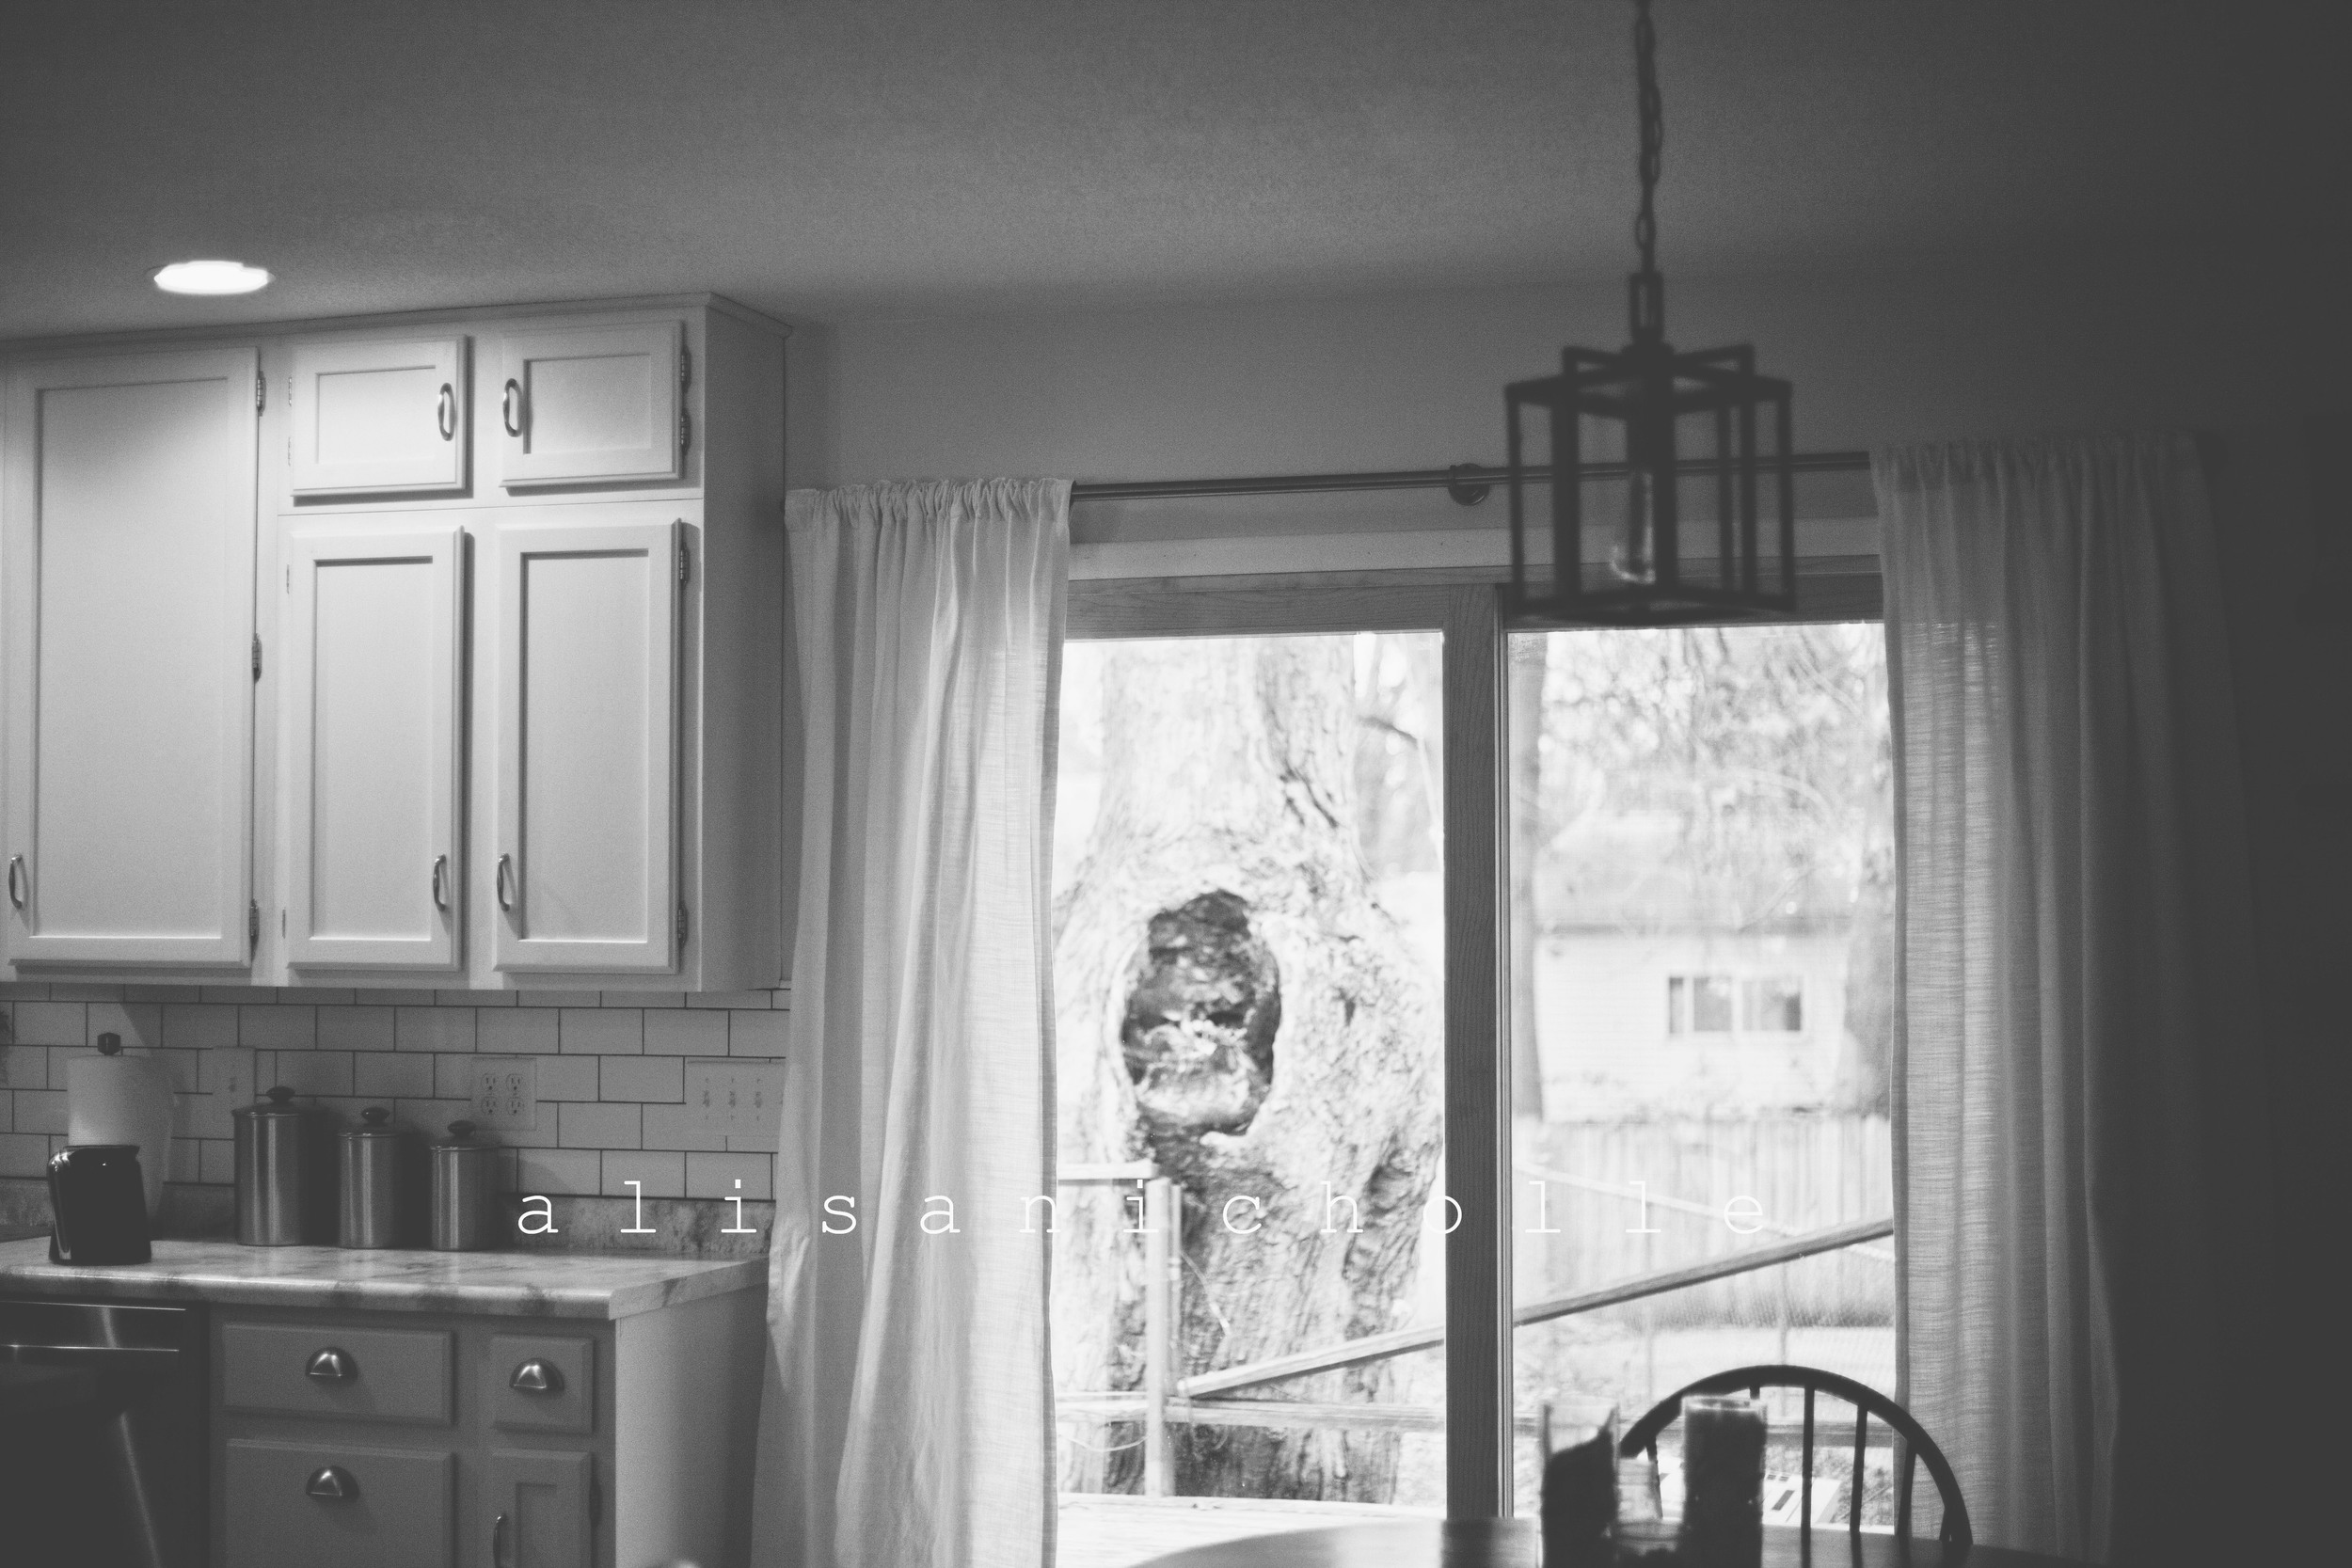
It was such a blast being able to make this space not only livable/functional but beautiful just the way I invisioned! Here are some close ups of the kitchen!


My goal when picking out the decor I wanted to go for a very rustic/industrial yet I wanted the classical beauty of the fine details to show through in very subtle ways.


Creating these countertops was one of the most thrilling yet challenging things I had to do during this kitchen reno. I wanted to make sure that I kept it as bright as possible while still bringing in the harsher tones with the high end marble look. I can't wait to release the "how to" blog on these countertops...you aren't going to want to miss it!


One of my favorite features of my kitchen would definitely be my butcher block island. We were originally going to stay with the same countertop look as the others but when it came around to it I wanted to warm up the space a bit and add some contrast to the bright white space. This did just the trick! Another "how to" blog coming your way for this butcher block project!


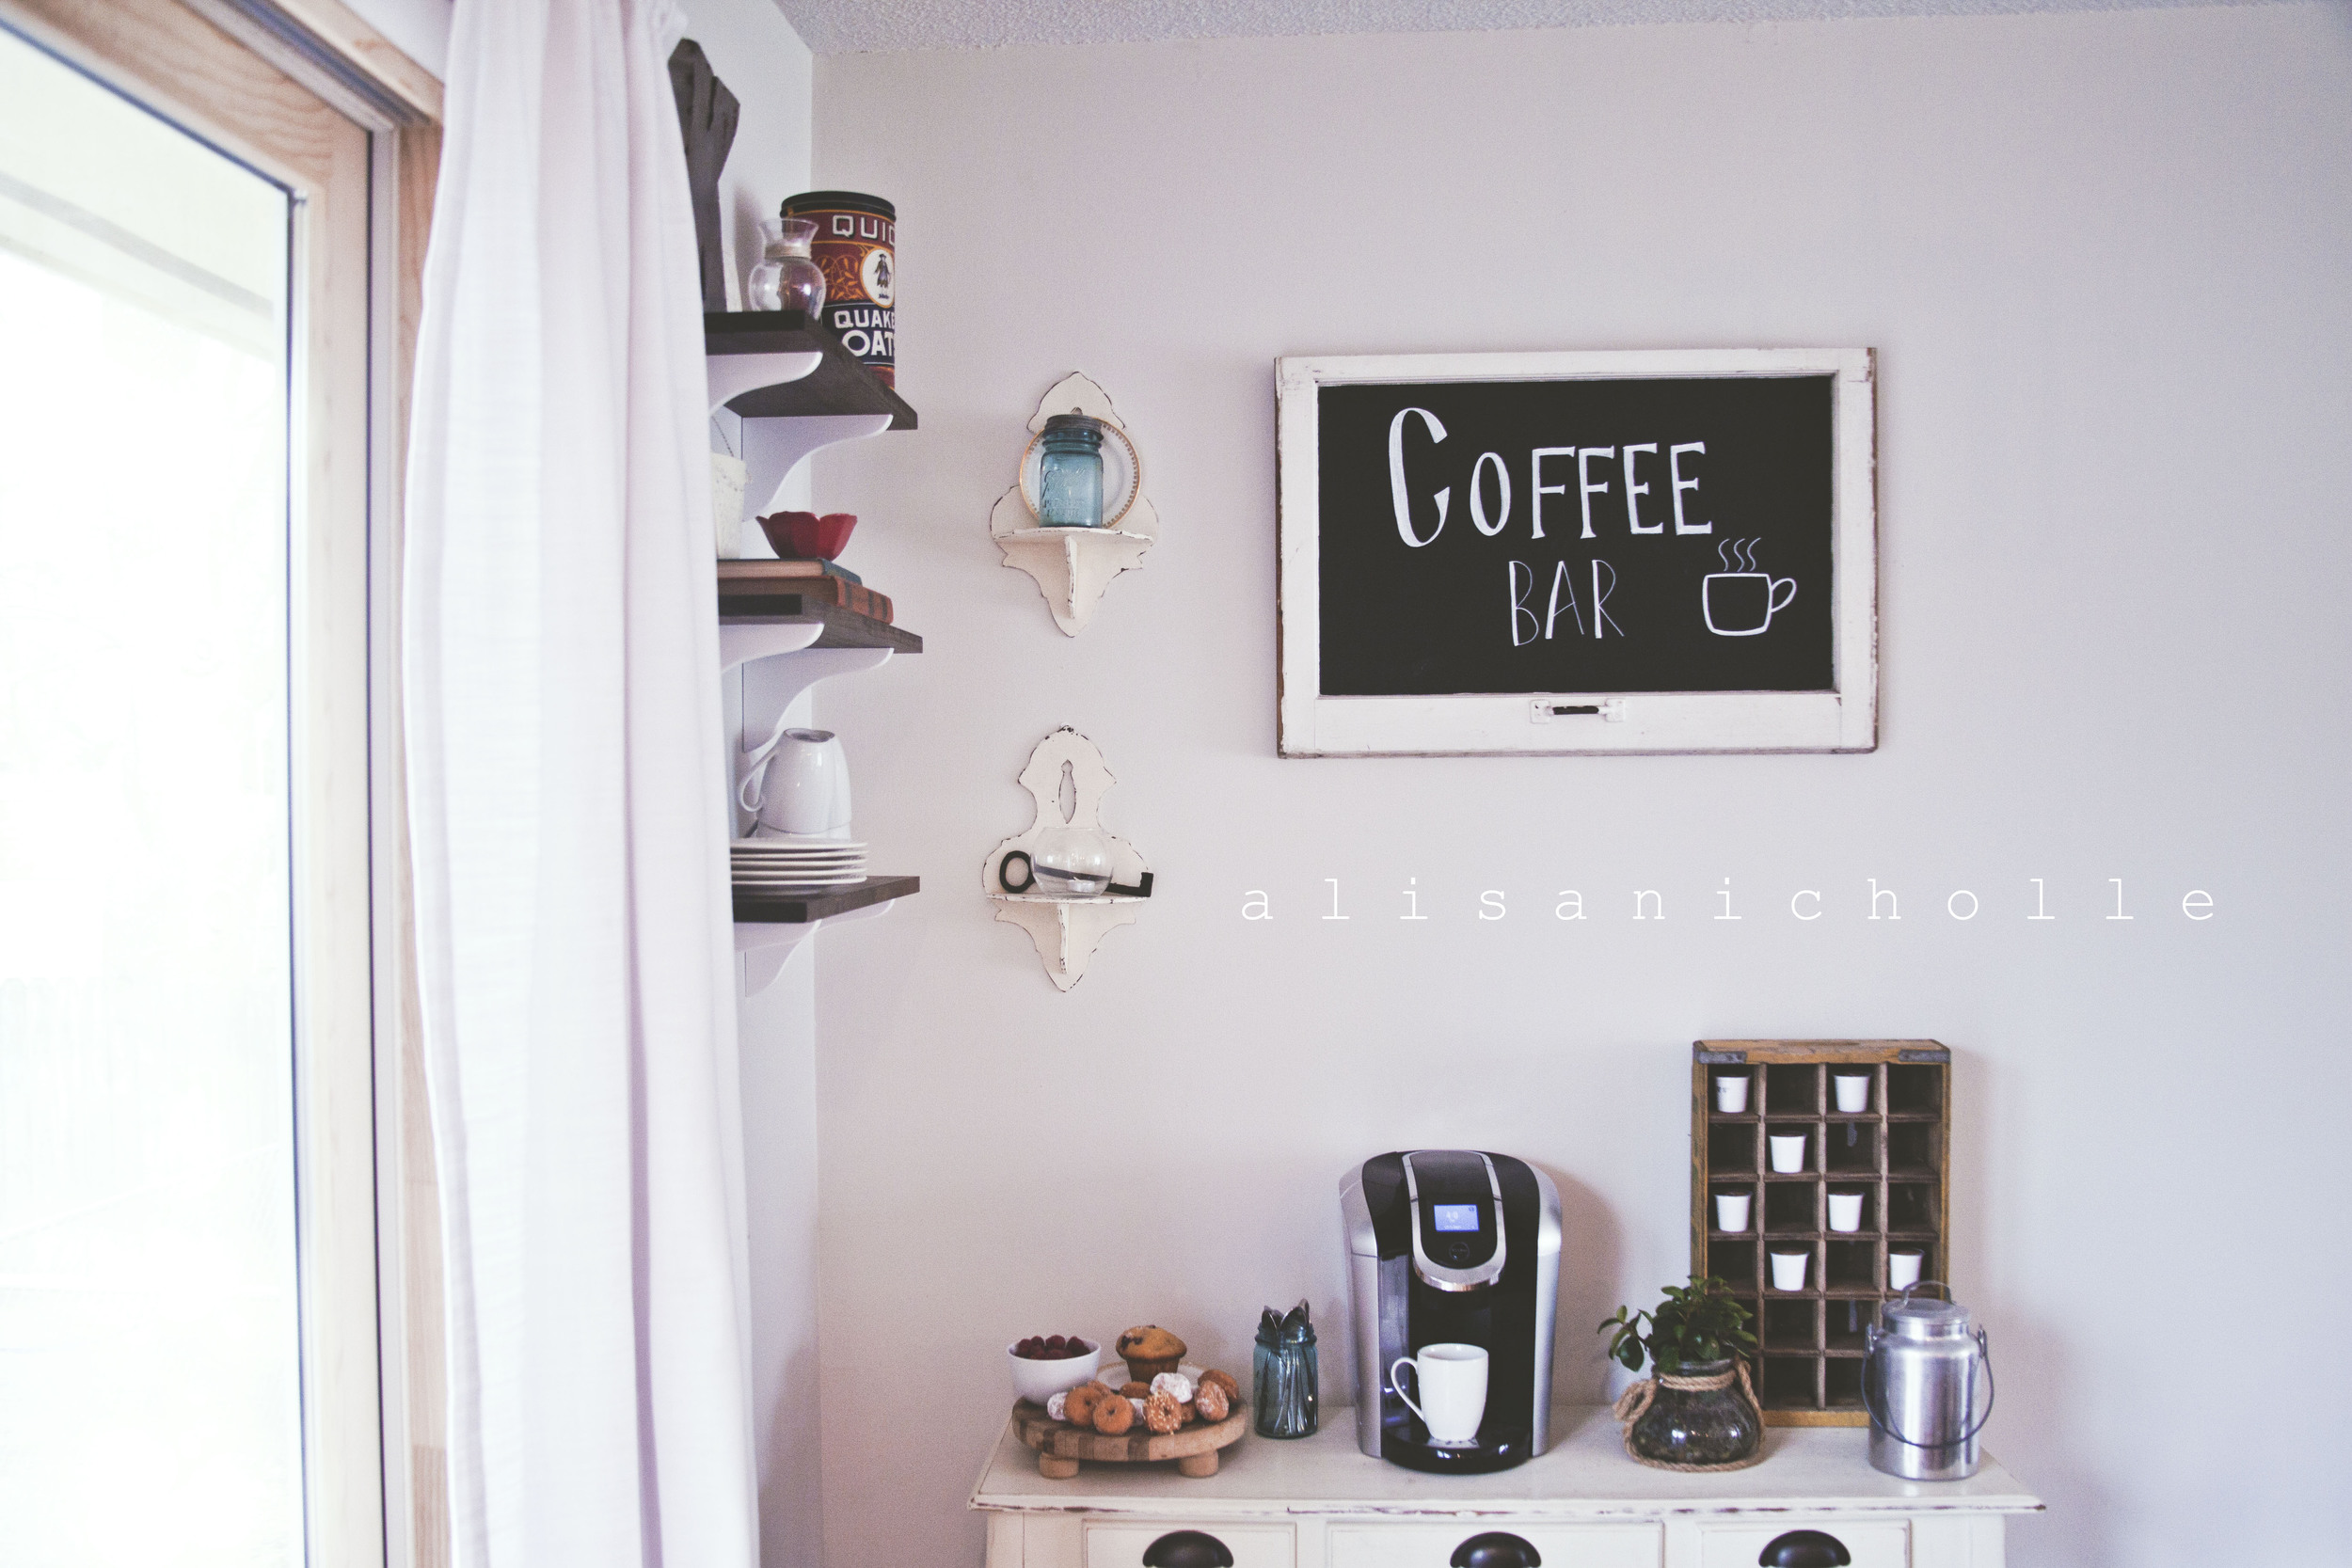
I am seriously in love with our open cabinet above our microwave. When we refinished all the cabinets we moved some of them around to reconfigure the kitchen and in doing so the "old microwave" cabinet got placed above our new microwave which created a bit of a problem since we didn't have doors for this specific space. We FINALLY (it only took us two months) figured out what to do with this space and I couldn't be more pleased!
Now onto the rest of the space!
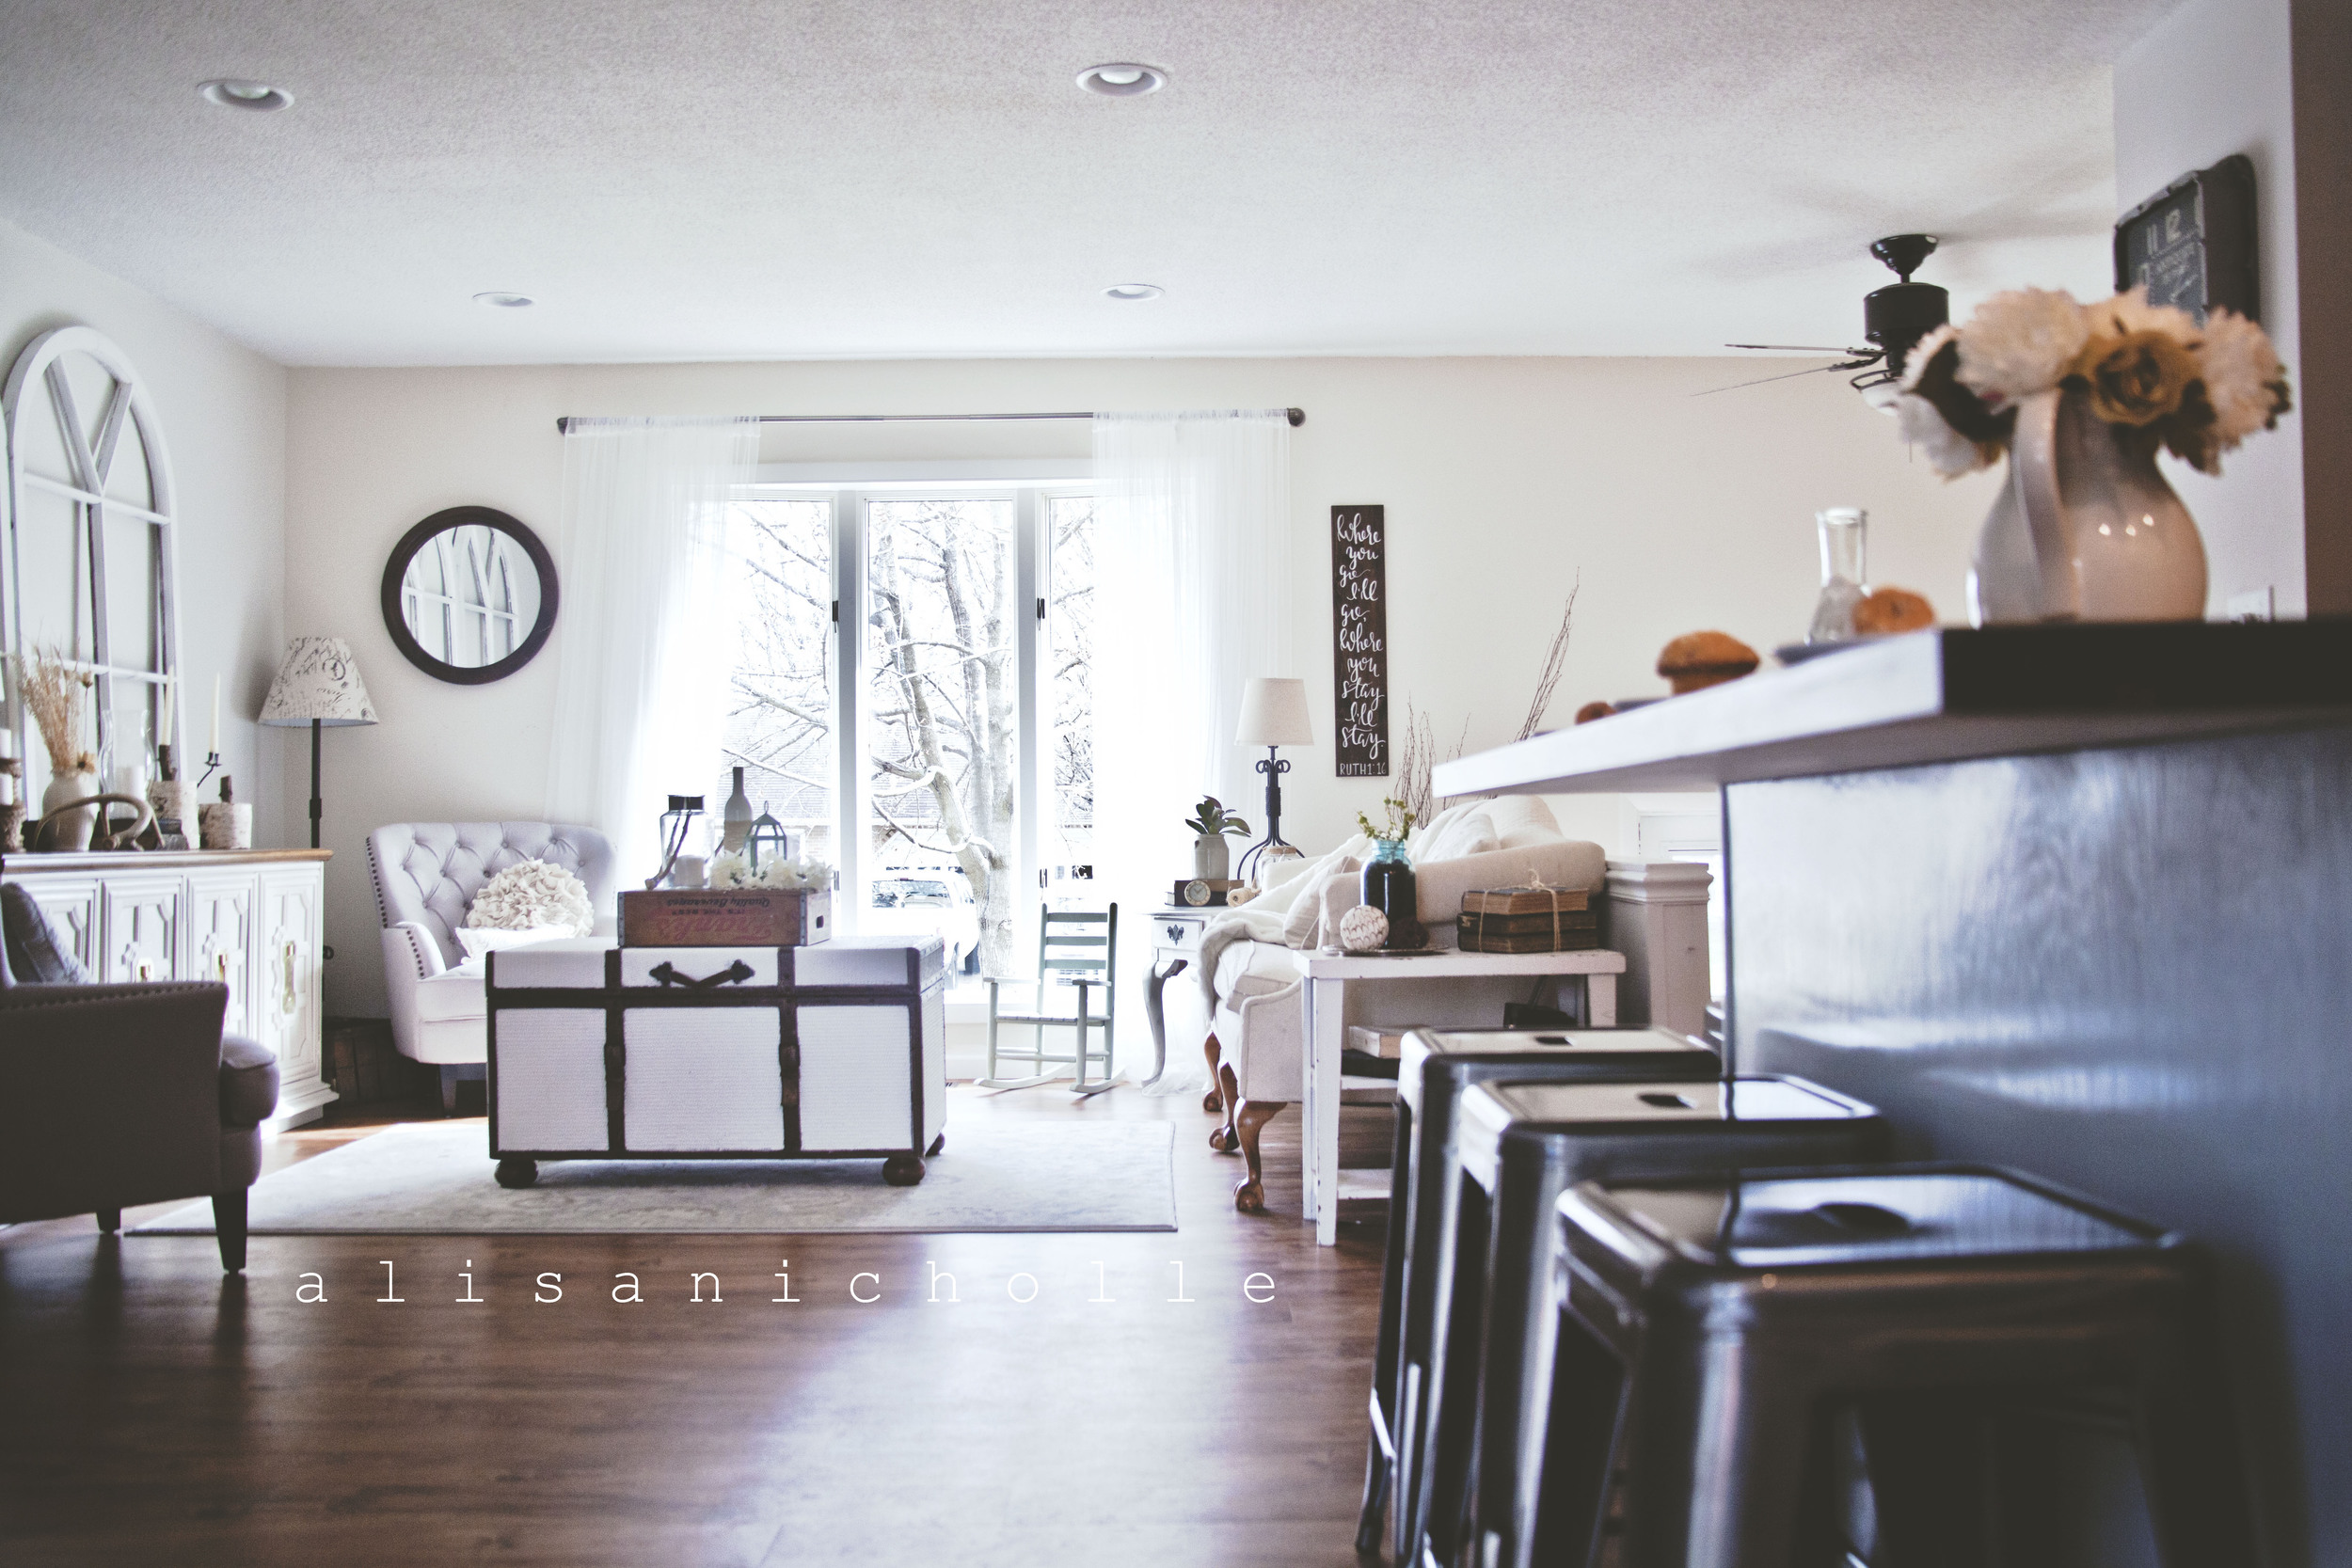


Ok...now we can head over to the living room.
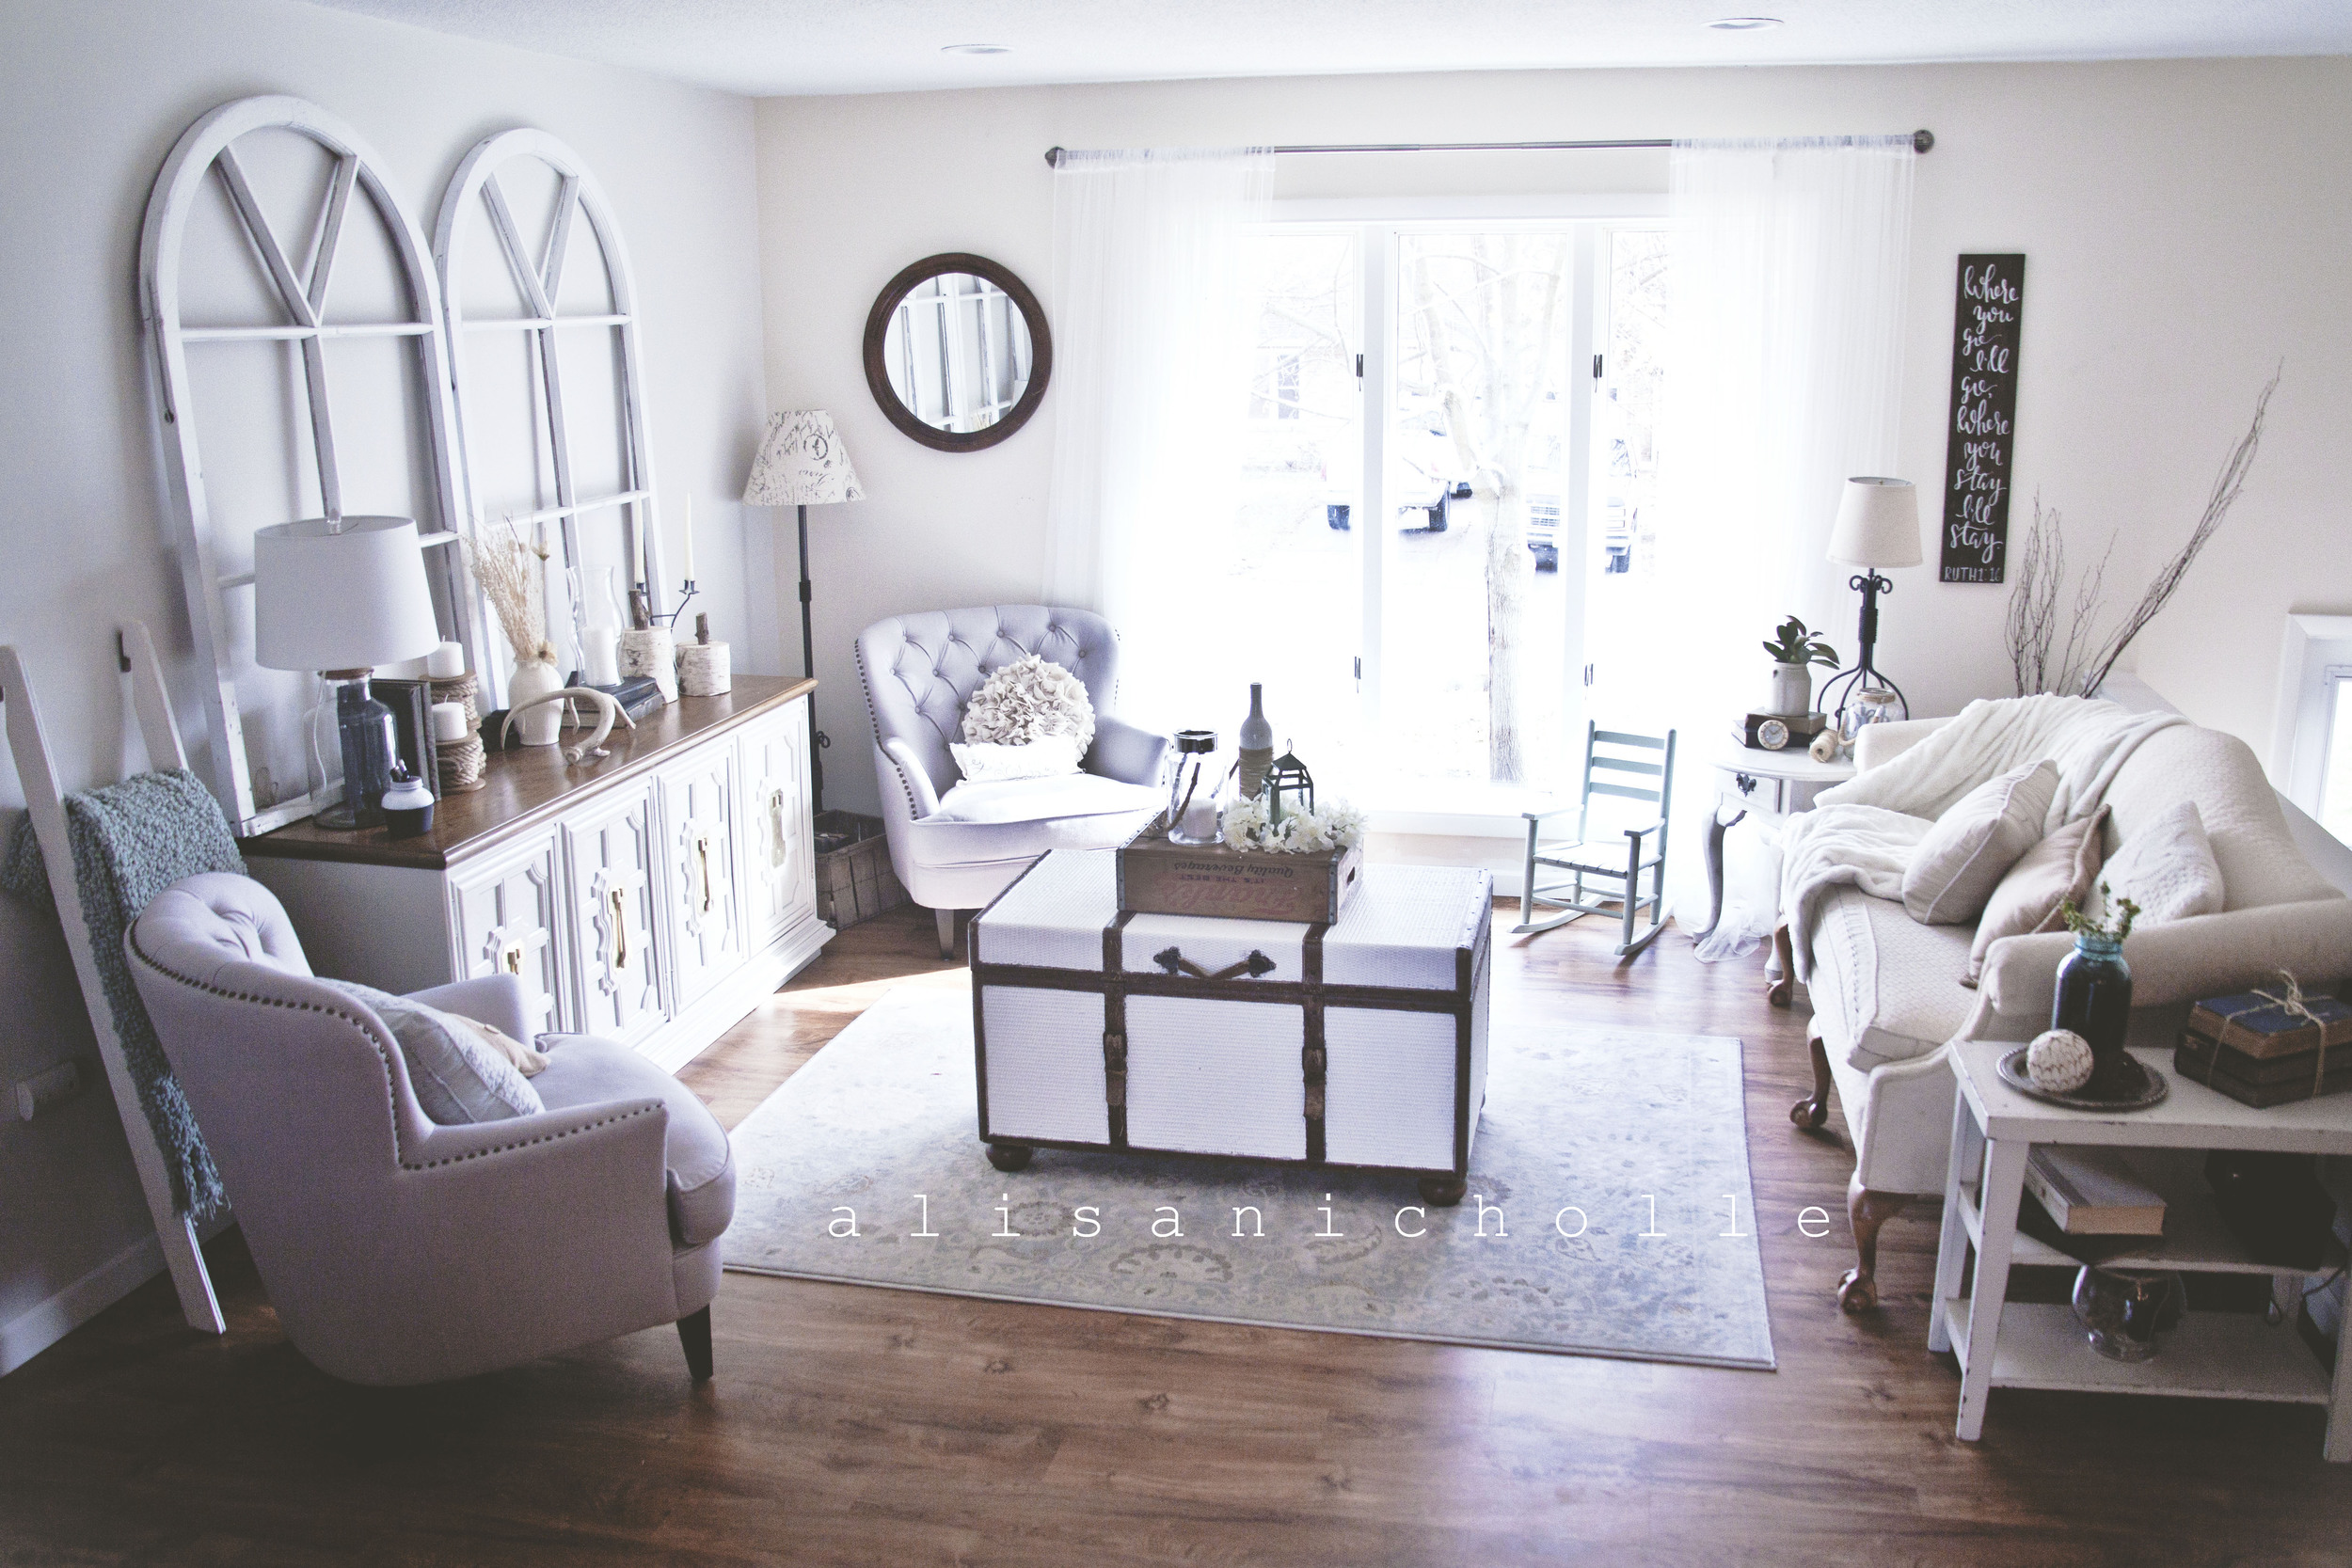
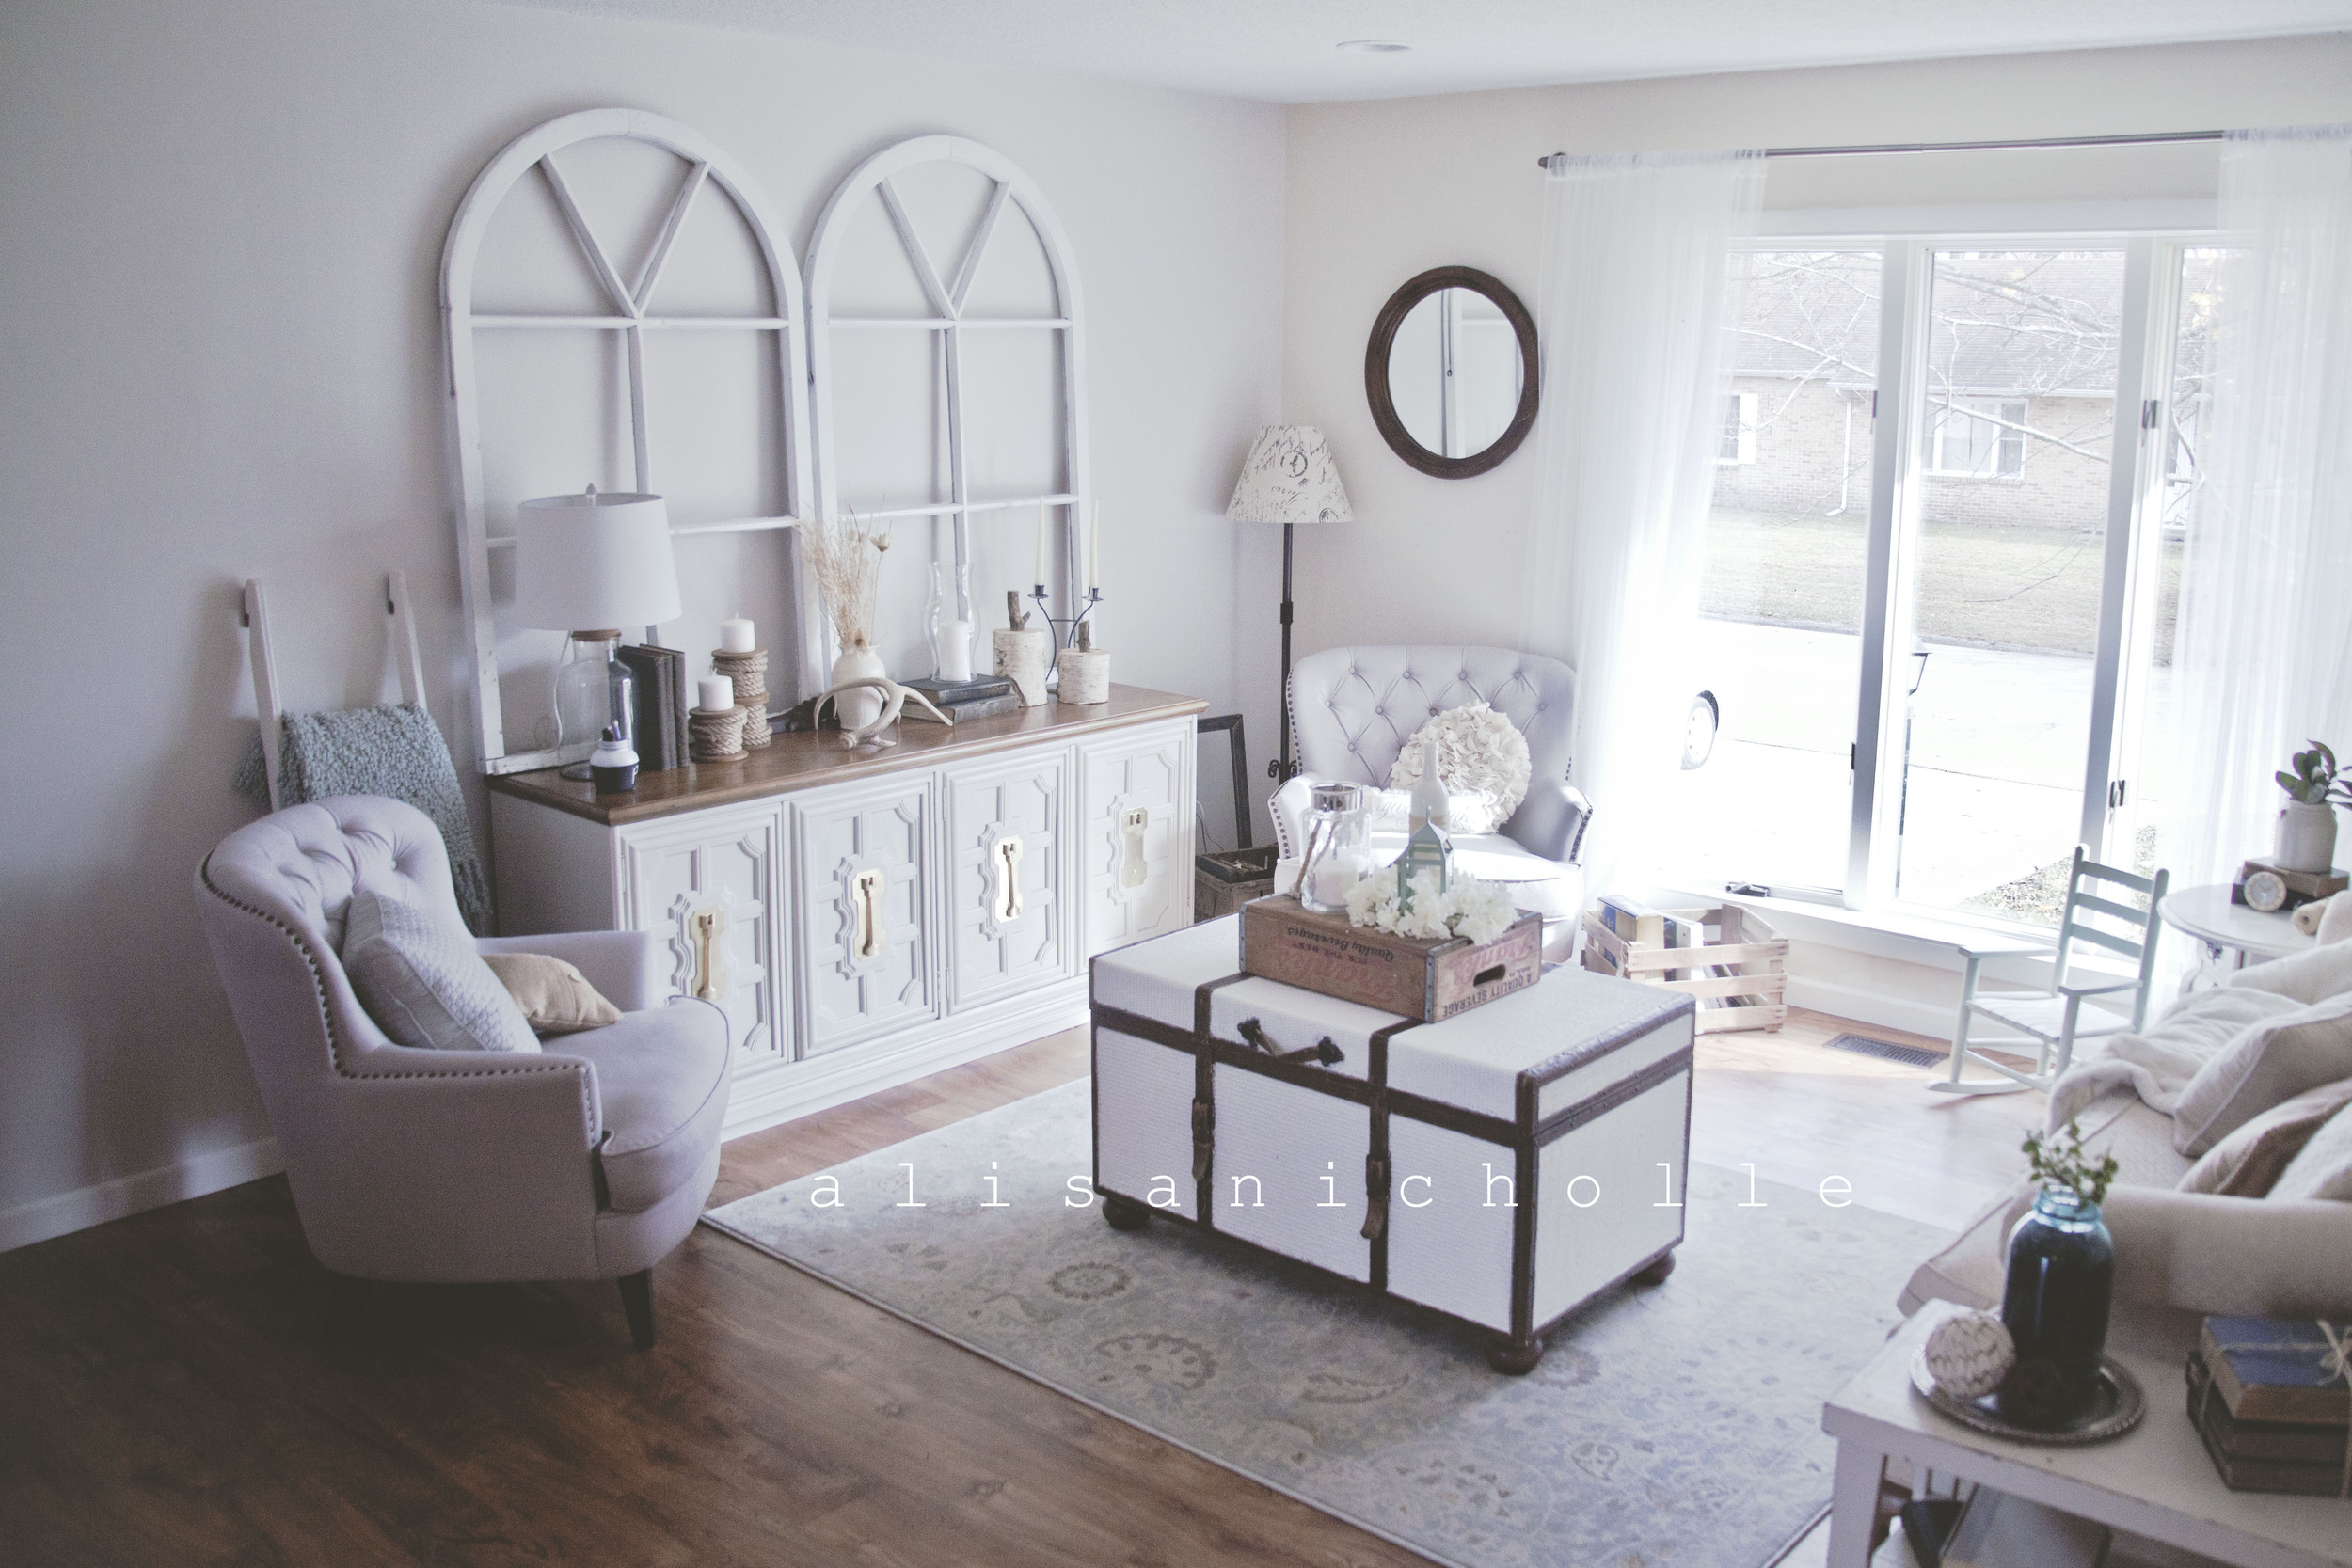
Finishing this space has given me such peace. I finally feel like this is a place I can come to and relax!

We bought this large buffet table for $50 off Varage Sale and when we did it was green and the hardware was black. After a little (or a lot of) TLC we got this thing back in tip-top shape. Don't worry I'll have another DIY blog on how I did that as well! yay!
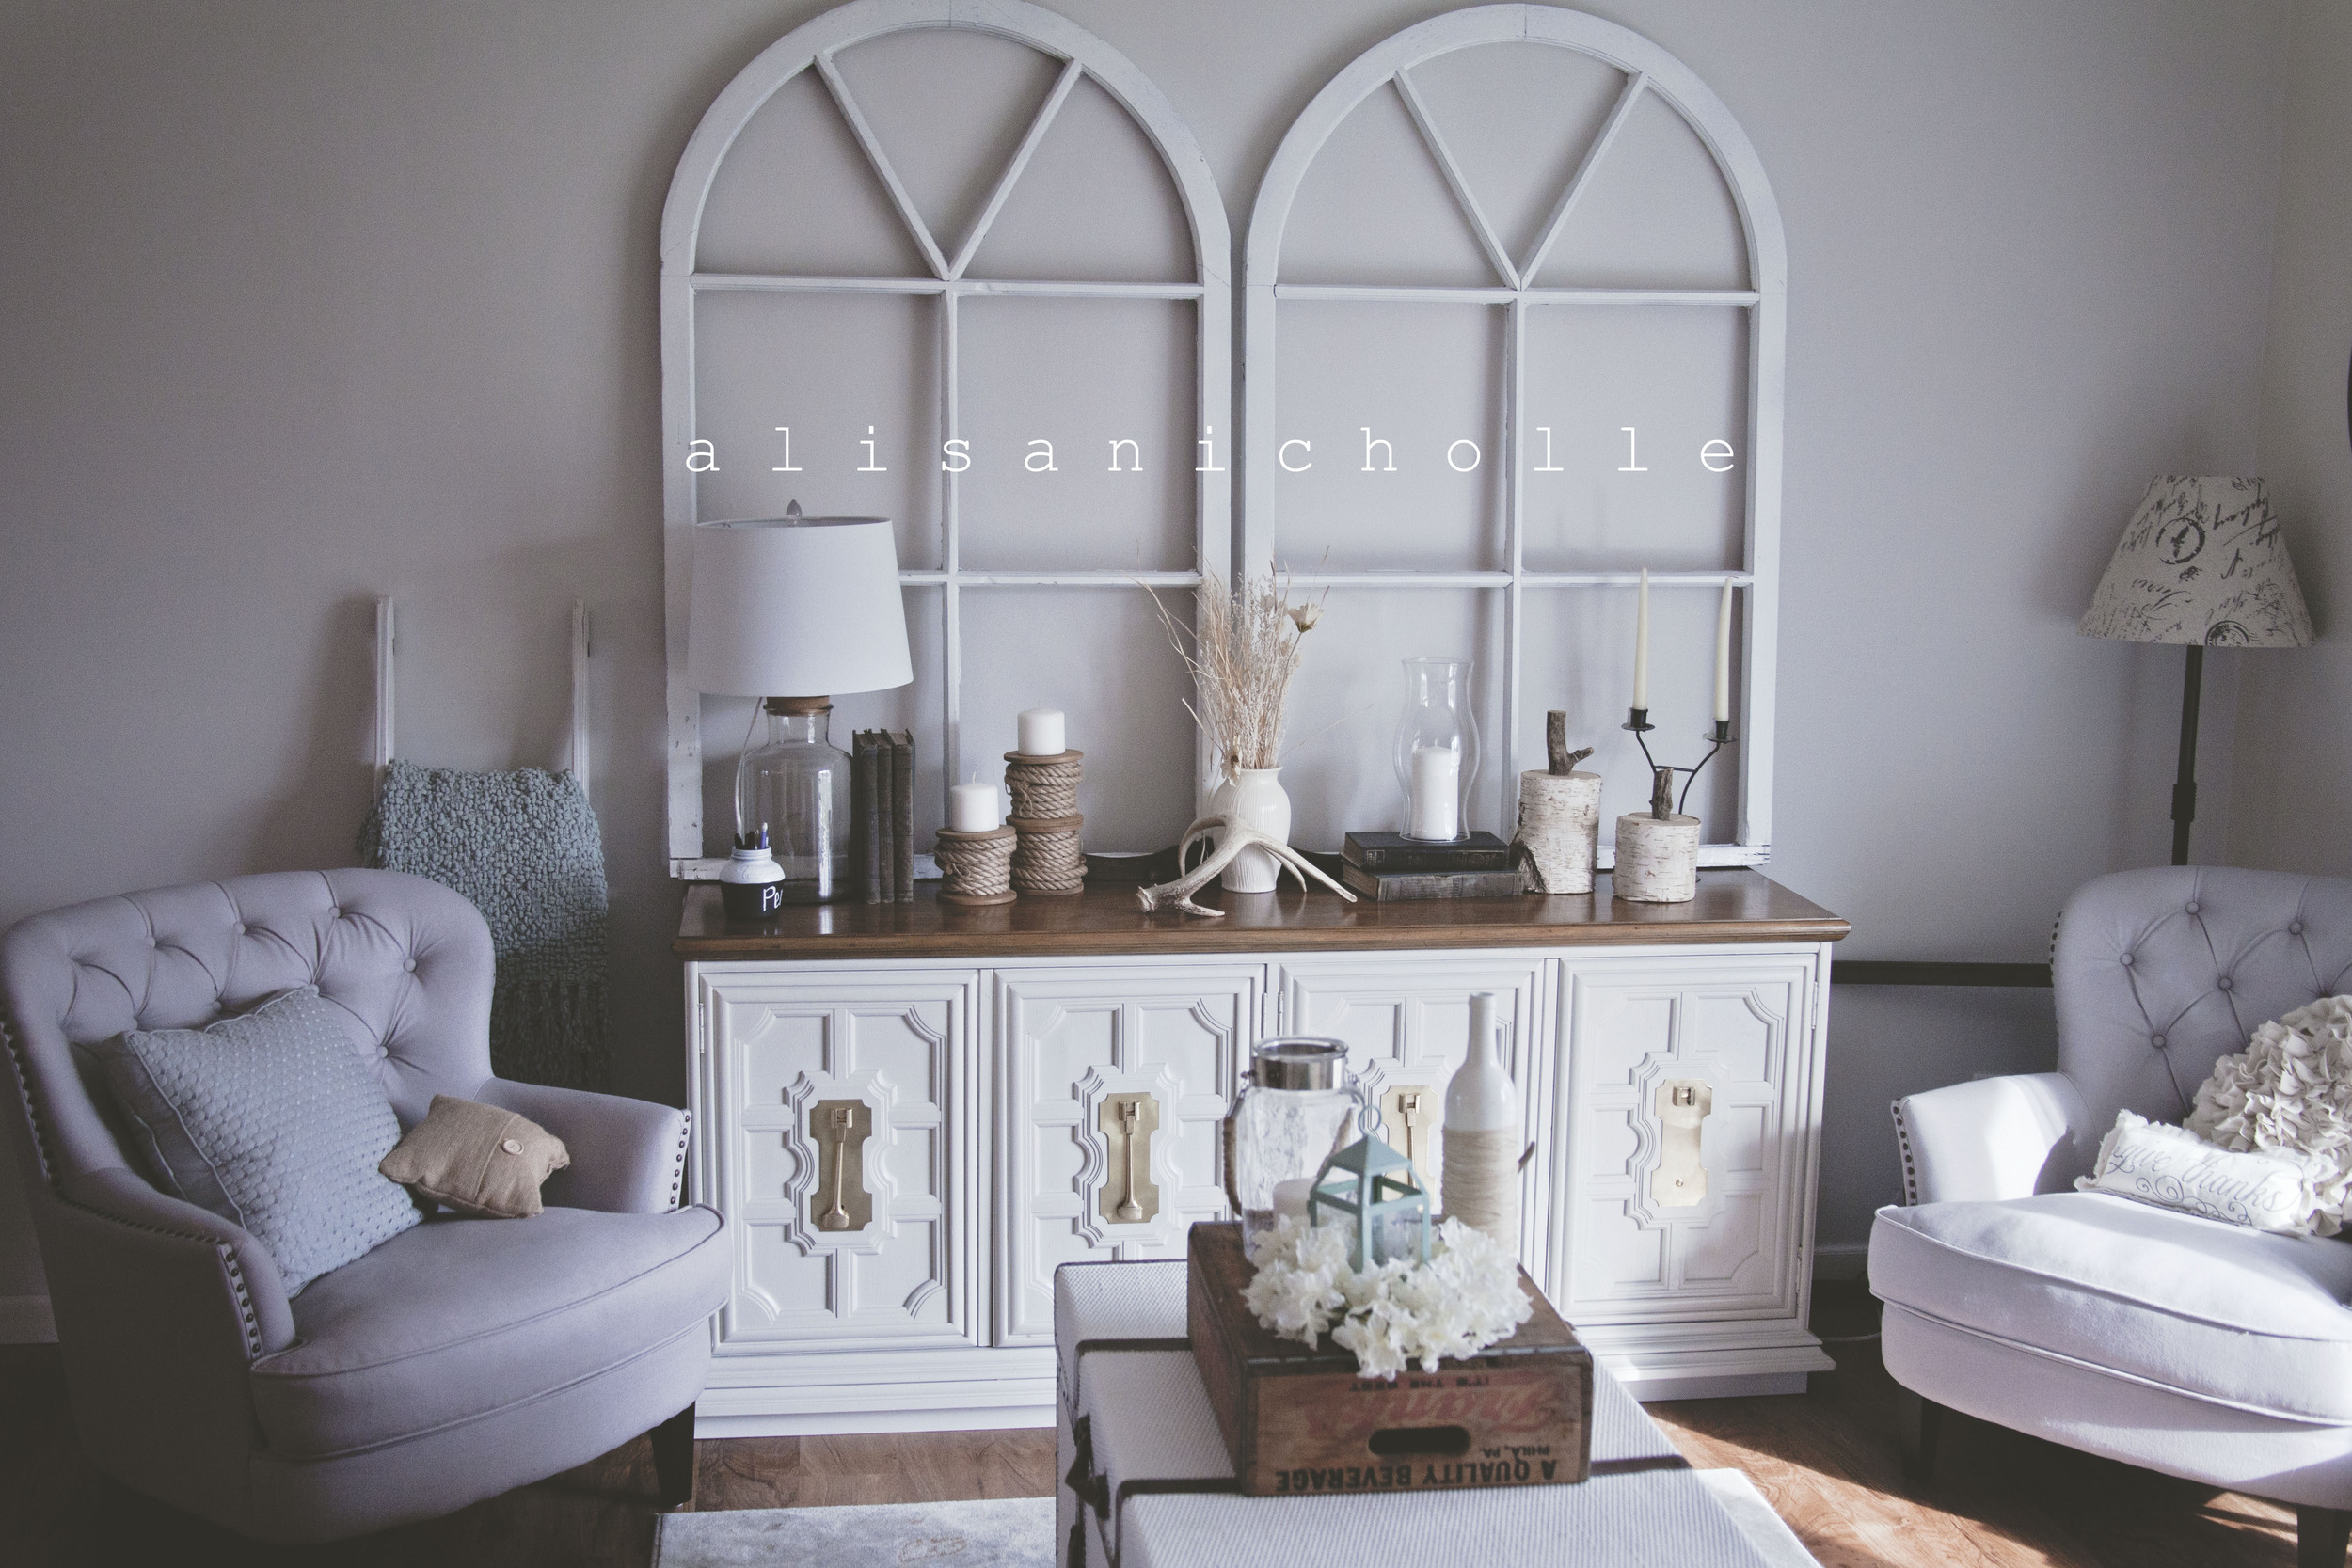


I love decorating because it's all in the fine details that brings a space together. You can have all these beautiful statement pieces but if they aren't complimented just right you can lose the value of your space.

It has been such a pleasure showing you just a few snapshots of our new home. We could not feel more blessed by the amount of help we received during this project. We pulled many late nights, spent many long afternoons scratching our heads, and ate way too much pizza but we are so grateful for all those that came by to help rip up floor, remove/paint cabinets, watch kids, paint rooms, or bring food. So much went into this fixer upper and we couldn't have done it without all of you (you know who you are)! Much love from the Kirby Family!
Many more blog posts to come from this fixer upper project. If you have any questions PLEASE feel free to post in the comment section below!
Thanks again everyone for tuning in! Share with a friend you think might be inspired!
**All "after" pictures were taken by Alisa Nicholle of Alisa Nicholle Photography. Check her out on Facebook or Instagram. She is an incredible photographer to work with! Contact her by emailing: alisanichollegreene@gmail.com