
How To Refinish Your Countertops With Giani Countertop Kit
**Don't forget to subscribe below to be entered into today's giveaway!!!
After what seems like an eternity (ok...maybe I'm being a little overdramatic) we finally have a working computer. Therefore, I am finally able to post about just HOW we refinished our countertops using Giani Granite's countertop kit, instead of buying new.
If you are reading this for the first time and want to see some before and after pics of our countertop remodel see previous post here.
This process allowed us the flexibility to create what we wanted, when we wanted and we couldn't be happier with the results. Giani Granite has given me such a good experience that I wanted to share it with the rest of you because come on, let's face it, whose countertops could use a little extra love these days? And for only $80 you can accomplish just what I have with little time and effort. Here is my step-by-step process:
1. Like I mentioned in my previous post, I chose Giani's White Diamond kit to achieve my desired look. To begin, make sure your area is taped off really well! Tape around your back splash, wall, sink, etc. I even taped up a plastic tarp around my lower cabinets and floors for extra protection because the process is somewhat messy.
2. Make sure to really whip down your countertops before starting (use an old t-shirt or pillow case to ensure no fuzz is left behind).
3. Roll on the primer. This step is pretty dramatic, seeing as the primer is pitch black. Once you have rolled your primer across the entire surface wait a good 8 hours for it to dry.
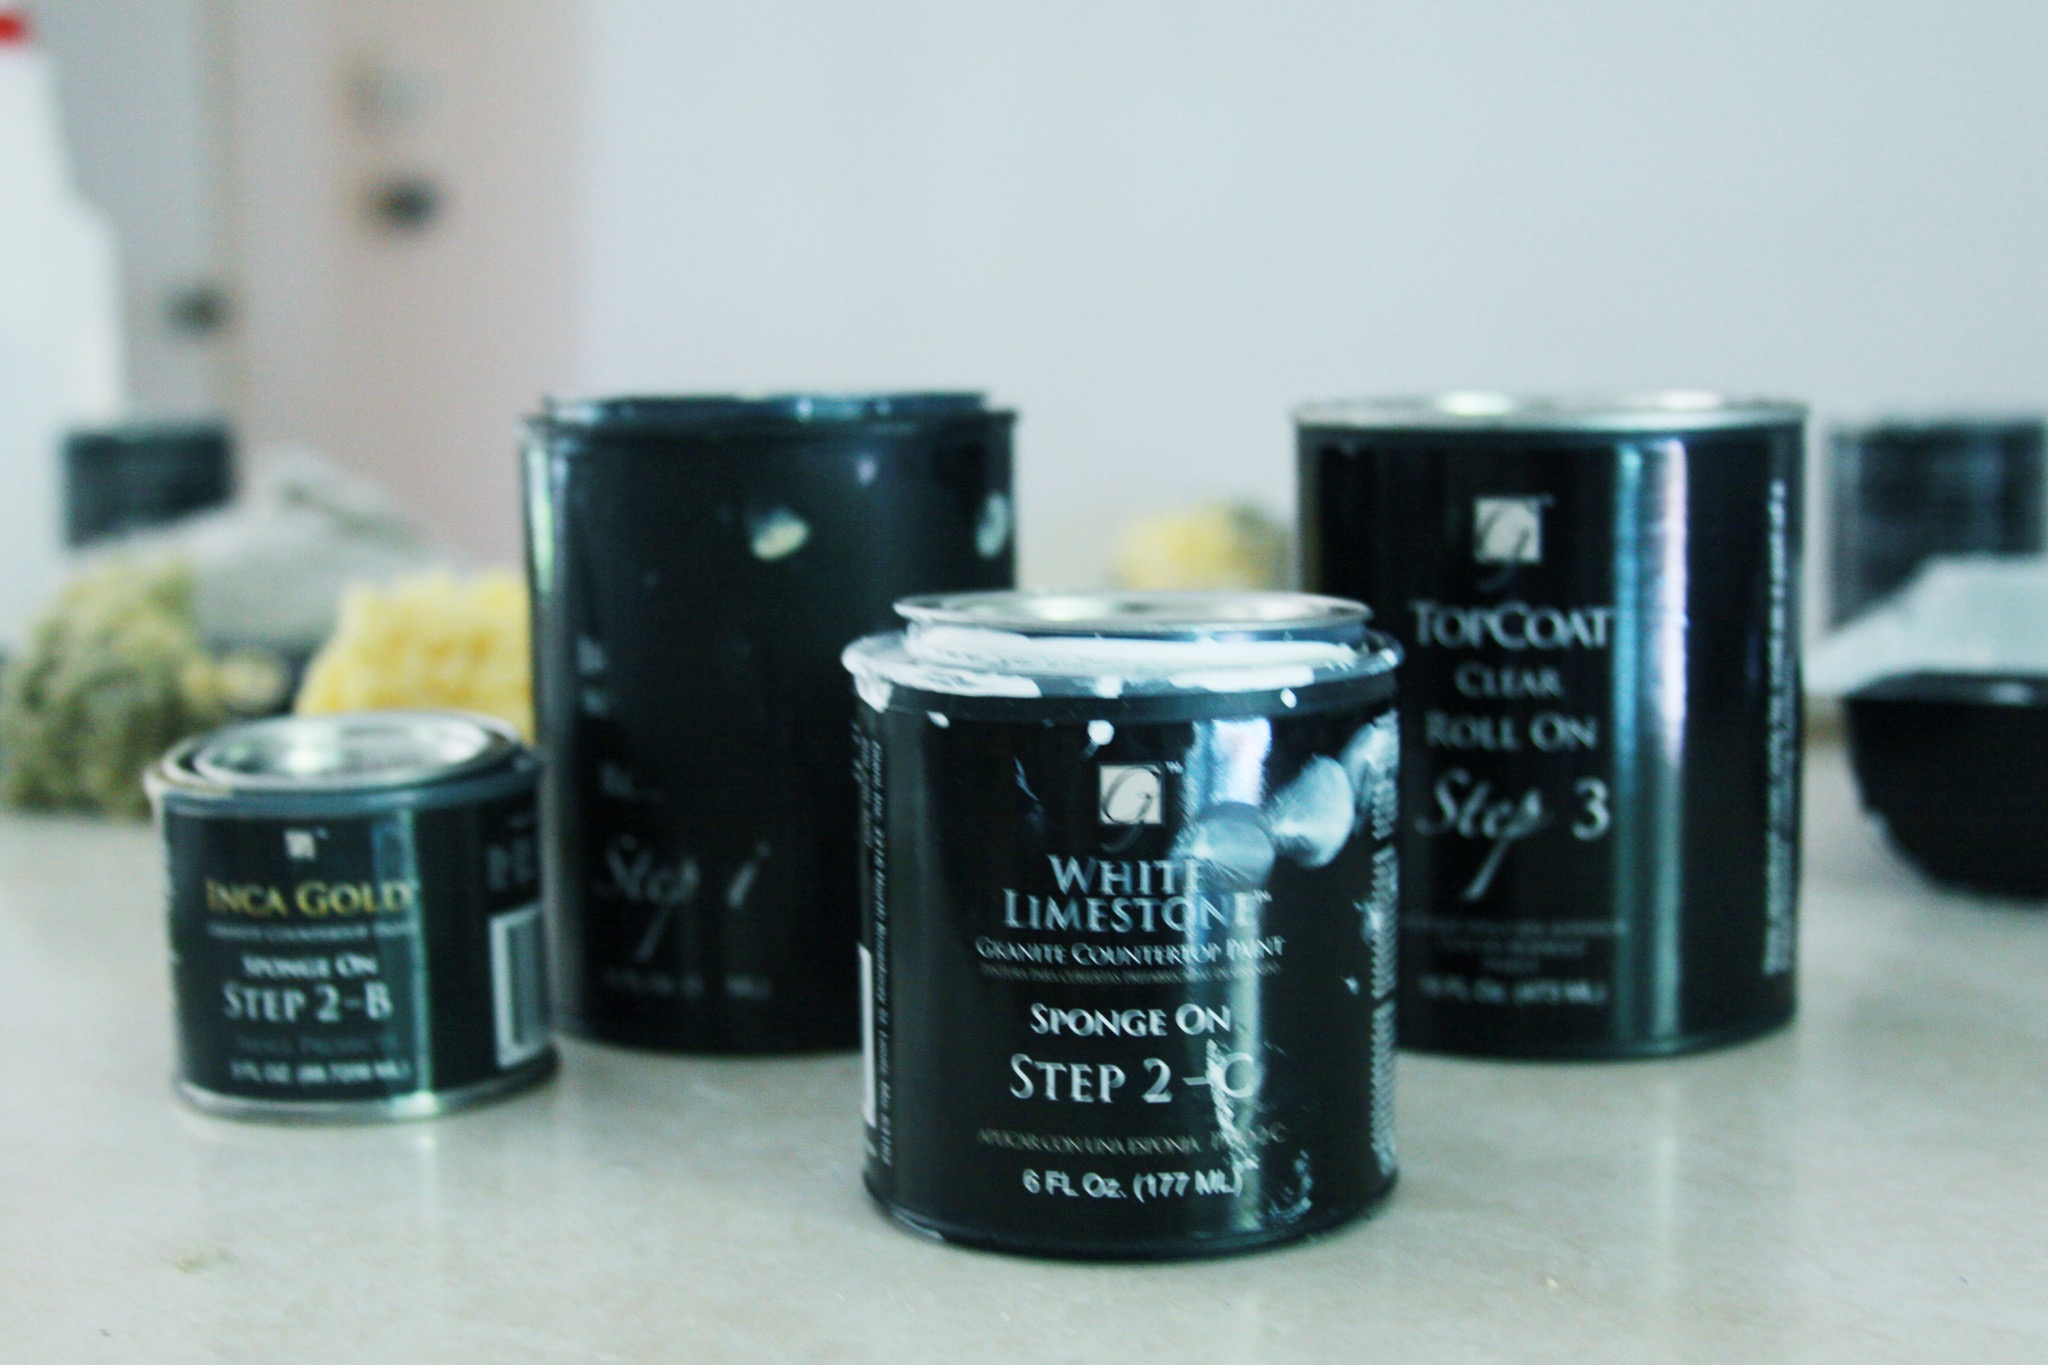
4. After those eight hours you can begin to add your second step: adding a layer of White Limestone over top of your primer. I did a mixture of techniques for this step, I first rolled the White Limestone on using my paint roller while simultaneously sponging it on to hide any marks left by the roller. Once you have completely covered your countertop surface with your White Limestone let dry. This process shouldn't take too long to dry, so once it's dry to the touch you can begin the next step (about 4 hours).
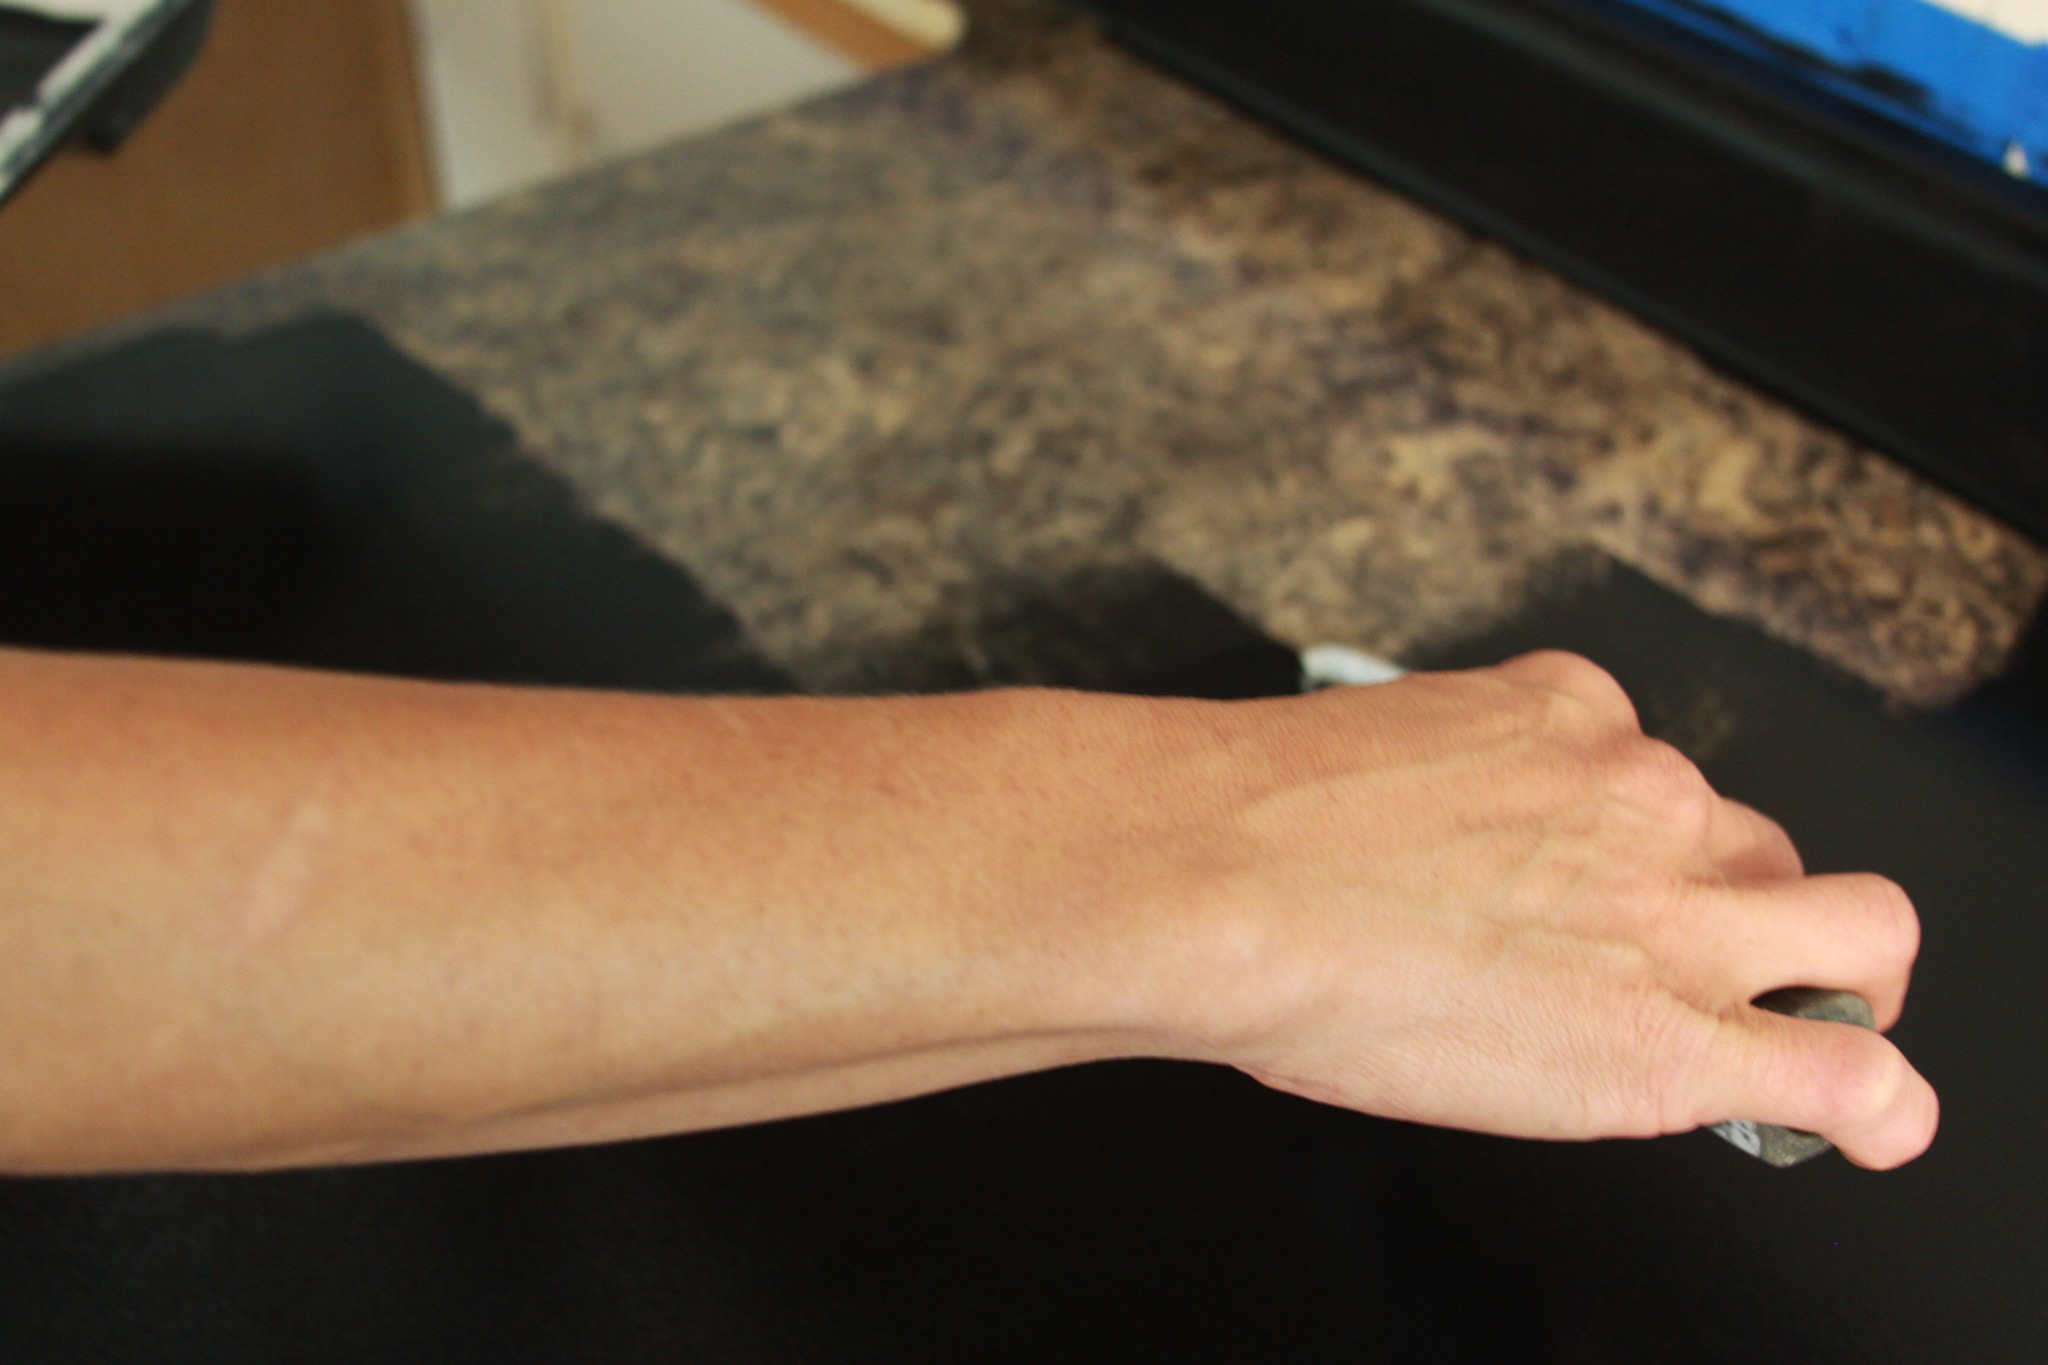
5. Next, is the fun part. Creating the cracked marble lines. To do this you will need a small painters brush (like the ones you buy in a children's painting kit), your black primer, and a small spray bottle with water (if you wish to achieve the same watery look like mine). For this process, start by dipping your brush into the primer and lightly painting your lines onto the surface (I very unsteadily ran my paint brush back and forth over the same line to create a very uniform line...if that makes sense). Then, lightly spray your line with your spray bottle. Continue to repeat that process till you've achieved your desired look. Create as many lines as you want. Have fun with this part! Let dry.

6. Once those lines have dried you can start on one of the final steps! Like I mentioned earlier, I chose to do the watery marble look, to achieve this, pour your White Limestone into a plastic cup and add just less than an equal amount of water to your paint and stir. After you've done this, slowly pour the paint mixture in sections over your countertop. Don't be afraid to cover up the lines, they will make their way through! Make sure to use either a paint brush (holding it horizontally, so it is flat with the countertop) or your foam brush, to push and spread the paint around till you achieve your desired coverage.
**If you have an added lip like I do around the back splash of your countertops its important to use your sponge, or your brush to carefully dab your White Limestone onto that area to avoid drips from forming. Keep dabbing to achieve the look you desire. The same goes for the edge of your countertops, use your sponge or your brush to lightly dab those drips. Let dry for at least 12 hours.
7. The last step is adding your top coat. Although this is the final step of the process, this is almost like a three part step in itself. To apply your top coat, roll on a thin layer and let dry for 4 hours. After those 4 hours apply another thin coat and let sit for 4 hours. When you add your third and final coat it is important to note that you must wait 12 hours before using your countertops and a total of THREE days before setting any of your appliances back on your countertops.
After that...you are DONE! This process was incredibly stretching for me as a perfectionist but extremely rewarding as well! I would encourage anyone on a budget, looking for a simple change of scenery in the kitchen to check out Giani Granite. They have a variety of looks to choose from (granite, slate, black granite, marble, etc) so you literally can't go wrong when trying to find the look that's right for you.
Check them out on their other social media accounts too, you can find them on:
**To be entered in to my giveaway today to receive a FREE Giani Granite countertop makeover kit subscribe to my blog below!
Subscribe
Thank you for your support!
If you have any questions or comments please comment below! I love hearing your feedback! Thanks for reading!