
Before and After Bathroom Remodel With Lowes

Ever since we embarked on this house flipping journey in September of 2015, starting with our kitchen (see transformation here) we have experienced things we never knew we would; some good, some bad and along the way we have learned more about each other and our own strengths and weaknesses.
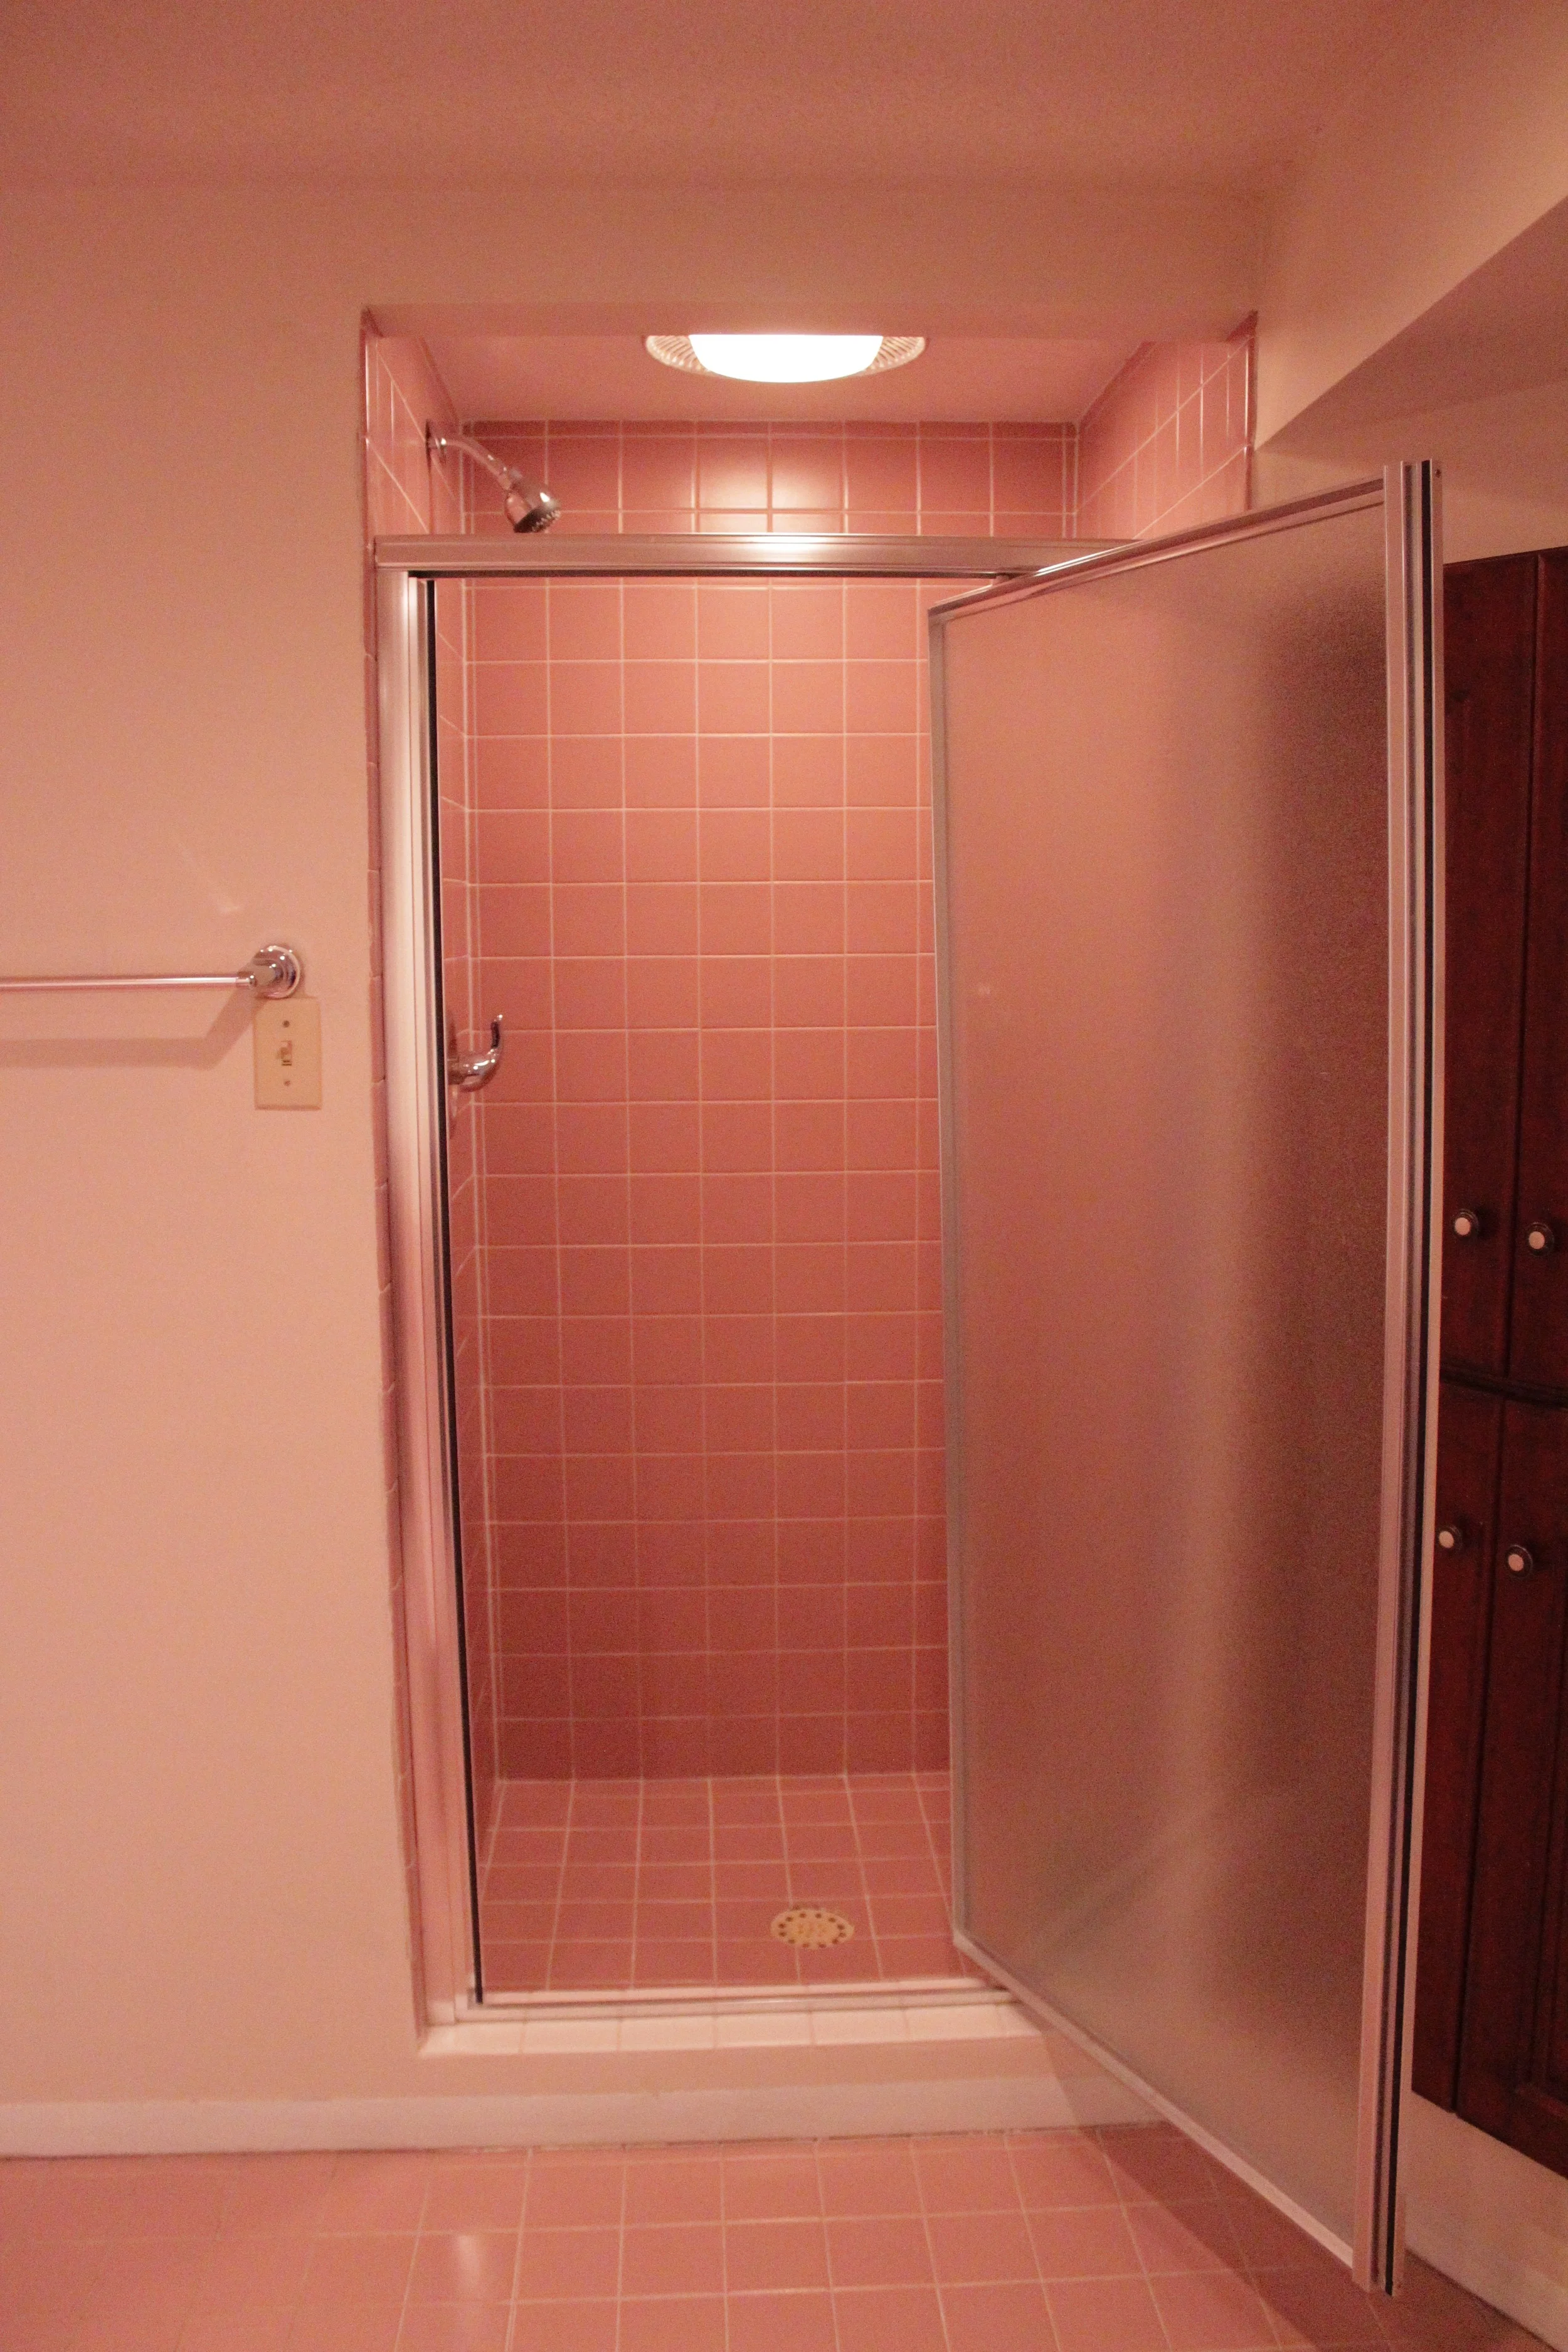
When we began this bathroom remodel we knew we were in for a LOT of work (see the "before" pictures here). I mean anything that is covered in mauve colored anything requires a complete makeover, am I right? This whole process has stretched us and challenged us to really think outside the box but with the help from Lowe's Home Improvement we were able to make this renovation worth our while.
This bathroom, although hideous, is a rather large space. So I knew that when designing this space I wanted to make it as open and functional as possible. I wanted this to be a place that I enjoyed getting ready in and could come to to relax.
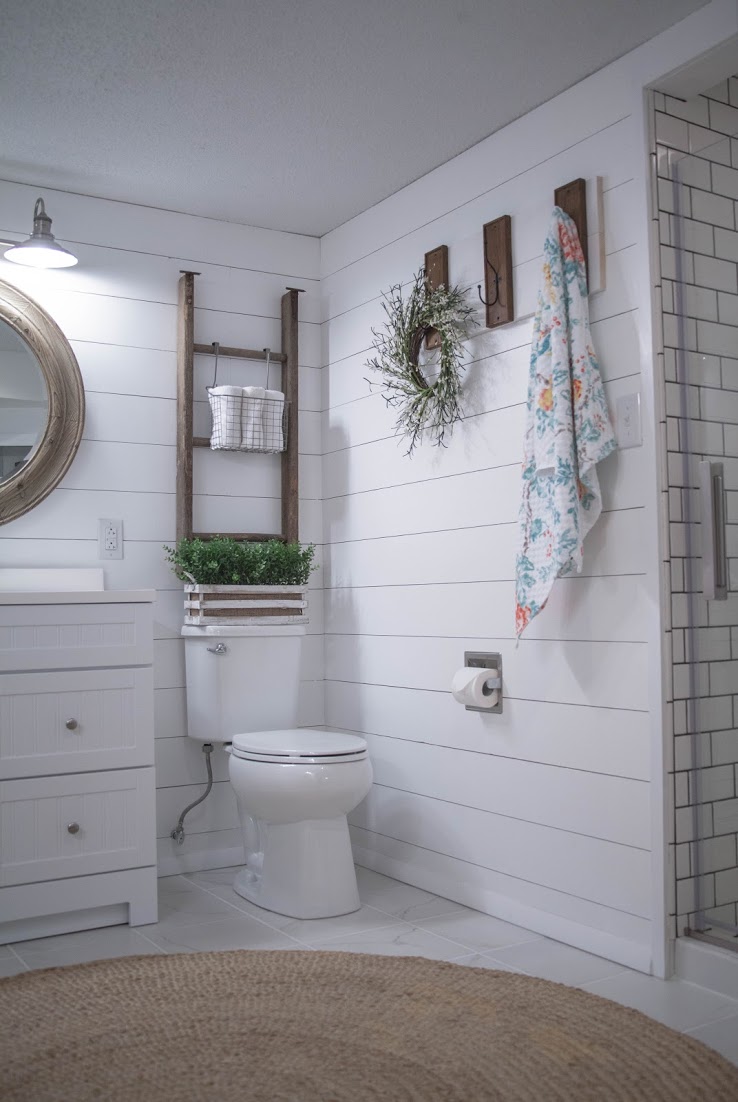
Since this is considered the "master suit" of the house I wanted to bring in another vanity to make this more of a "his & her" bathroom, I've also always dreamed of having a claw-foot tub so I knew that was something I wanted to accommodate for, for the shower, I love the way subway tile looked in our kitchen so I wanted to incorporate that in this space as well, and as for the walls well...I just needed to have one room in my house full of shiplap.
Before and After Bathroom Remodel With Lowes

I'll let these before and after pictures speak for themselves.
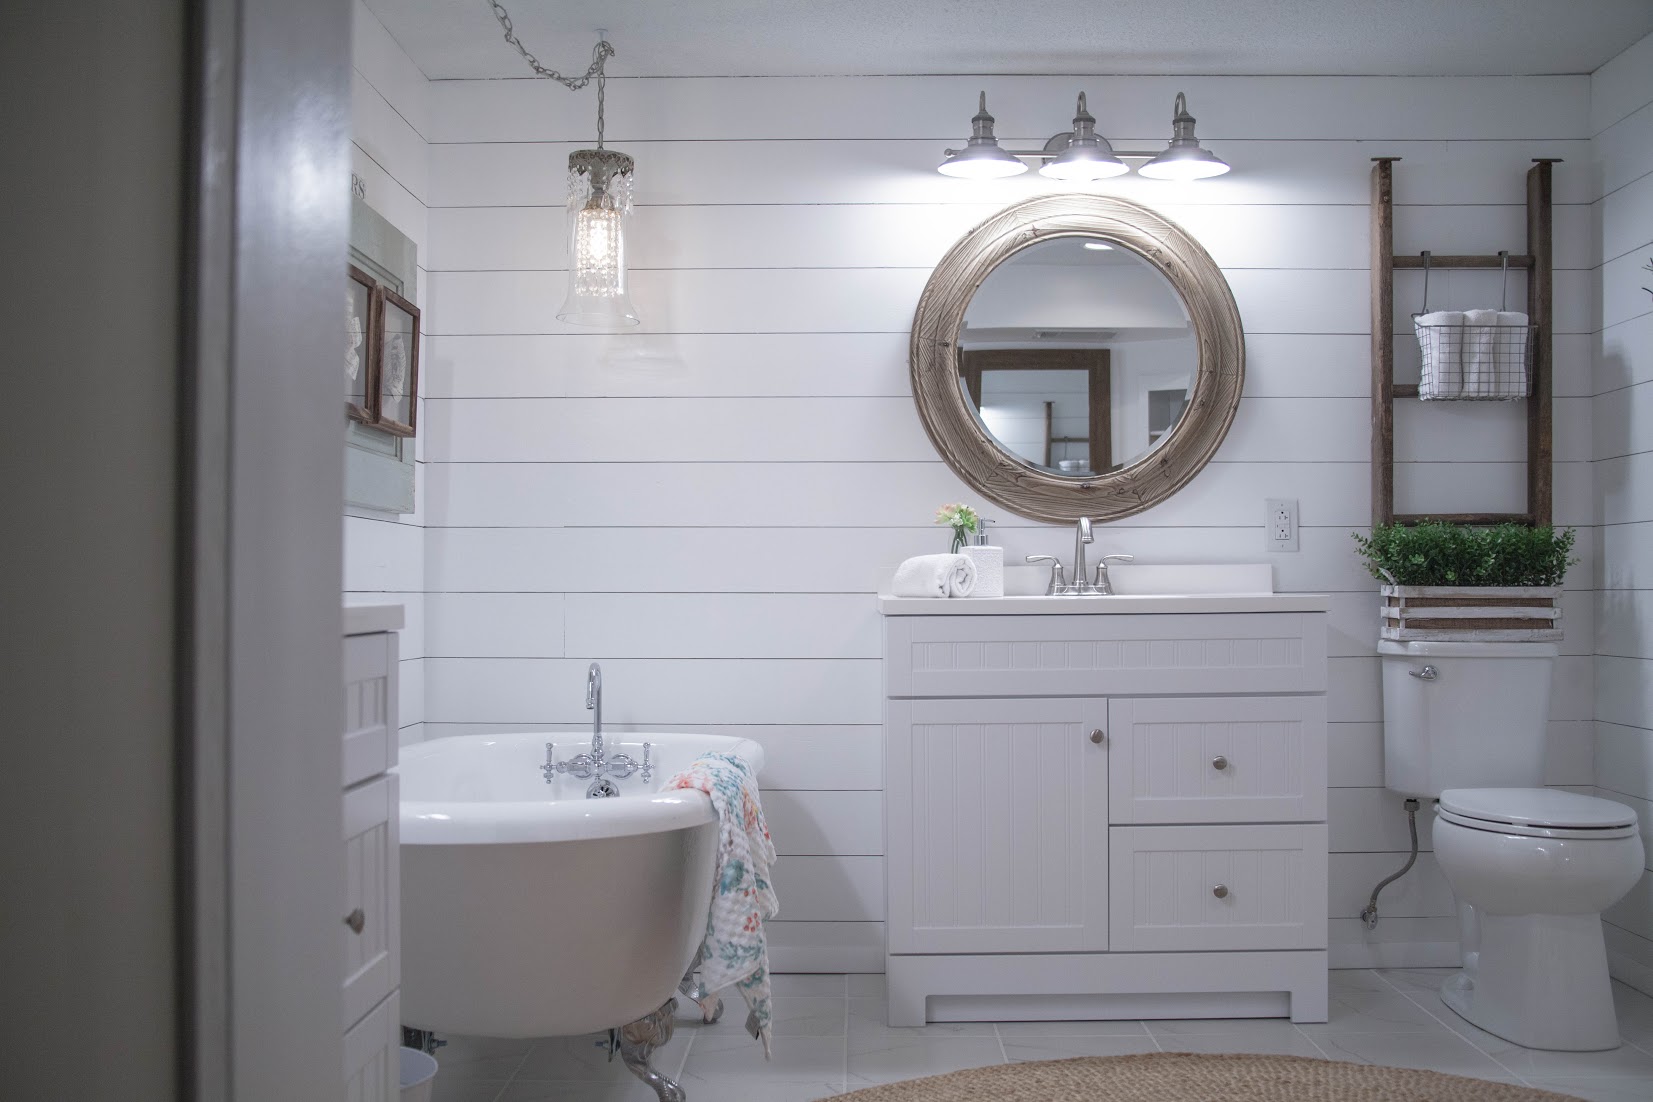


Walking into this space “before” was very crammed and dysfunctional. The properties of it didn’t flow, and it didn’t allow for two people to comfortably move around its space. Taking out the whirlpool tub not only opened up the space but it gave us more functional floorspace to work with while allowing us the opportunity to put another vanity in and still keep a tub in its place.

By “downsizing” the tub we were able to create so much free space, giving way to a whole new kind of flow; allowing two people to co-exist separately without being on top of each other while still using the space together.


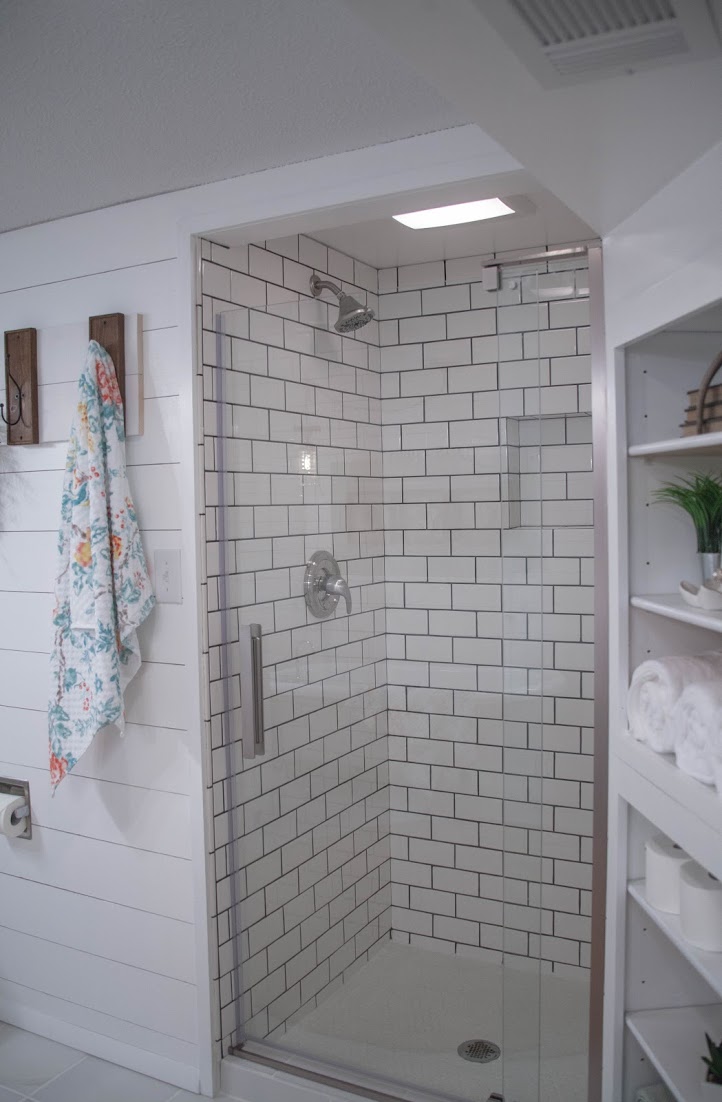
When it was time to decide what we wanted for our shower, I wanted to give it the illusion that it was much bigger than it actually is, while also making this space sort of the focal point of the room. Since the space is small to begin with (36” x 36”), laying white subway tile, contrasted with the dark gray grout, and adding the sheer glass shower door not only brightens and widens the entire lay out, but it allows this space to be apart of the rest of bathroom.
Adding a claw-foot tub not only sets this bathroom completely apart to its former counterpart but it gives it an entirely new vibe; exuding elegance and relaxation.


This built-in cabinet has been a great source of storage so we knew that we wanted to keep that intact but wanted to give it a fresh face-lift without spending too much money or effort. Removing the doors and giving it a fresh coat of paint was just the trick to making this old piece of cabinetry stand out.


See more details of our DIY Bathroom Makeover here!
This post was produced in partnership with Lowes. Thank you for supporting our sponsors!!
Wanna learn how you can re-create this look? Check it out here!


